What Is a Routing Node, Actually?
A Lightning routing node is a node you keep online 24/7, with Bitcoin locked into payment channels. When someone sends a Lightning payment and it hops through your node, you collect a fee for that service, a fee that you set yourself based on market conditions. Simple concept. The tricky part is everything that follows.
Running a profitable node is not a set-it-and-forget-it operation. It requires close attention, channel management, ensuring capacity is rebalanced, and connecting to nodes that bring you viable traffic.
Why the CmRat? And Why Not Just Mine Instead?
Most people in the Bitcoin home-operator space think about two options: mining, or running a node. Mining feels intuitive. You buy a device, it hashes, occasionally it finds a block. But there’s a real cost attached to every watt.
Here’s the thing most guides skip. A basic home miner like a Bitaxe draws somewhere between 5 and 15 watts depending on the model. A DTV Electronics CmRat running a full Lightning routing node? It only draws about 10 watts, making it ideal for leaving on 24/7. So far they’re comparable on power. But the comparison breaks down fast when you look at what each setup actually earns.
A solo home miner earns nothing most days. The income is lottery-style, statistically rare, and entirely dependent on luck and network difficulty. A routing node, on the other hand, earns fees on every single payment that routes through it. Every day. Consistently. The more channels you have and the better you manage liquidity, the more you earn.
Power draw on the CmRat stays around 10-15 watts under moderate load, noise is minimal thanks to the solid aluminum casing, and it runs quietly even at 24/7 operation. You’re essentially running a small financial service business on the same electricity budget as a phone charger.
Run that math at $0.15/kWh. Ten watts, 24 hours, 30 days. That’s about $1.08 per month in electricity. Routing fee income from a well-managed node with decent liquidity can realistically clear that by orders of magnitude. The CmRat is not competing with industrial miners. It’s competing with the idea that home Bitcoin participation has to be expensive.
It runs quietly, consumes minimal power, and has a compact form factor, making it ideal for environments where space, energy efficiency, and reliable operation matter. Your living room, home office, or closet shelf all qualify.
Why A CmRat It’s Enough
The CmRat’s real edge is upgradability. Most node hardware are very expensive and also locks you into whatever CPU and RAM it shipped with. The CmRat doesn’t, because it’s just a carrier board. Thirty-five dollars. The compute module plugs in separately, which means you can start with a Raspberry Pi CM4 and swap to a CM5 later without touching anything else. Same board, better brain.
That extends to storage and cooling too. Swap the NVMe, change the heatsink, upgrade the fan. Everything is modular by design.
On the software side, it plays well with Bitcoin-friendly operating systems like UmbrelOS and StartOS. Both publish images built specifically for Raspberry Pi hardware, so installation is straightforward and the experience feels responsive, not like you’re wrestling with a generic Linux setup that almost works.
The whole thing runs on about 10 watts. For a device that handles a full Bitcoin node, Lightning routing, and optional extras like an Electrum server, that’s a remarkably small footprint, in terms of both power and cost.
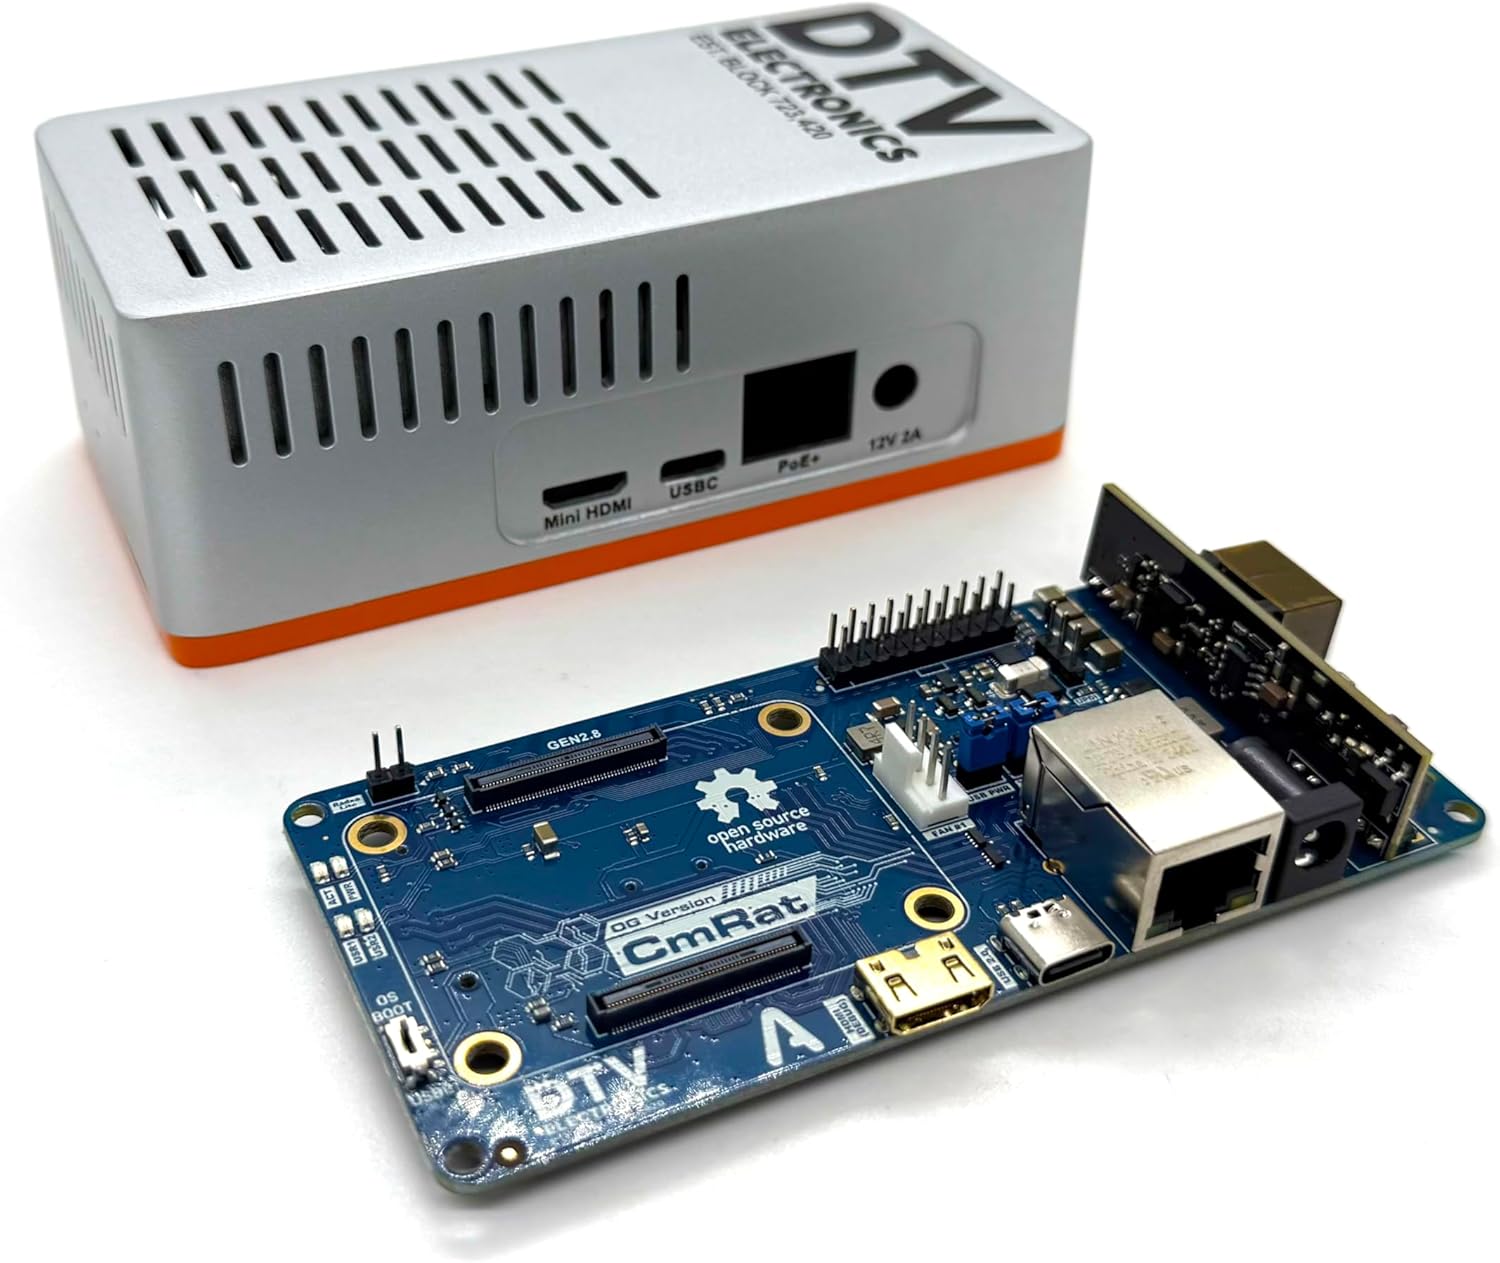
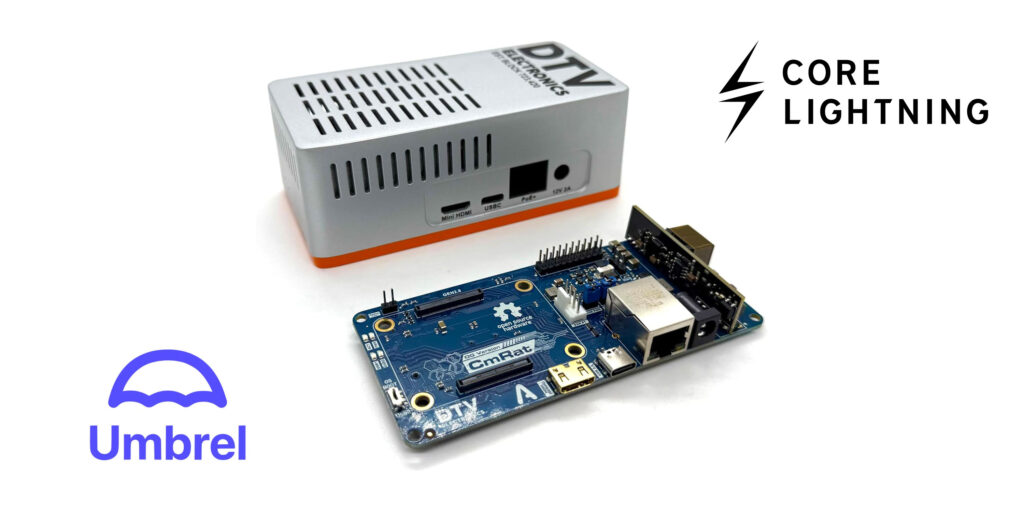
CmRat Carrier Board
Some Examples
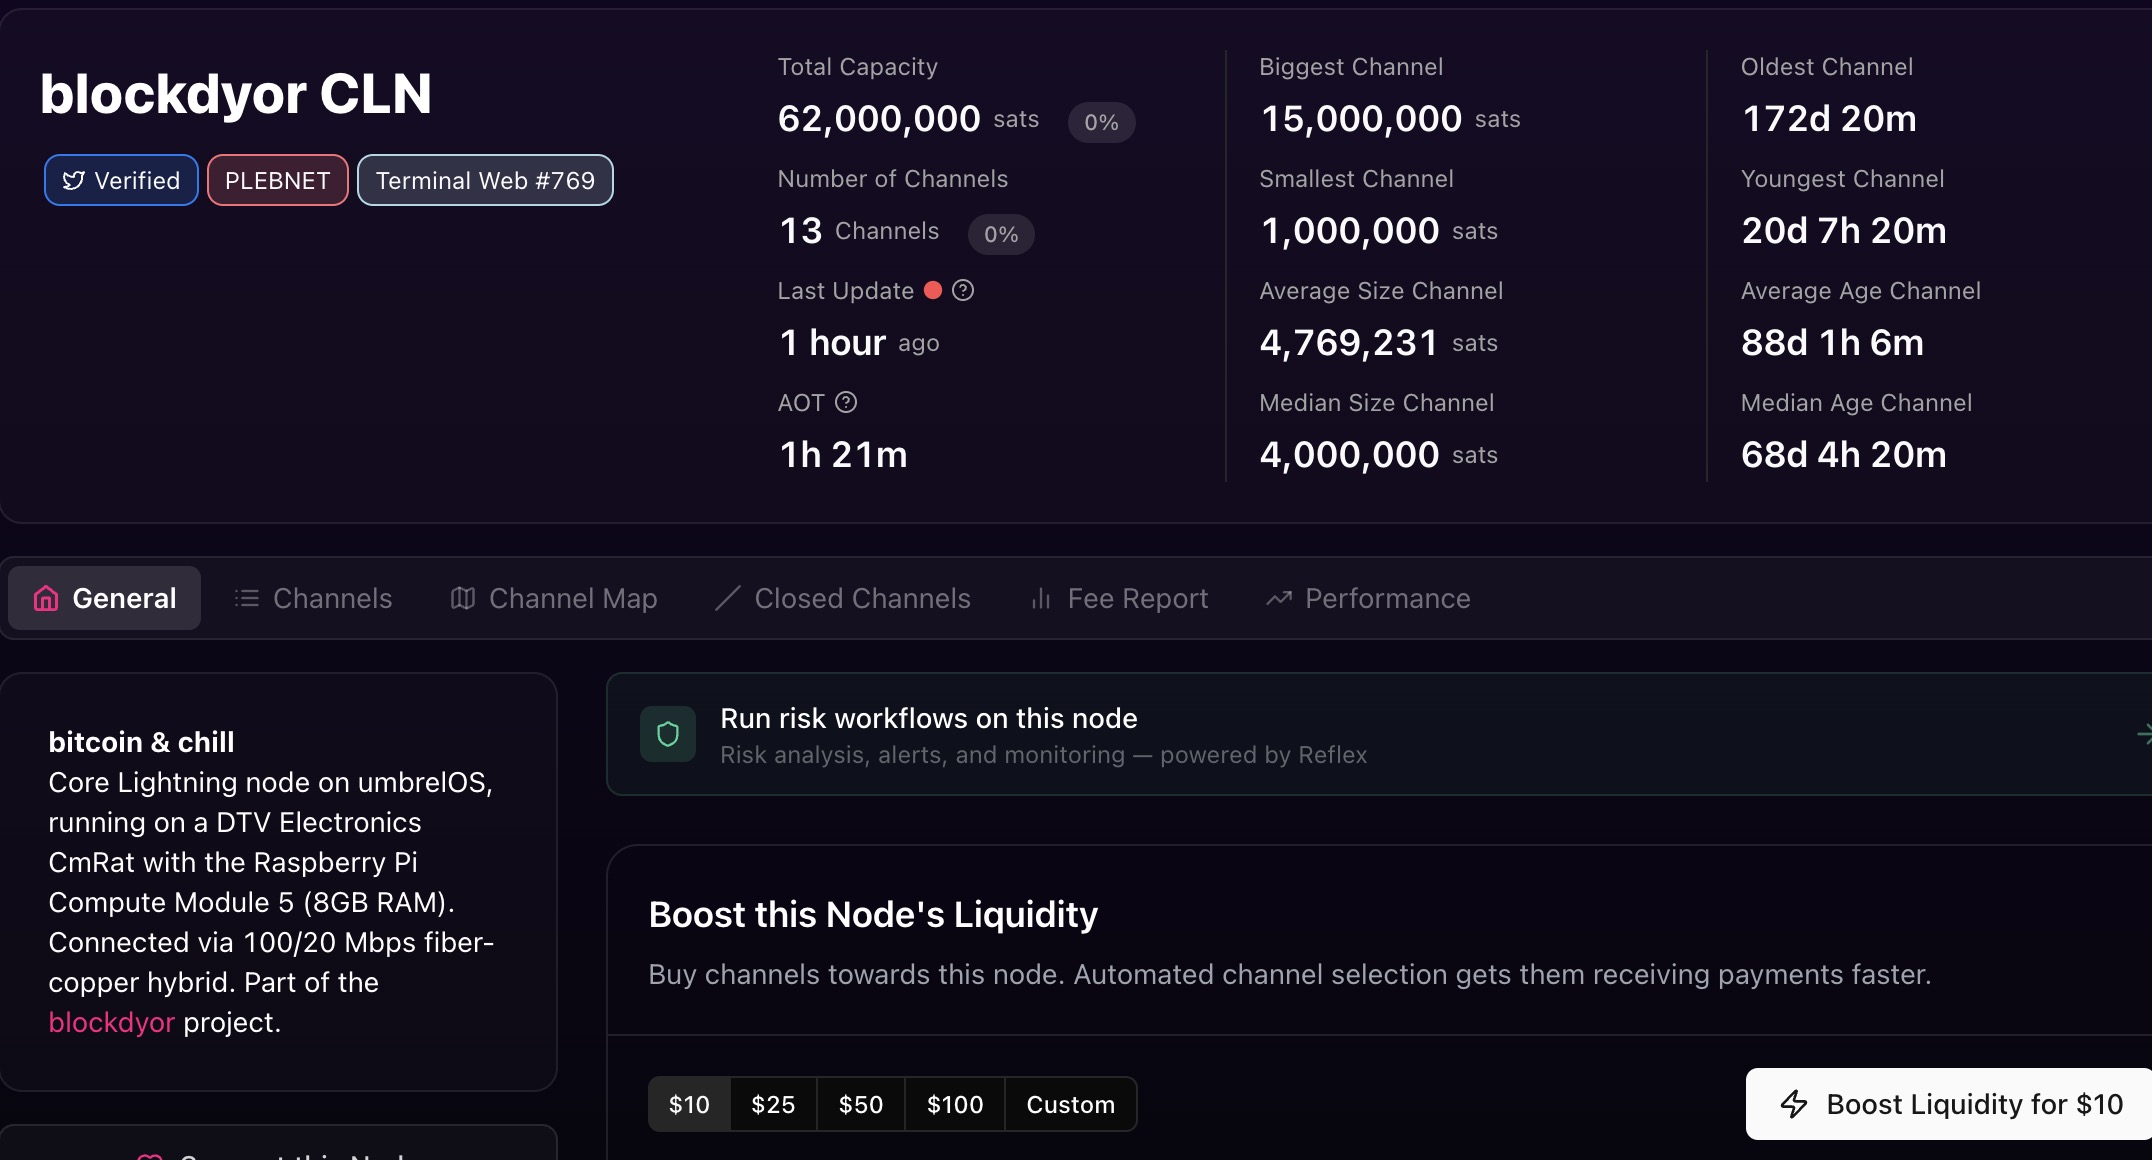
Several people running serious Lightning nodes have landed on the CmRat as their hardware of choice. One example is blockdyor, who runs Core Lightning on UmbrelOS with a CmRat CM5, and lists it right in his bio.
https://amboss.space/node/038844375f952dcc5d35b33a0233a555fdeea65ebe88a4c8833eddb817fe371b7c
Step 1: Pick Your Compute Module
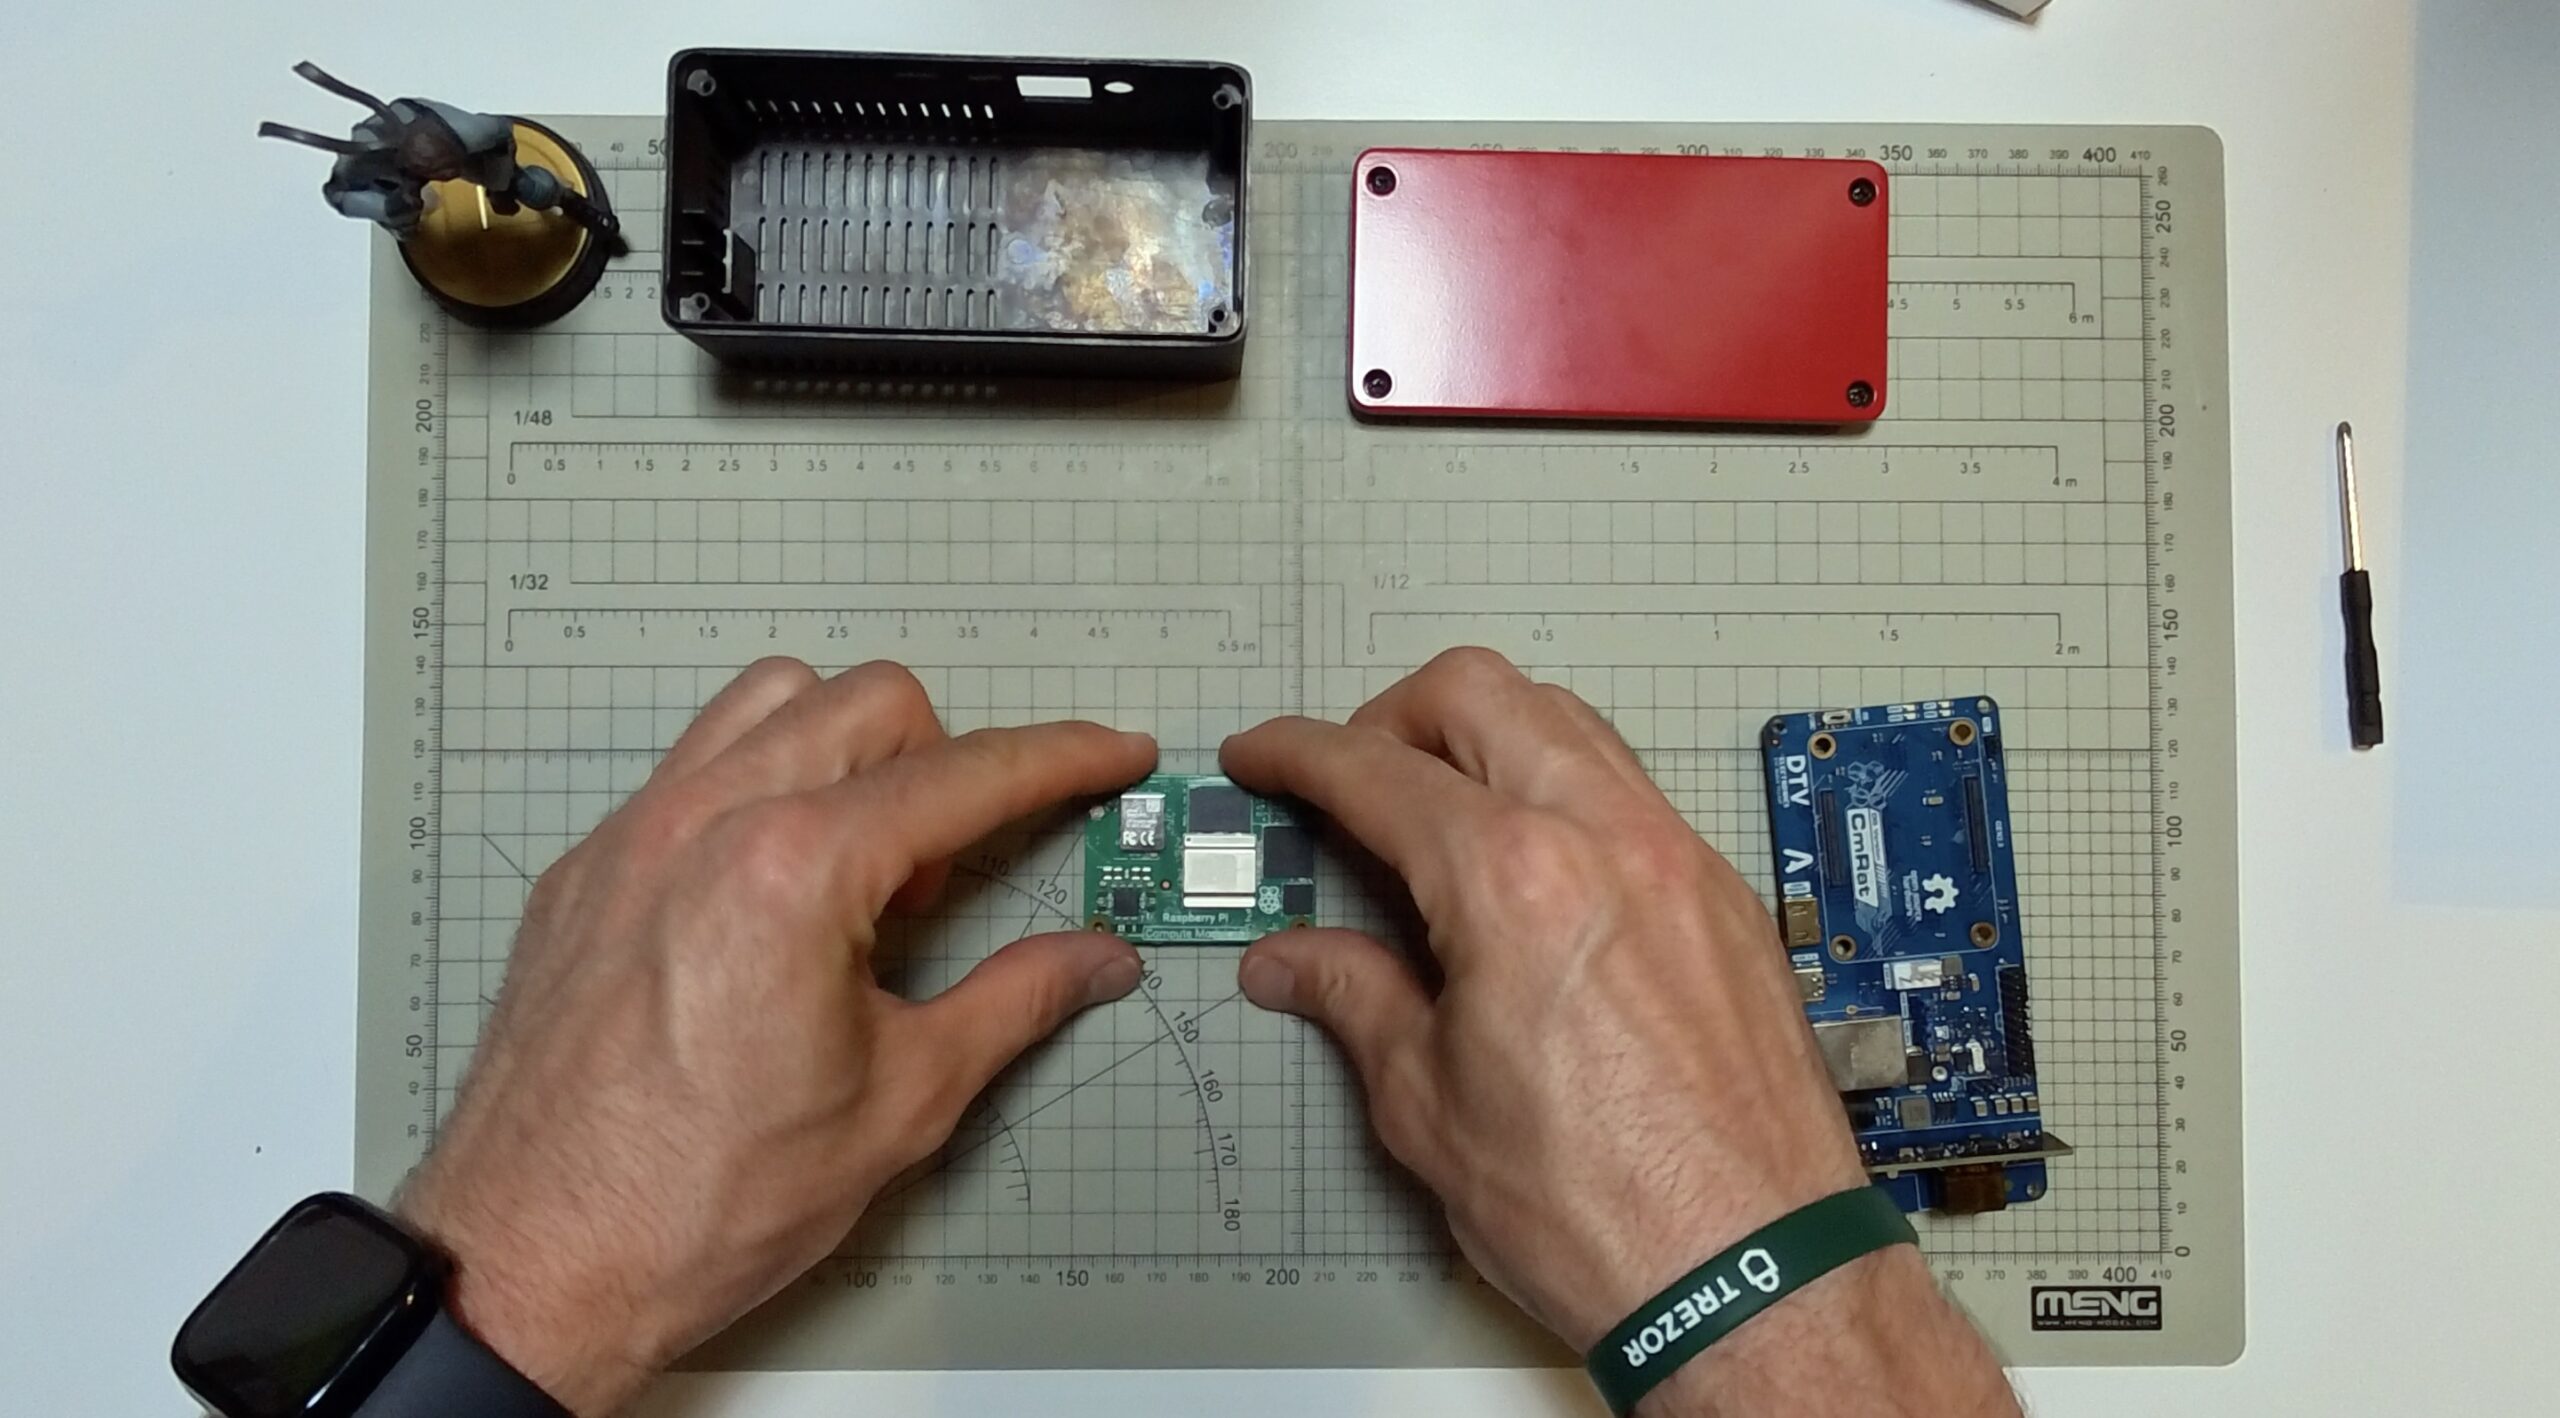
This is your most important hardware decision. The CmRat supports several modules, each with different RAM, CPU, and feature sets that influence how efficiently it handles Lightning traffic.
Here’s the quick breakdown:
| Module | CPU | Best For |
|---|---|---|
| Radxa CM3 | Quad-core Cortex-A55 @ 2.0GHz | Up to 50 channels |
| Raspberry CM4 | Quad-core Cortex-A72 @ 1.5GHz | Up to 100 channels |
| Radxa CM5 Lite | Octa-core RK3588S @ 2.4GHz | 50-200 channels |
| Raspberry CM5 | Quad-core Cortex-A76 @ 2.4GHz | 100-250 channels |
| Radxa CM5 | Octa-core RK3588S, up to 16GB RAM | 200+ channels |
Starting out? The Raspberry CM4 with 8GB RAM hits a sweet spot. Handles moderate routing without overspending.
Step 2: Storage

Don’t cheap out here. You’ll need at least 2TB of NVMe storage. A Bitcoin node alone takes up nearly 1TB, and an Electrum server like Fulcrum adds another 100GB+. Throw in the OS and LND and you’re at 1.2-1.3TB minimum. A 2TB NVMe is the standard recommendation.
Step 3: Operating System
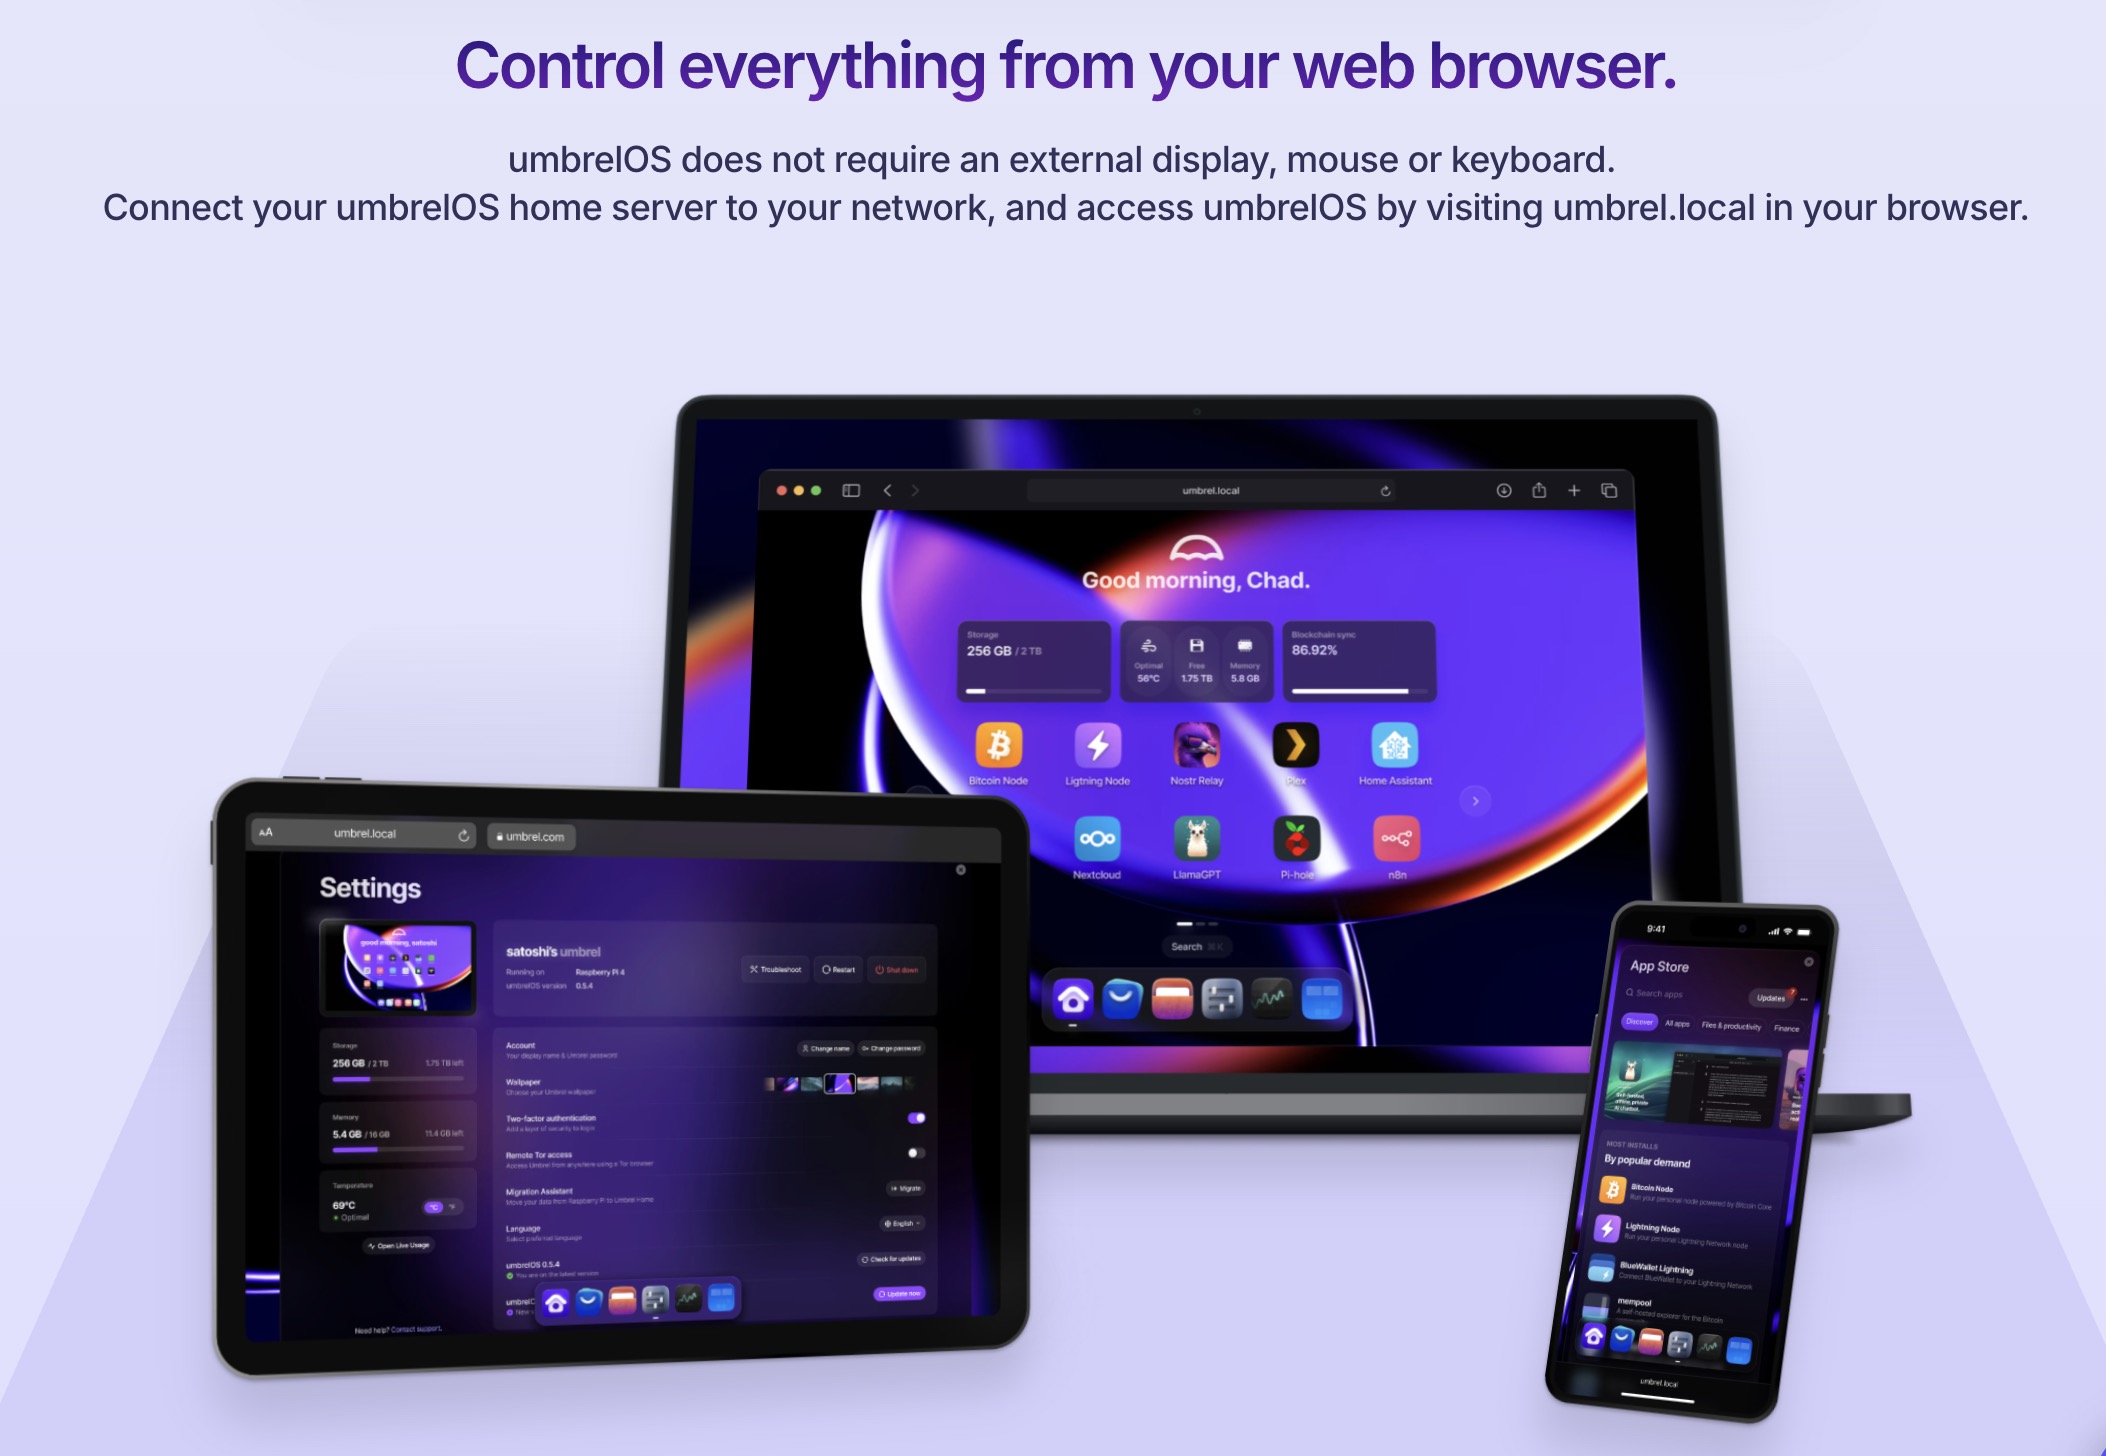
You could run everything on your PC/Mac/Linux, but since we are using the CmRat as reference for this guide, using a Linux based operating system, that is also Bitcoin friendly might be the best solution to start out. Solutions like Umbrel gives you everything, such as Bitcoin Node apps, lightning node apps, backups, remote connection, support, and the good thing is that if they package a version for the raspberry, so fully compatible and optimized for some of the compute modules the CmRat supports, such as the Raspberry Pi CM4 and CM5.
Step 4: Choose Your Lightning Software
Two main options: LND or Core Lightning (CLN).
Core Lightning is lightweight and modular, only running the components you actually need. Lower CPU and RAM usage makes it the better choice for smaller setups or limited hardware. LND is more feature-rich but heavier, with higher RAM and CPU demands.
For a routing-focused node on a mid-range compute module, CLN is usually the smarter pick. More channels, less sweat.
Step 5: What Makes a Node Actually Route
Hardware gets you online. The rest determines whether you make money.
And the first thing to be honest about is capital. Ten or twenty channels won’t cut it. A routing node needs meaningful reach across the network, which means opening enough channels to actually sit near the center of payment flow. That costs sats. Not a ridiculous amount, but enough that this isn’t a zero-commitment setup. If you’re not ready to lock up a moderate amount of Bitcoin into channels, routing probably isn’t the right fit right now.
The goal you’re working toward is network centrality. In graph terms, centrality measures how often the shortest path between any two nodes passes through yours. The more central your node, the more payments naturally find their way through it. A node with high centrality sits on a large share of the shortest paths between other nodes in the network. You’re not just opening channels randomly. You’re trying to position yourself so that when the network looks for a route, your node is a logical hop. That requires both enough channels and the right peers.
Assuming you’re in, here’s what actually drives performance.
Availability. Your node needs to be running and maintain active channels at all times. Downtime means missed fees. Full stop.
Balanced liquidity. Channels work best with funds on both sides. That allows traffic to flow in either direction. A channel with all the liquidity on your local side can only send, not receive. The opposite is equally useless. You need both.
Channel selection. Who you peer with matters enormously. Avoid opening public channels with non-routing nodes. Large, well-capitalized peers are better for routing, but don’t concentrate everything into two or three big channels. Spreading across more peers gives you better network centrality. Nodes with the highest centrality values tend to also appear among the most critical articulation points in the network, meaning they carry a lot of routing weight and their failure would significantly disrupt payment flow. You want to be well connected without being a single point of failure yourself.
Buffer capital. Every channel needs to maintain a minimum balance on both sides at all times. Let it drain completely and other nodes start routing around you after hitting failures. Reputation on Lightning is quiet but real.
Step 6: Fee Strategy
This is where most beginners stumble. Set fees too high and payments skip you. Too low and you’re subsidizing the network for free.
There are two fee components: a base fee and a proportional fee rate. The approach here follows a zero base fee strategy, meaning your base fee stays at 0 mSats. All your earnings come from the proportional rate, which keeps things clean and avoids penalizing small payments with a flat charge.
For the fee rate, the logic is liquidity-driven. When your local balance is high, set your rate low, around 200 mSats per million. When your local balance is running low, raise it to 1000 mSats per million or higher. The idea is simple: when you have liquidity to offer, let it flow at competitive rates. As it drains, slow things down by pricing yourself out of the cheapest routes.
This is sometimes called the #9999BaseFee approach. The reasoning goes beyond just profit optimization. If your channel runs dry and you’re still advertising low fees, the network doesn’t know that. It keeps sending you traffic. You start throwing “Temporary Channel Failure” errors, payments get delayed, and your node reputation takes a hit. You’re essentially poisoning pathfinding for everyone trying to route through you.
The fix is straightforward. If you can’t provide the liquidity, price yourself out of the route. Raise your fees high enough that the network stops selecting your channel until you’ve rebalanced. It’s honest signaling. A high-fee channel that routes nothing does less damage than a low-fee channel that fails constantly.
So the full picture looks like this:
- Base fee: 0 mSats, always
- Fee rate when high on local: 200 mSats per million
- Fee rate when low on local: 1000 mSats per million or more
- Fee rate when effectively empty: raise it enough to exit pathfinding entirely
Adjust thresholds as you get a feel for your traffic. Tools like Charge-lnd can automate this based on channel balance ratios, so you’re not manually watching every channel every day.
Step 7: Continue Learning
Running a Lightning Node means being having a deep knowledge and always being on top of the developments of the Lightning Network. This means you must keep learning.
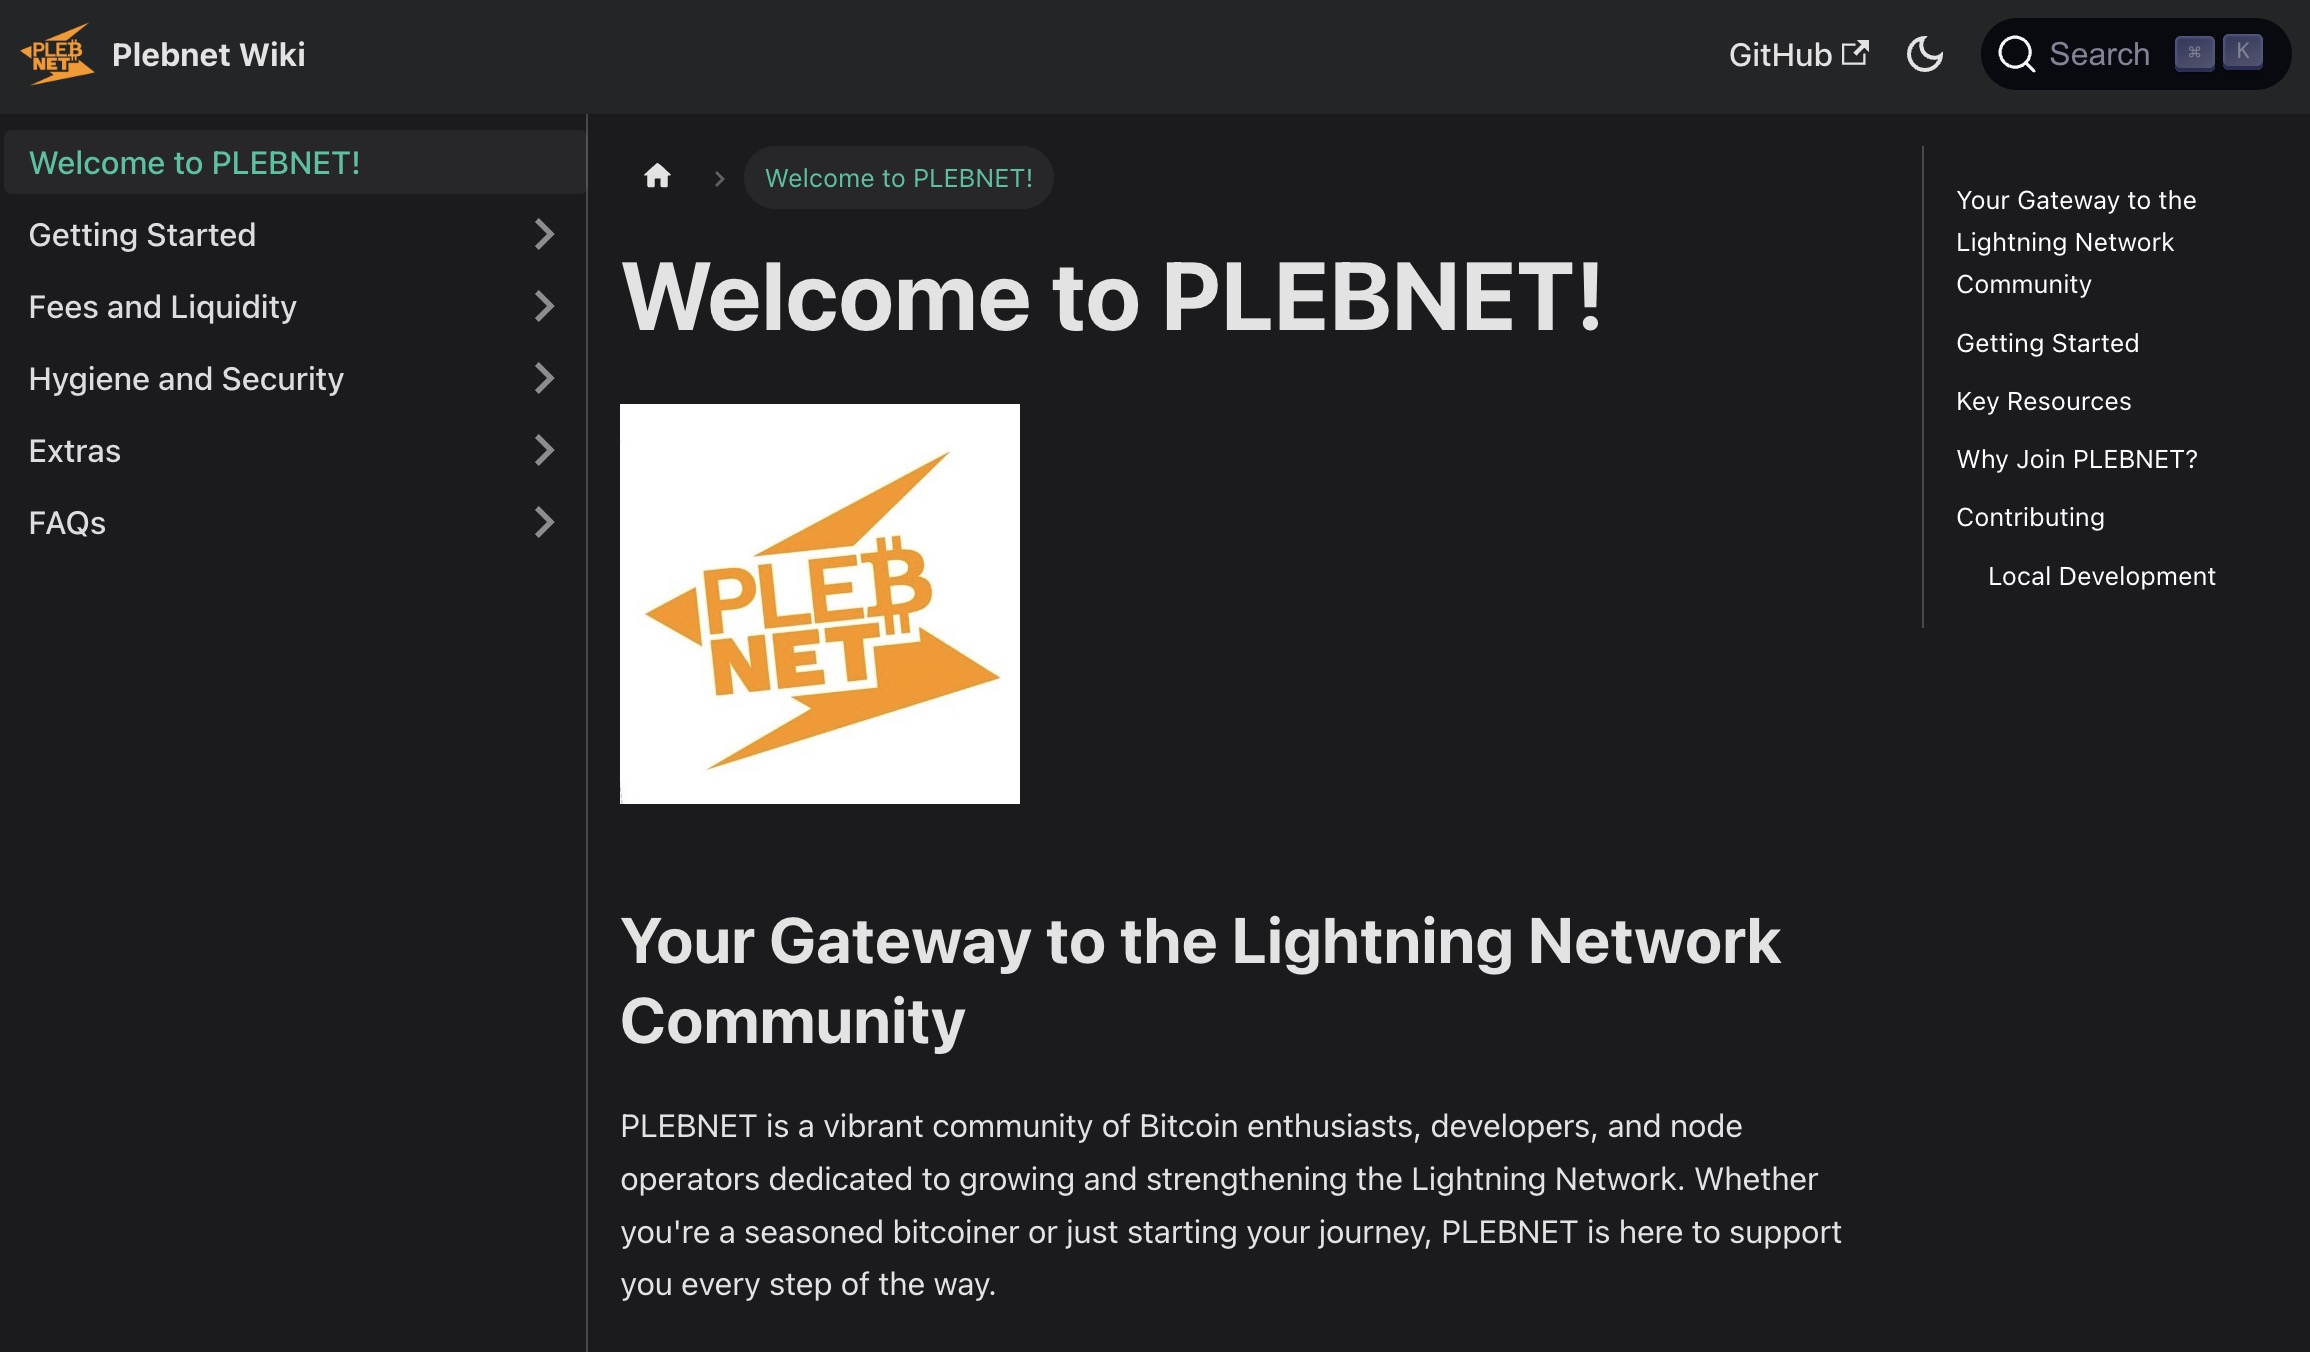
And PLEBNET Wiki is worth bookmarking early. It covers fees, liquidity management, security, and a lot of the practical stuff that generic guides skip over. It leans toward LND, but CLN users will still find plenty of useful material. Think of it as a community-maintained field guide, built by people actually running nodes, not just writing about them.
Step 8: Ongoing Management
Set it up and walk away? No. You’ll need to assess fees, traffic flow, which channels to open and close, and rebalancing on an ongoing basis.
Tools worth knowing:
- LNDg or ThunderHub for LND, Ride the Lightning for both, give you a web UI to monitor channel health, fees, and routing activity.
- Charge-lnd automates fee adjustments based on channel balance, so you’re not manually tweaking every channel.
- Balance of Satoshis is a CLI powerhouse for rebalancing and diagnostics.
- Sling: a great plugin designed exclusively for CLN for rebalancing your channels automatically.
Realistic Expectations
Even effective routing nodes that route many payments per day may or may not be particularly profitable. Lightning routing income is real but modest for most home operators. Think of it as compounding over time, not a salary.
But here’s the framing that actually matters. You’re earning sats daily, on hardware that costs roughly $1 a month to run, with no luck factor involved. Compare that to a solo home miner grinding away at lottery odds on similar wattage. The CmRat routing node is not a get-rich scheme. It’s a genuinely efficient, low-overhead way to participate in Bitcoin infrastructure and get paid for it.