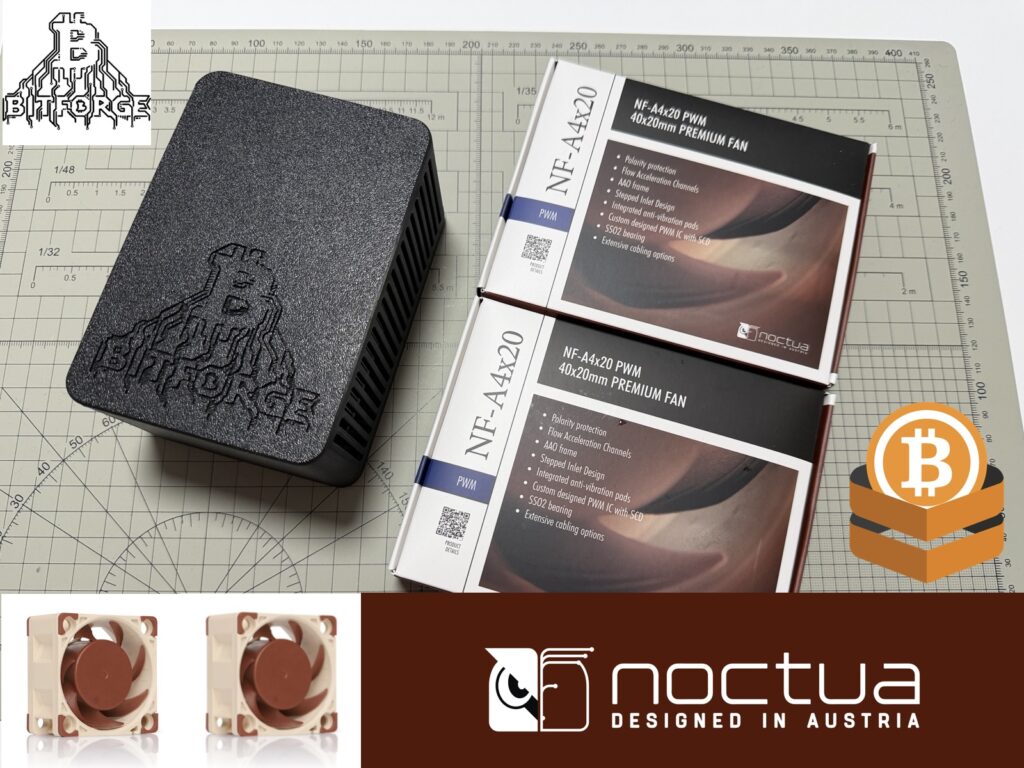
The BitForge Nano is already a solid little miner, but with a simple fan upgrade, you can make it significantly quieter.
By swapping the stock fans for 2x Noctua NF-A4x20 PWM (12V), you get a smoother, softer noise profile without sacrificing cooling. It’s a quick upgrade that noticeably improves day-to-day use.
👉 Get the Bitforge Nano with BTC or Fiat on the DTV Electronics Store (Worldwide) 🌍
👉 Get the Bitforge Nano with Fiat on Amazon (Worldwide) 🌍
👉 Read the Bitforge Nano Review on the DTV Electronics ₿log
What you need
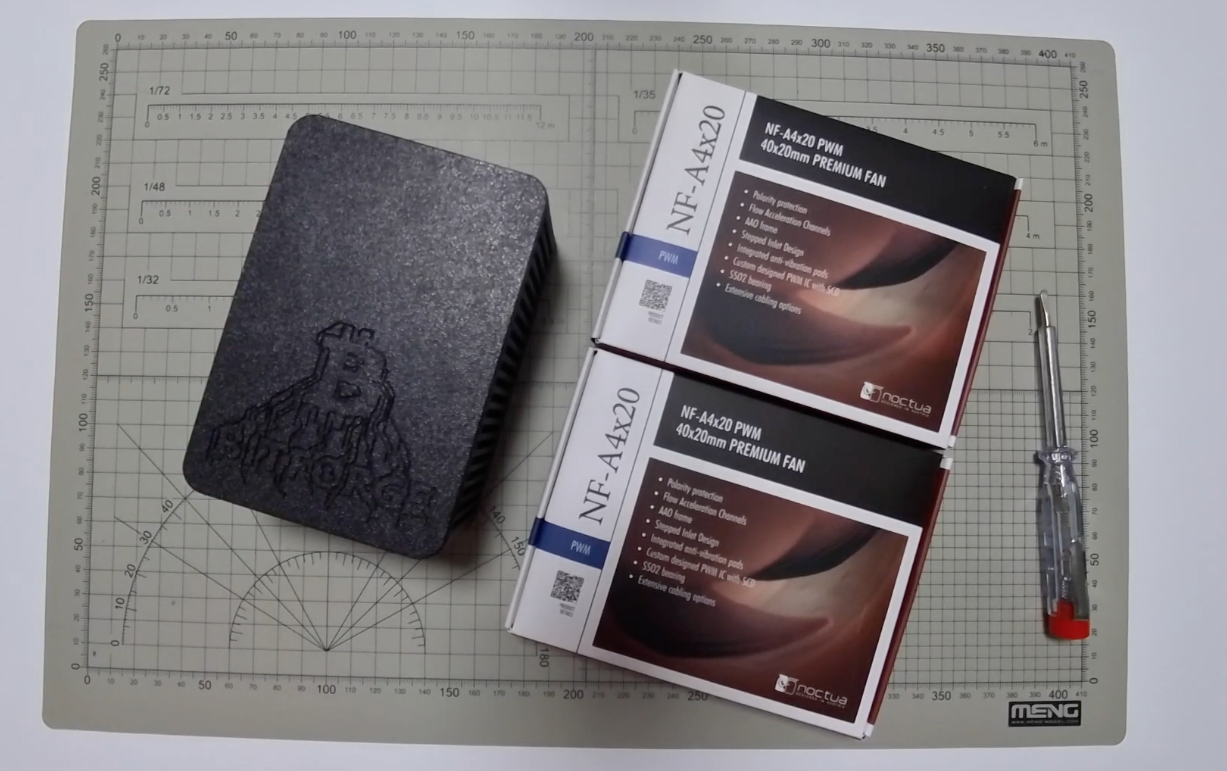
- BitForge Nano
Your miner, powered off and unplugged - 2x Noctua NF-A4x20 PWM (12V)
Make sure you get the 12V version, not 5V - Phillips screwdriver
Small head, nothing fancy
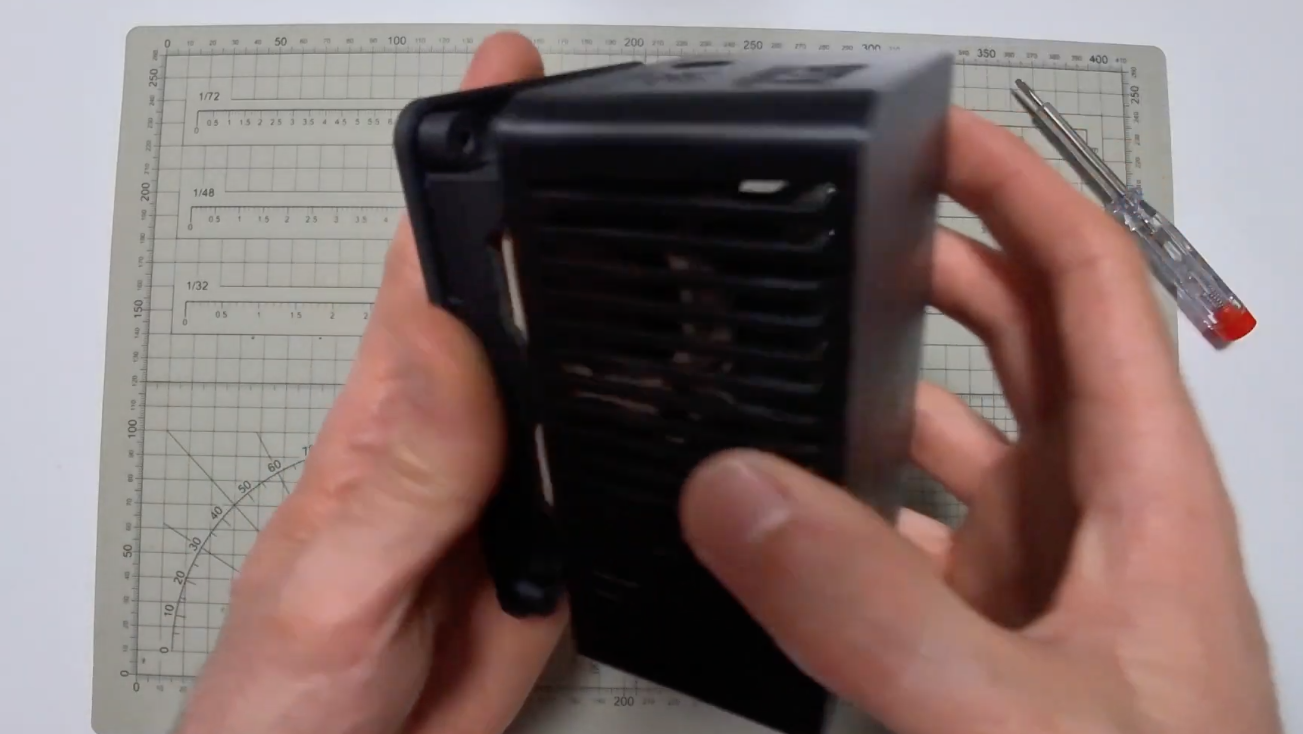
Before you start
Unplug the Nano and let it cool down for a few minutes. The heat sink can get quite warm during operation, and working on it right away is not ideal.
Also, take a quick look at how the stock fans are installed before removing them. That visual reference will save you guessing later.
Not a fan of reading?
If you’d rather follow along visually, you can watch the full guide on our YouTube channel below. Otherwise, just scroll down and keep going.
Step-by-step
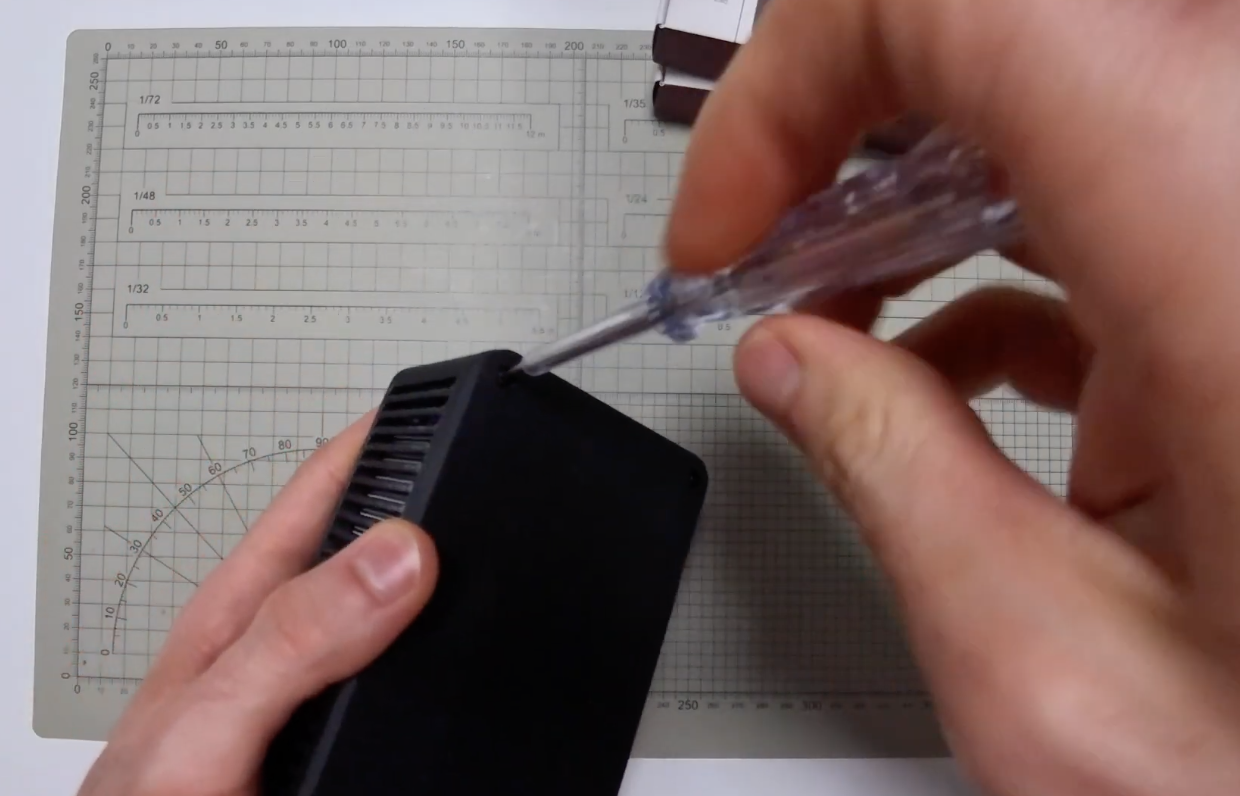
1. Flip the Nano upside down
Remove the four screws on the bottom using your screwdriver. Keep them somewhere safe, they are easy to lose and you will need them again.
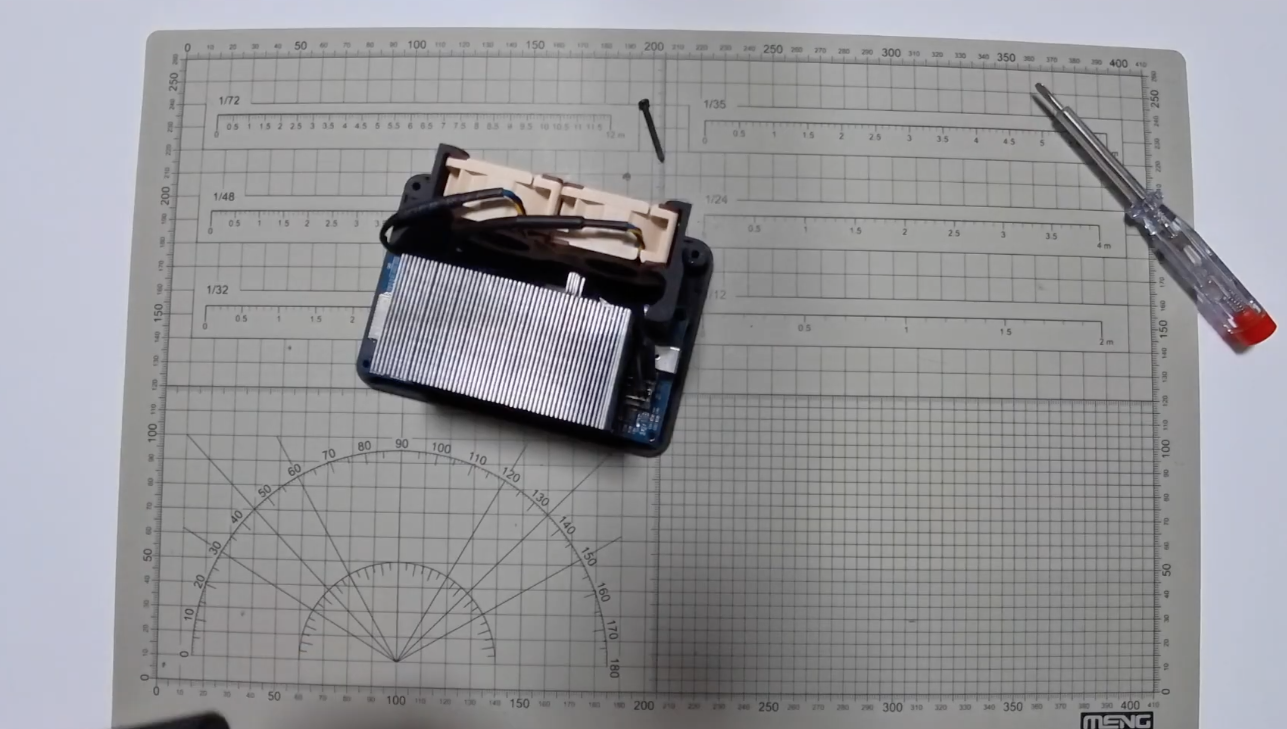
2. Lift off the top panel
It should come off without resistance. If it doesn’t, check that all screws are fully removed, don’t force it.
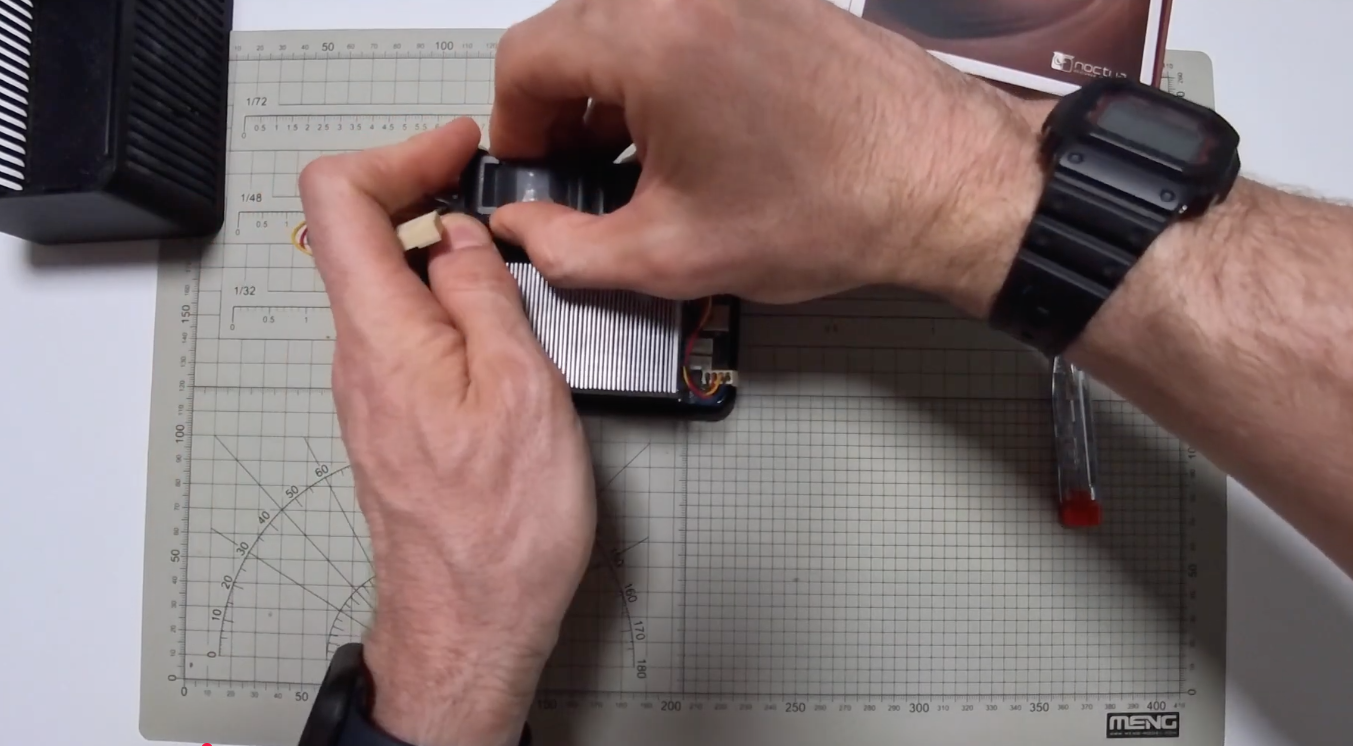
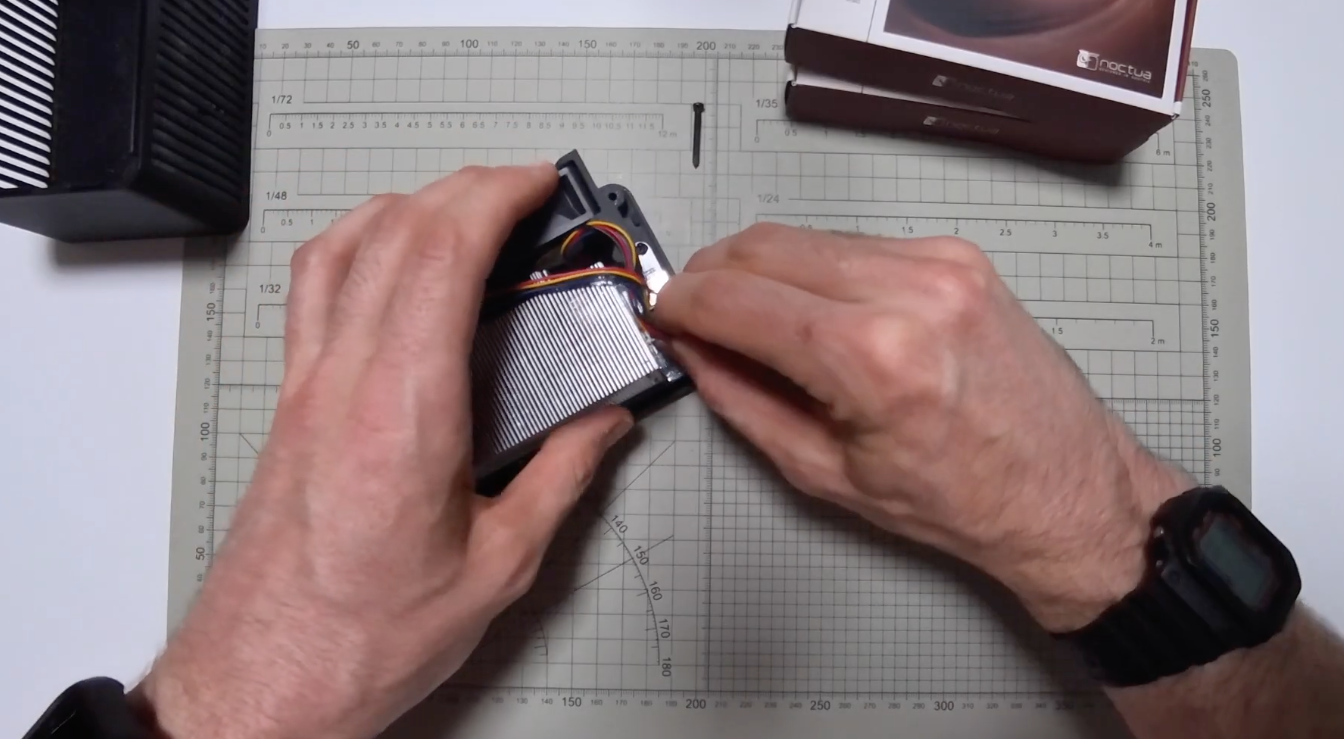
3. Unplug the stock fans
Inside, you will see two fans connected with small 4-pin connectors. Gently unplug them one at a time, then lift the fans out.
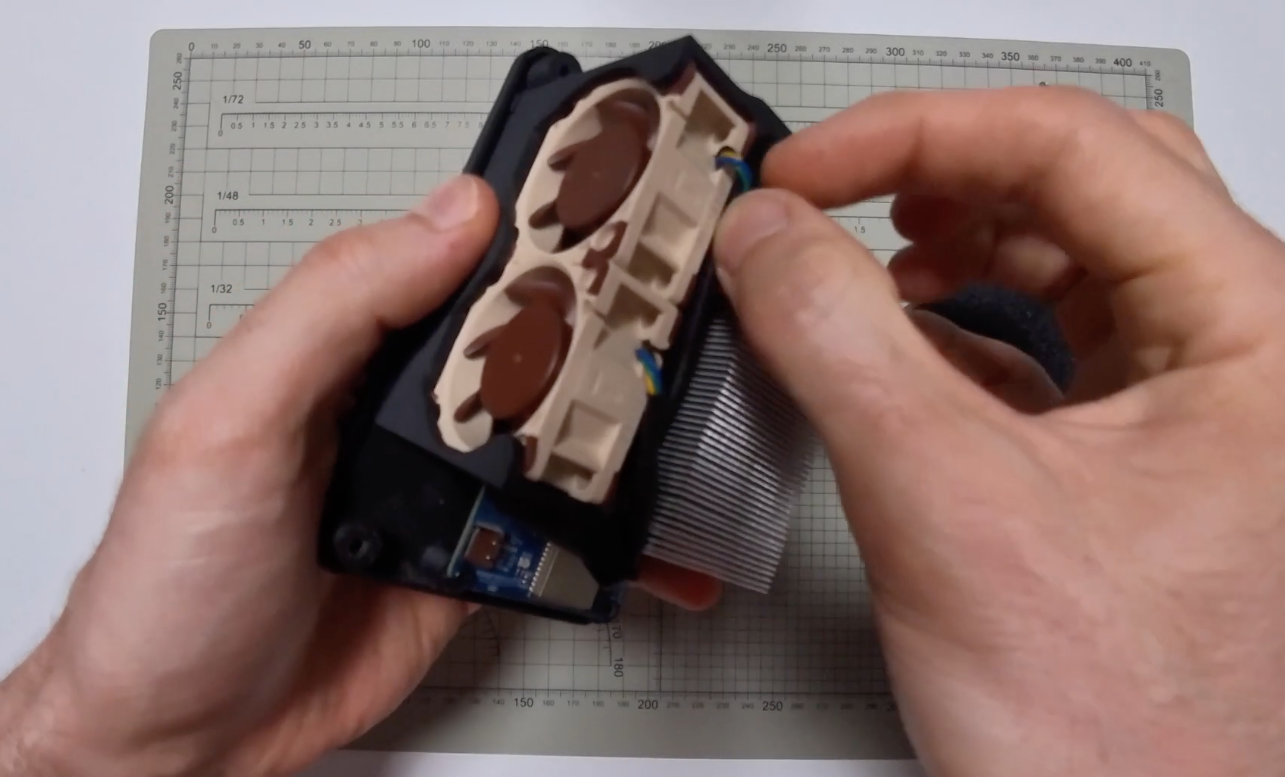
4. Position the Noctua fans correctly
This is the only step where you want to pay close attention.
Each fan has a small arrow on its frame that shows airflow direction. You want that airflow moving toward the heat sink, not away from it.

In simple terms, the fans should pull cool air from outside and push it through the heat sink. If you install them backwards, cooling performance drops and the upgrade loses its point.
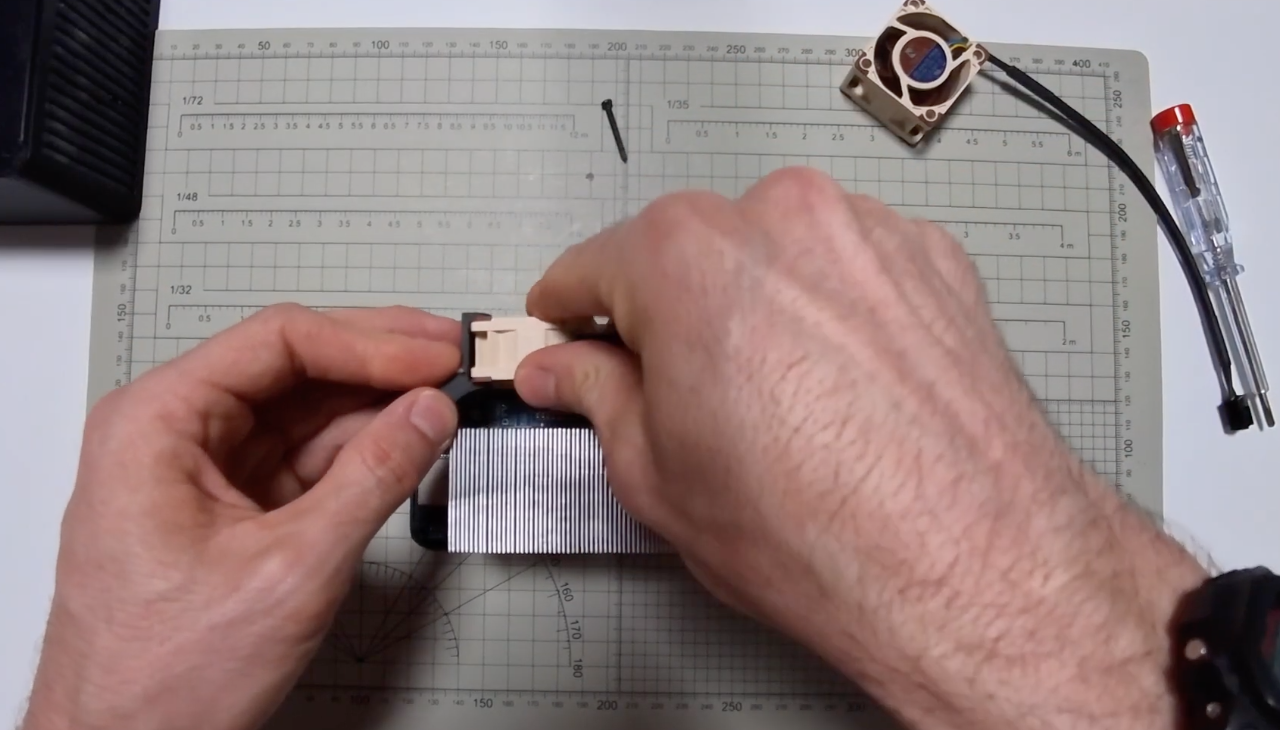
5. Connect the new fans
Plug the Noctua fans into the same headers used by the original ones. The connectors are keyed, so they should slide in naturally.
6. Tidy up the cables
This part is often overlooked, but it matters.
Tuck the cables neatly into the gap between the fans and the heat sink. Keep them flat and out of the airflow path. Loose cables can disrupt airflow and slightly reduce cooling efficiency.
7. Close everything up
Place the top panel back on, press it down gently, and reinstall the four screws. No need to overtighten.
What changes after the upgrade?
The first thing you will notice is the sound, or rather, the lack of it.
Noctua fans are known for low noise, and in this setup the Nano becomes surprisingly quiet. In many cases, you might not hear it at all unless you are very close.
At the same time, cooling remains effective, provided the fans are oriented correctly.
Quick check after installation
Once powered back on, open your ForgeOS dashboard and confirm that:
- Both fans are spinning
- Temperatures are within normal range
This takes a few seconds and gives peace of mind that everything is working as expected.
Fan speeds by mode
- Power mode: ~5,000 RPM
- Normal mode: ~4,000 RPM
- Eco mode: ~3,000 RPM
These values may vary slightly, but they give you a good baseline.
Final thoughts
This is one of those upgrades that just makes sense. Minimal effort, low cost, and a clear improvement in everyday use.
The Nano already performs well, this simply makes it far more pleasant to live with, especially if it’s running in a home or office environment.
Additional info
The Nano ships with stock fans, so you will need to purchase the Noctua fans separately. You can find the Nano at dtvelectronics.com, where they offer a 5% discount for Bitcoin payments.
👉 Get the Bitforge Nano with BTC or Fiat on the DTV Electronics Store (Worldwide) 🌍