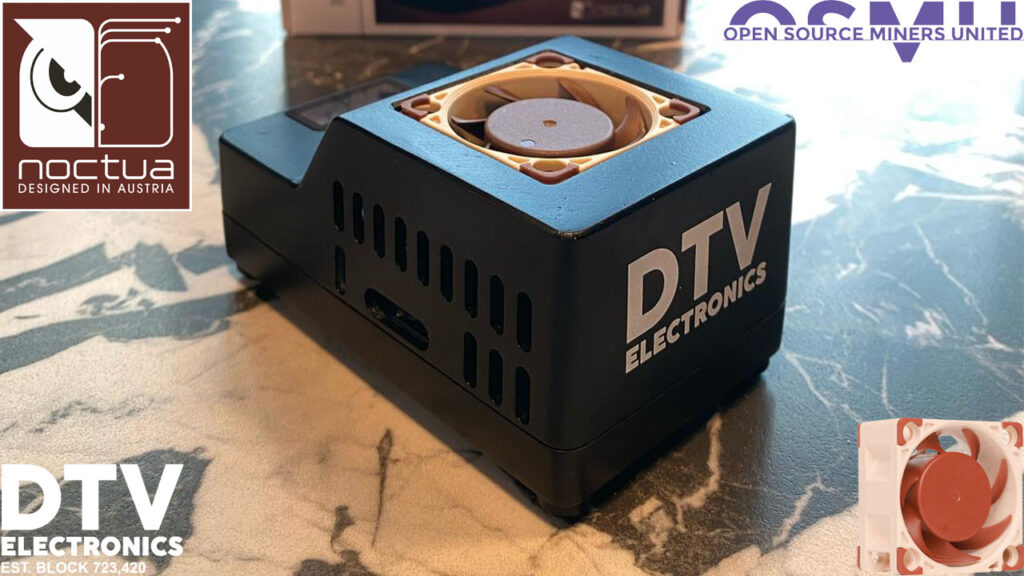
Hello guys and welcome to the Pimp My DTV Electronics Bitaxe Series #1: Noctua NF-A4x20 PWM. In this video, I’ll show you how to swap the stock fan on the DTV Electronics Bitaxe Gamma with an Noctua NF-A4x20 PWM.
Why am I doing this? First, because it looks cool and shows the customization options of the Bitaxe. But more importantly, I want my Gamma to be quieter (and probably also cooler). In the end, we’ll see if I managed to achieve that.
What you need to get started
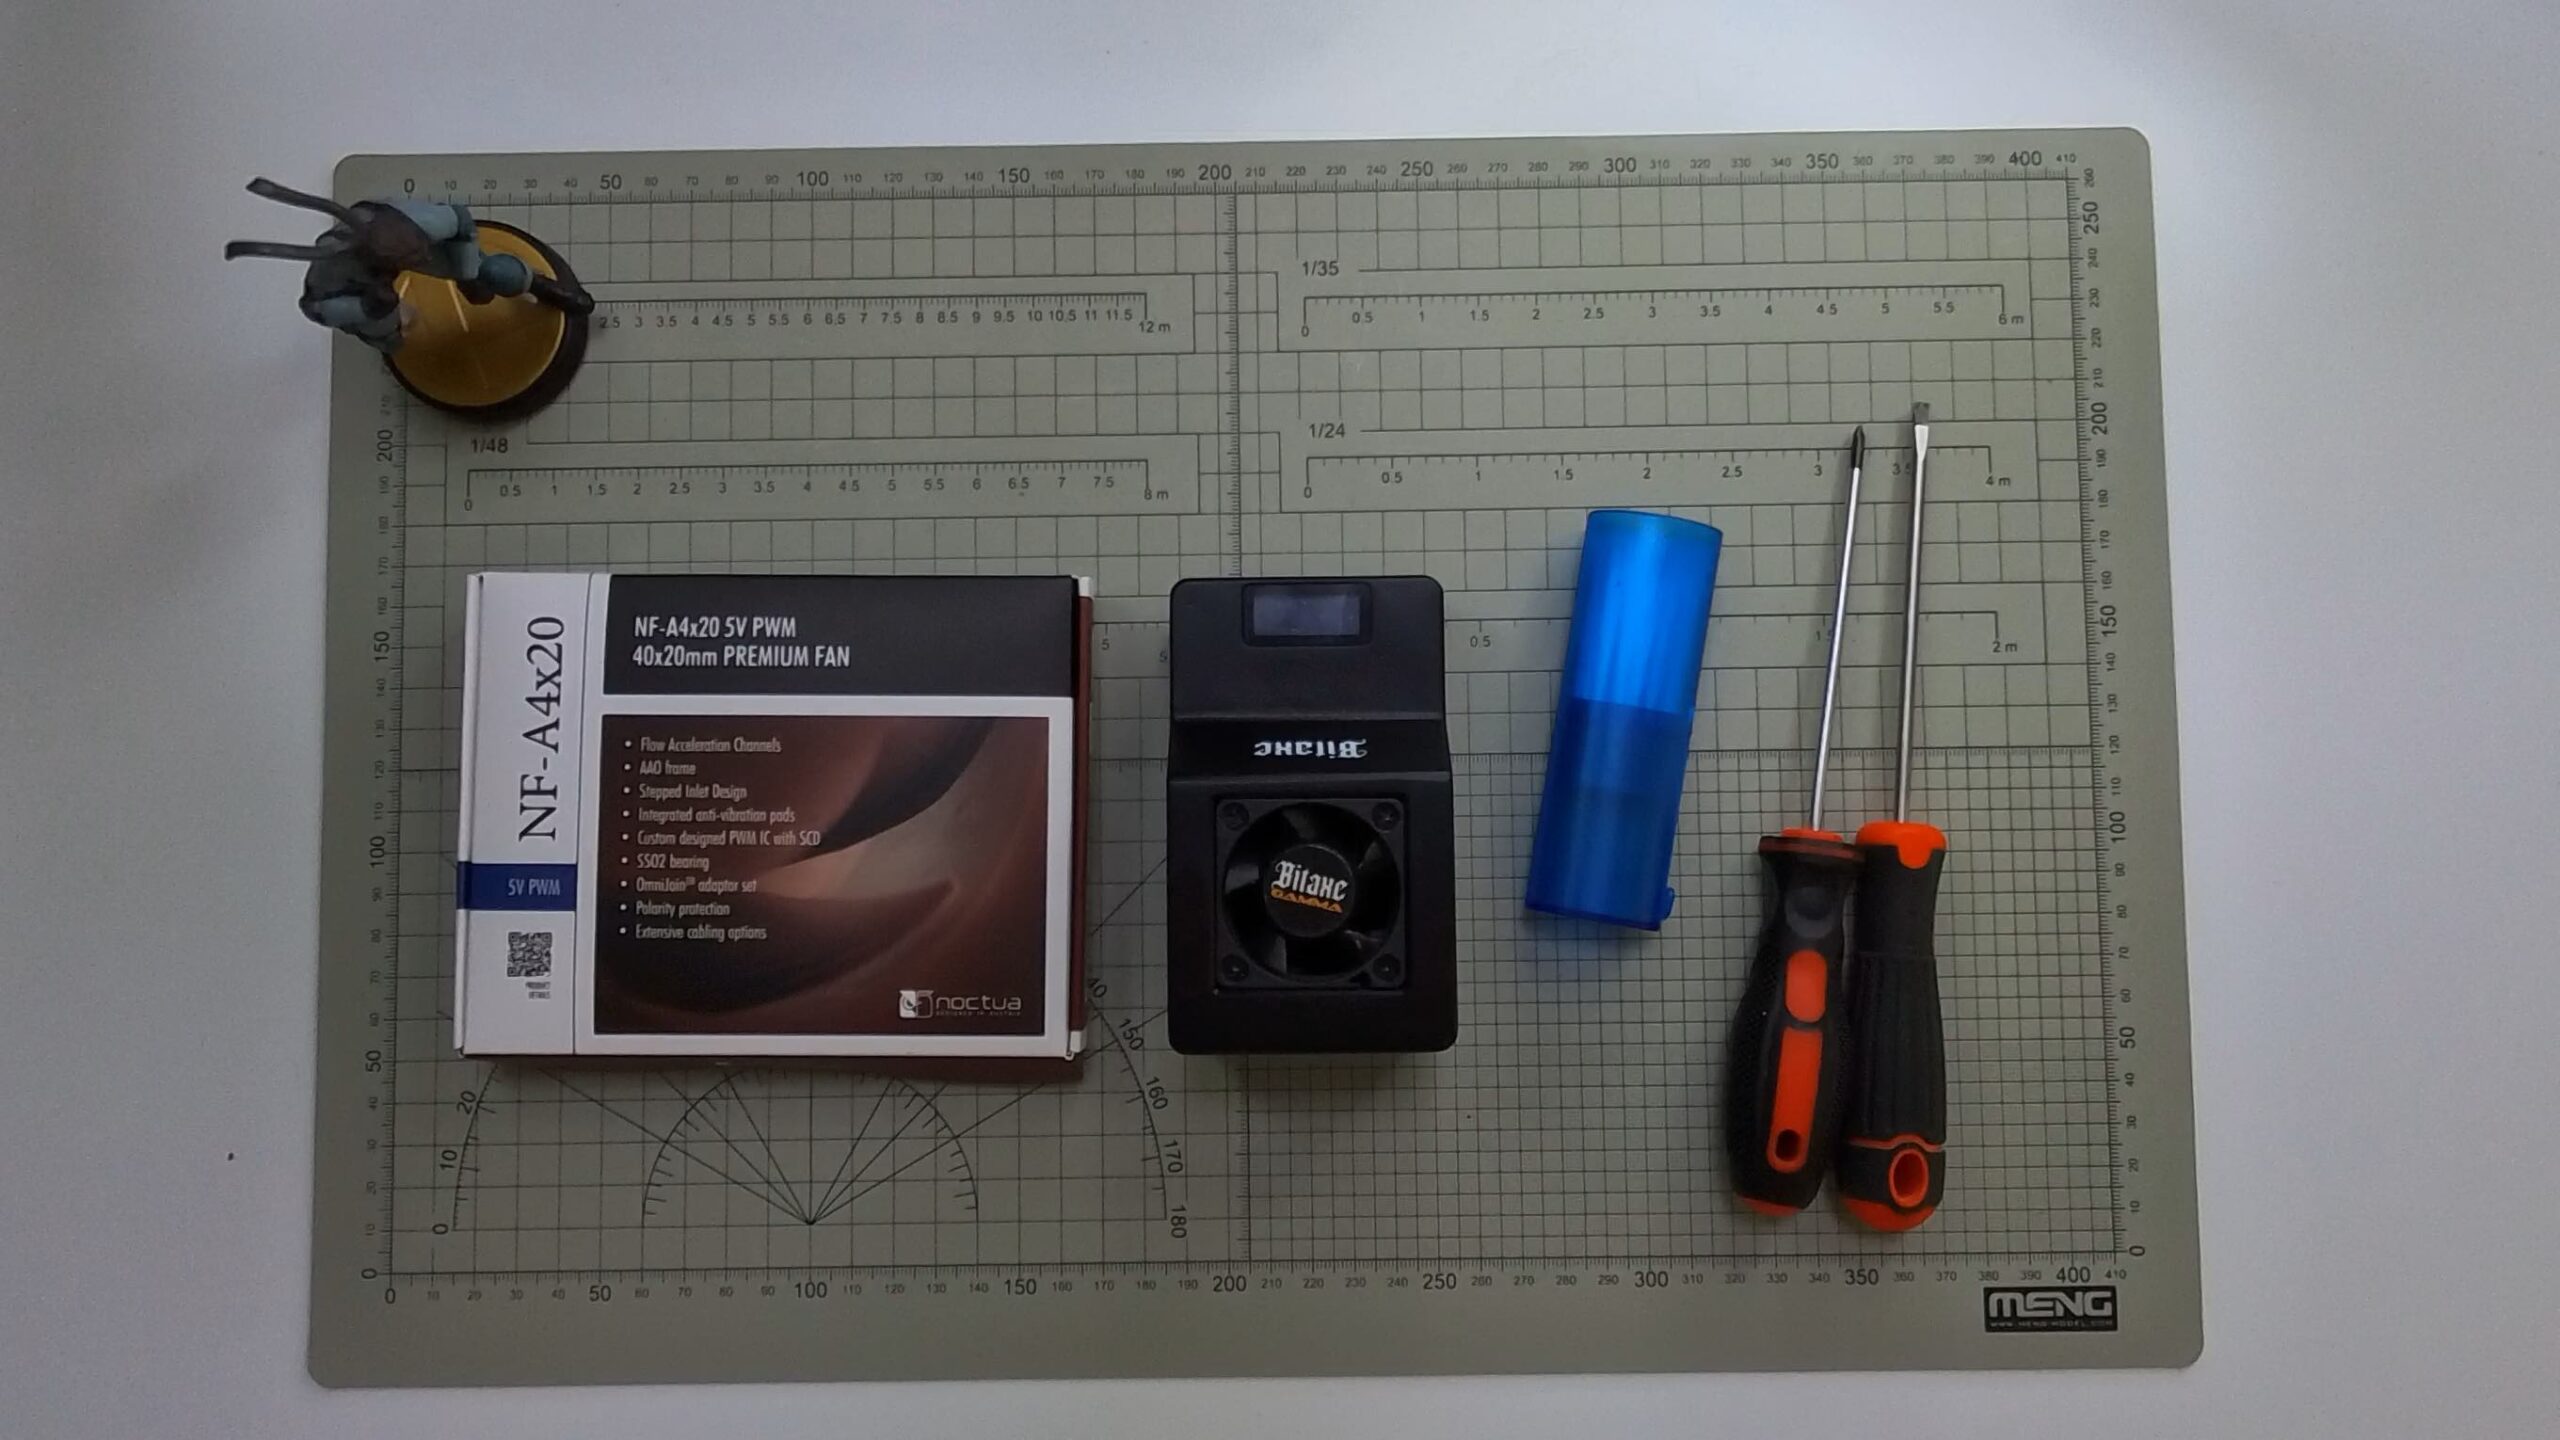
- A DTV Electronics Bitaxe Gamma. Of course, we’re using one from DTV Electronics, but you can use any Bitaxe (Gamma, Supra etc). Just keep in mind that buying from DTV supports OSMU (Open Source Miners United), since a part of the revenue goes to the development of the open-source Bitaxe project.
- Noctua NF-A4x20 PWM 5V. Getting the 5V it’s important as this voltage is the only one supported by the Bitaxe natively. So don’t make the error of getting the 12V.
- Phillips screwdriver
- A brush to clean the heatsink
Step 1: Remove The Case
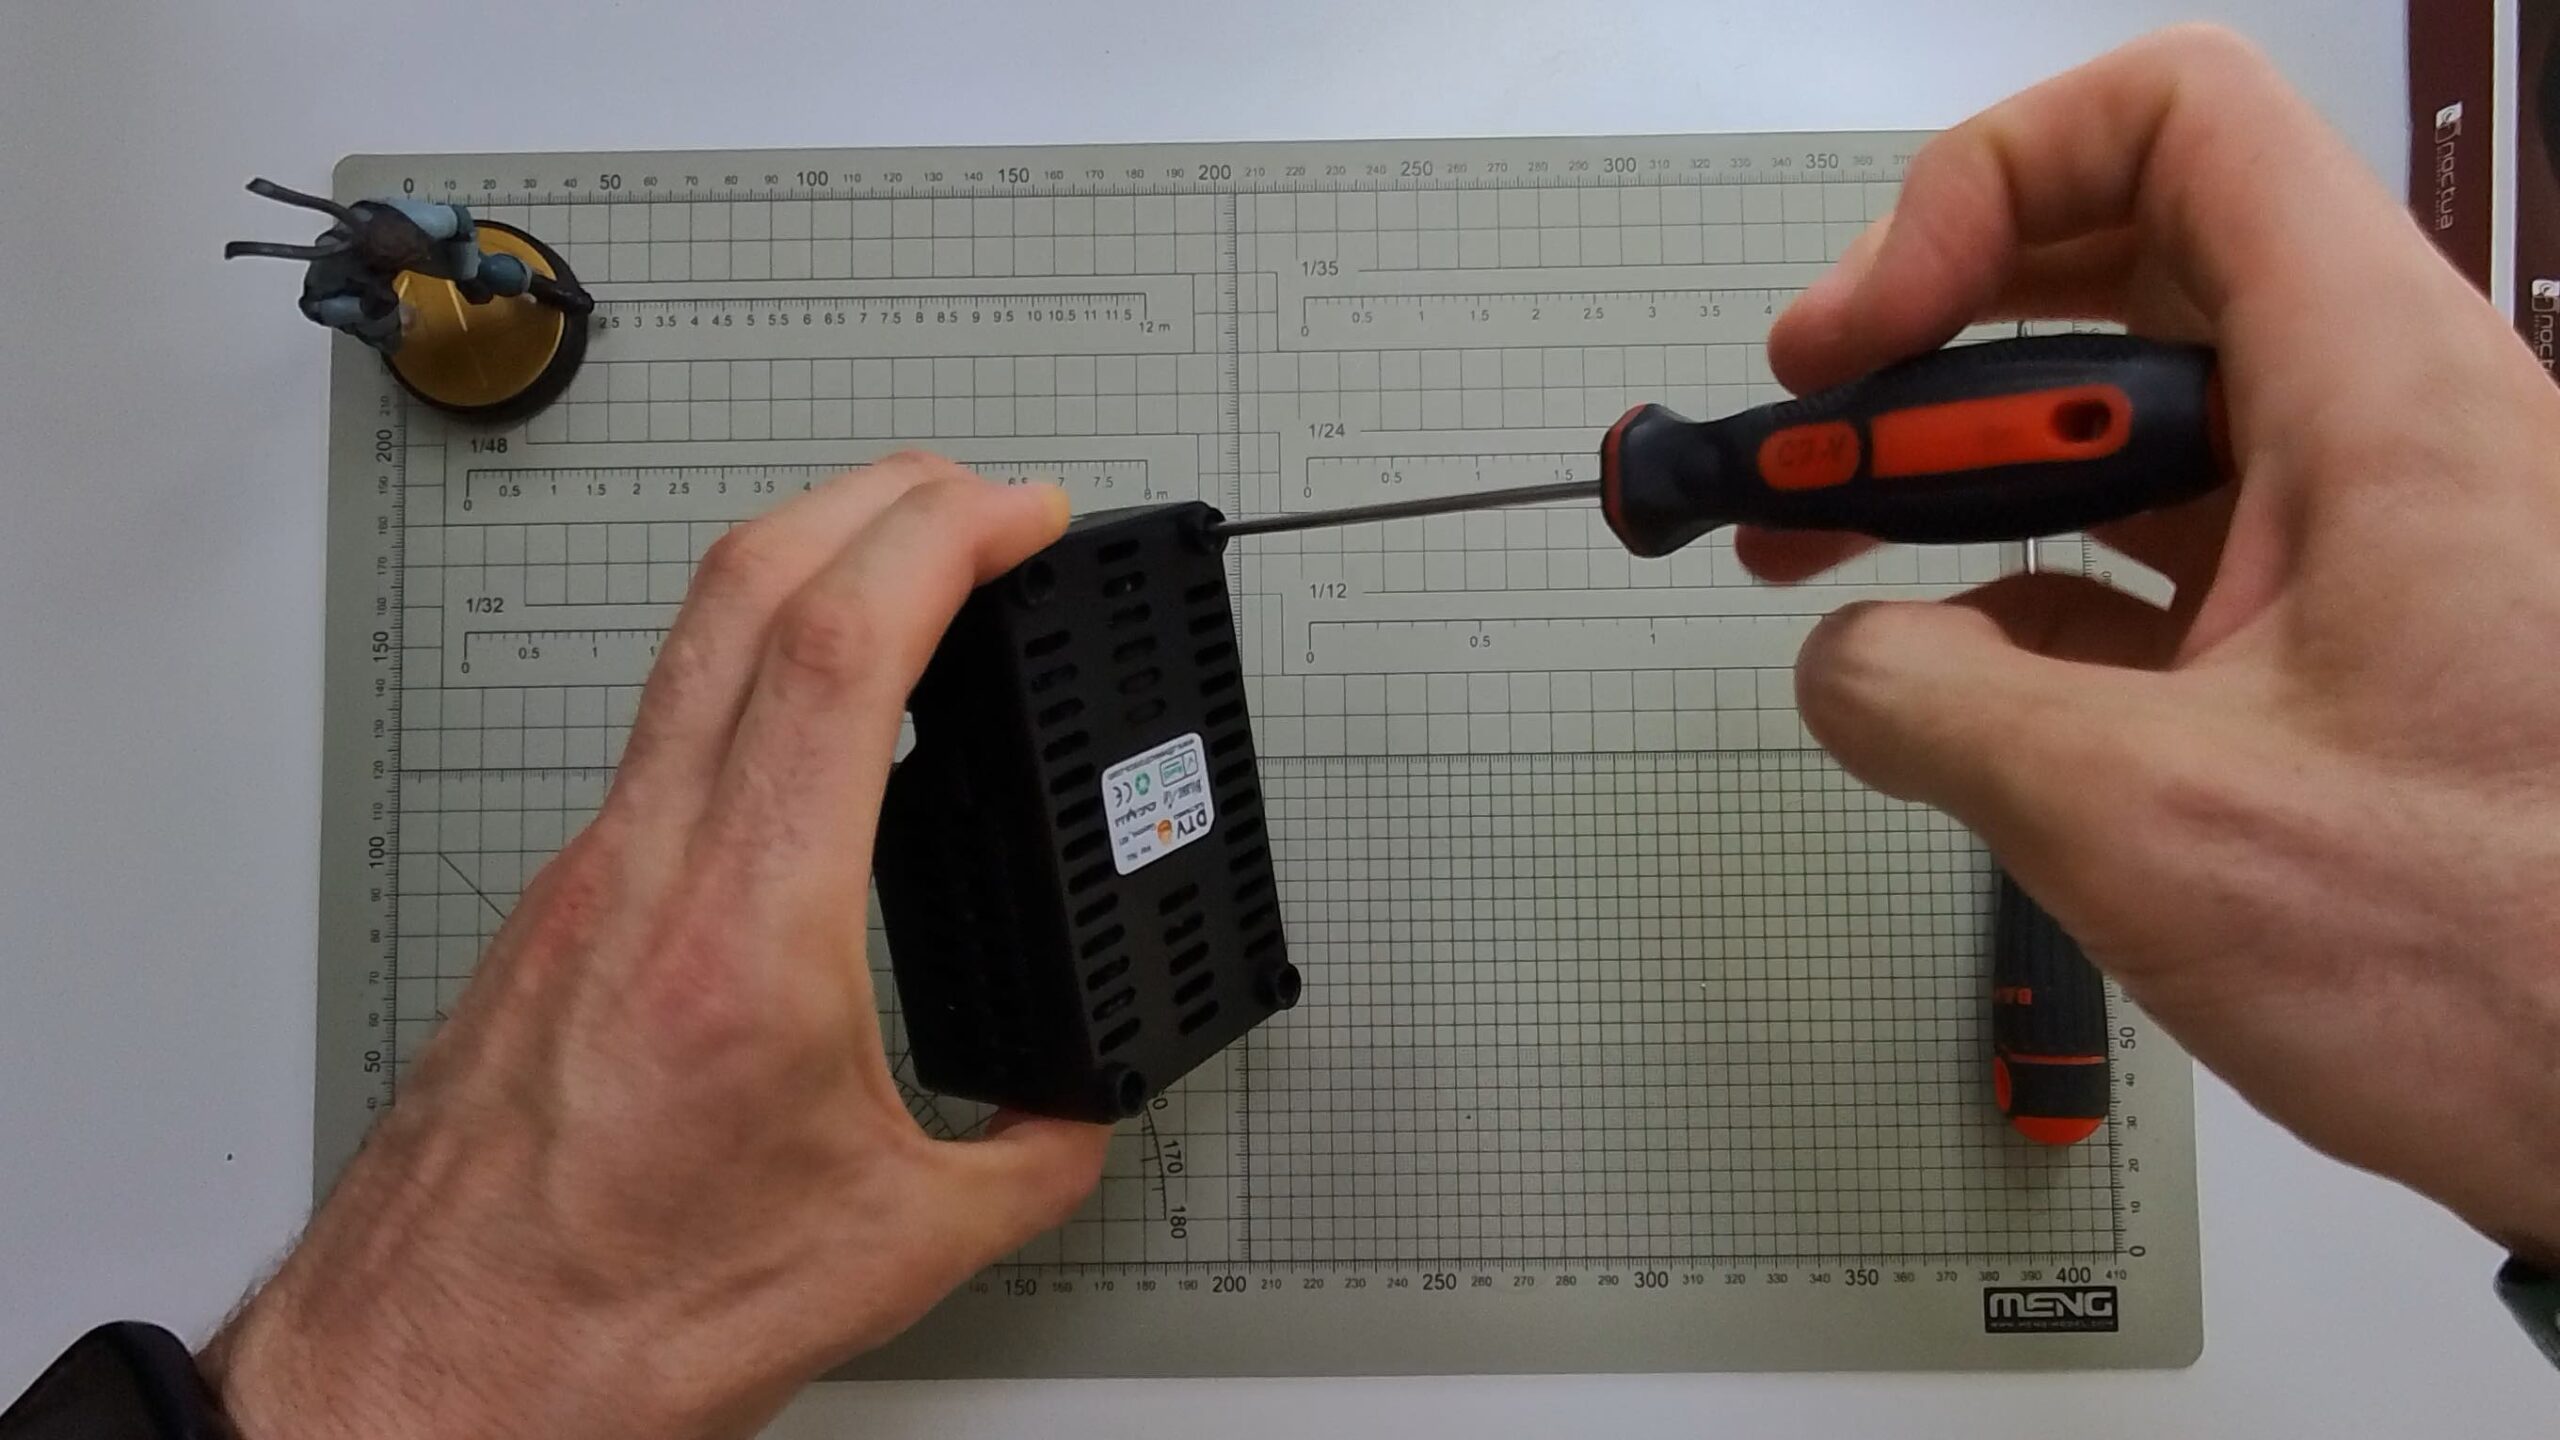
The DTV Electronics case is a beautiful enclosure that protects the Bitaxe and enhances airflow, in order to remove the fan you must remove the case, which is put together by four screws under the rubber feet at the bottom.
Step 2: Disconnect the Stock Fan

Once the case is off, you’ll see the stock fan wired into the Bitaxe’s board.
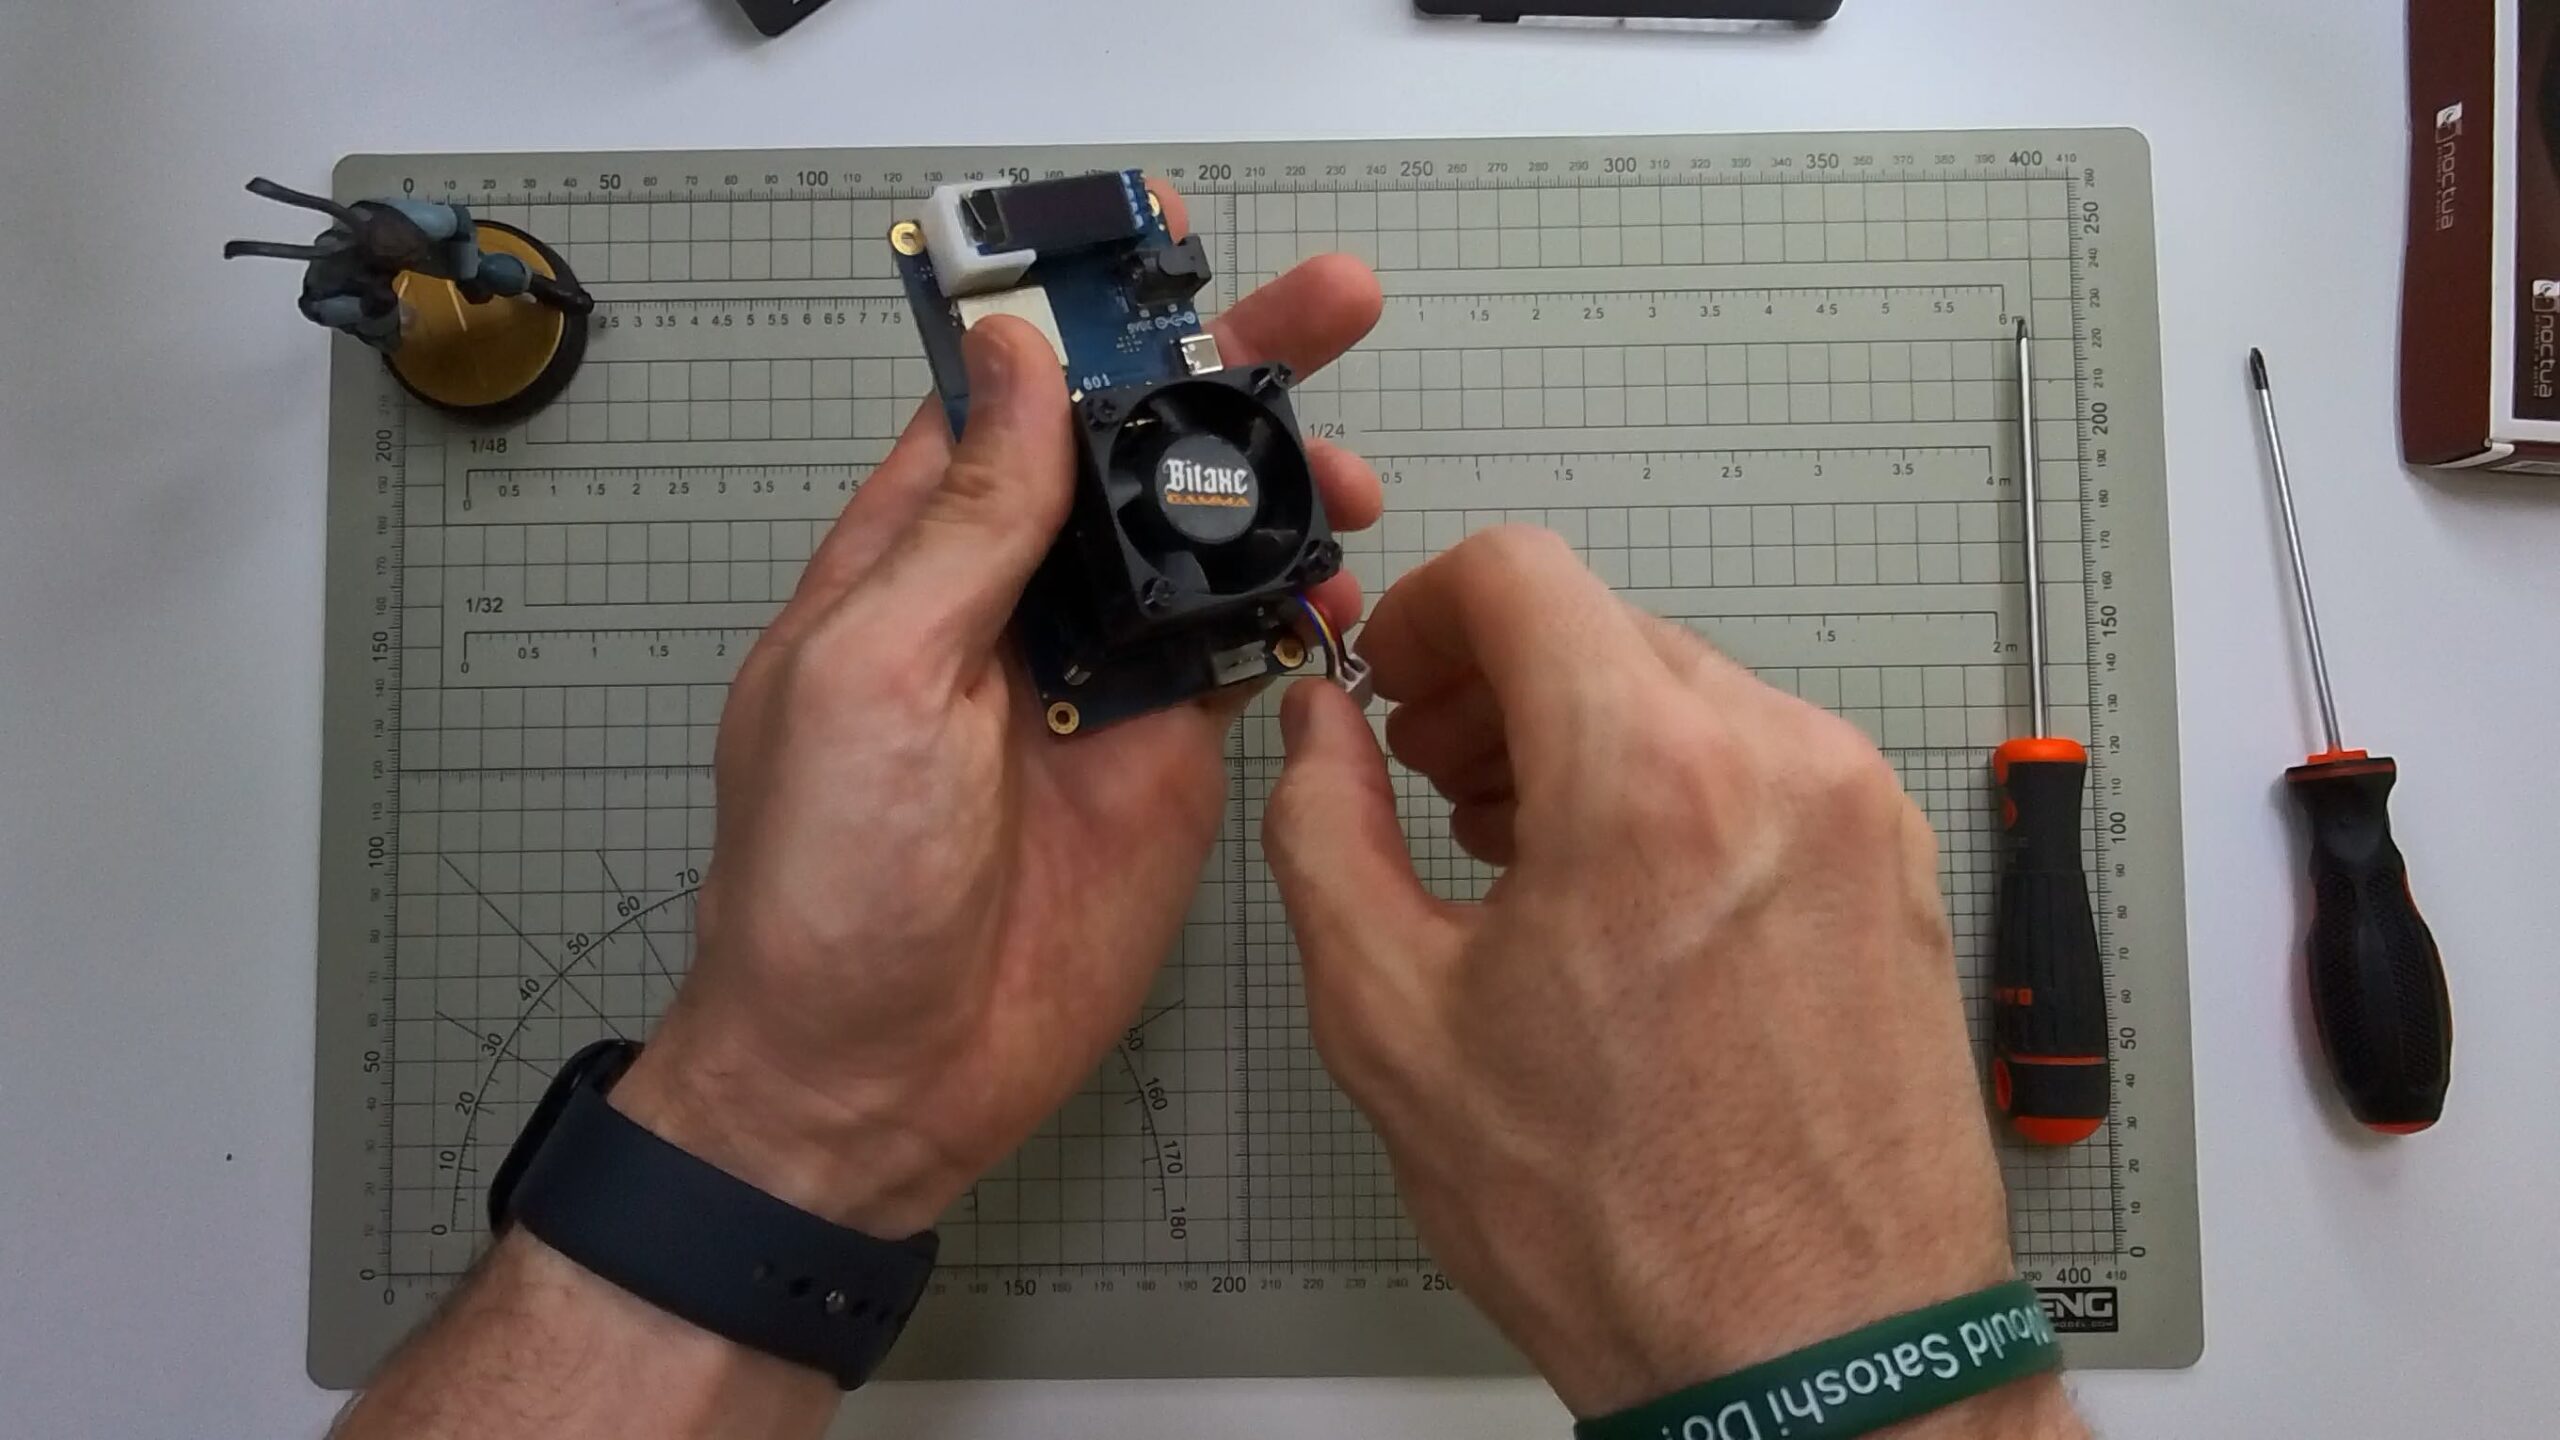
Gently follow the cable from the fan to the board. It should be plugged into a small 4-pin PWM header. Carefully disconnect it by pulling the connector straight out, not by the wires. You don’t want to damage the header.
Step 3: Clean the Heatsink
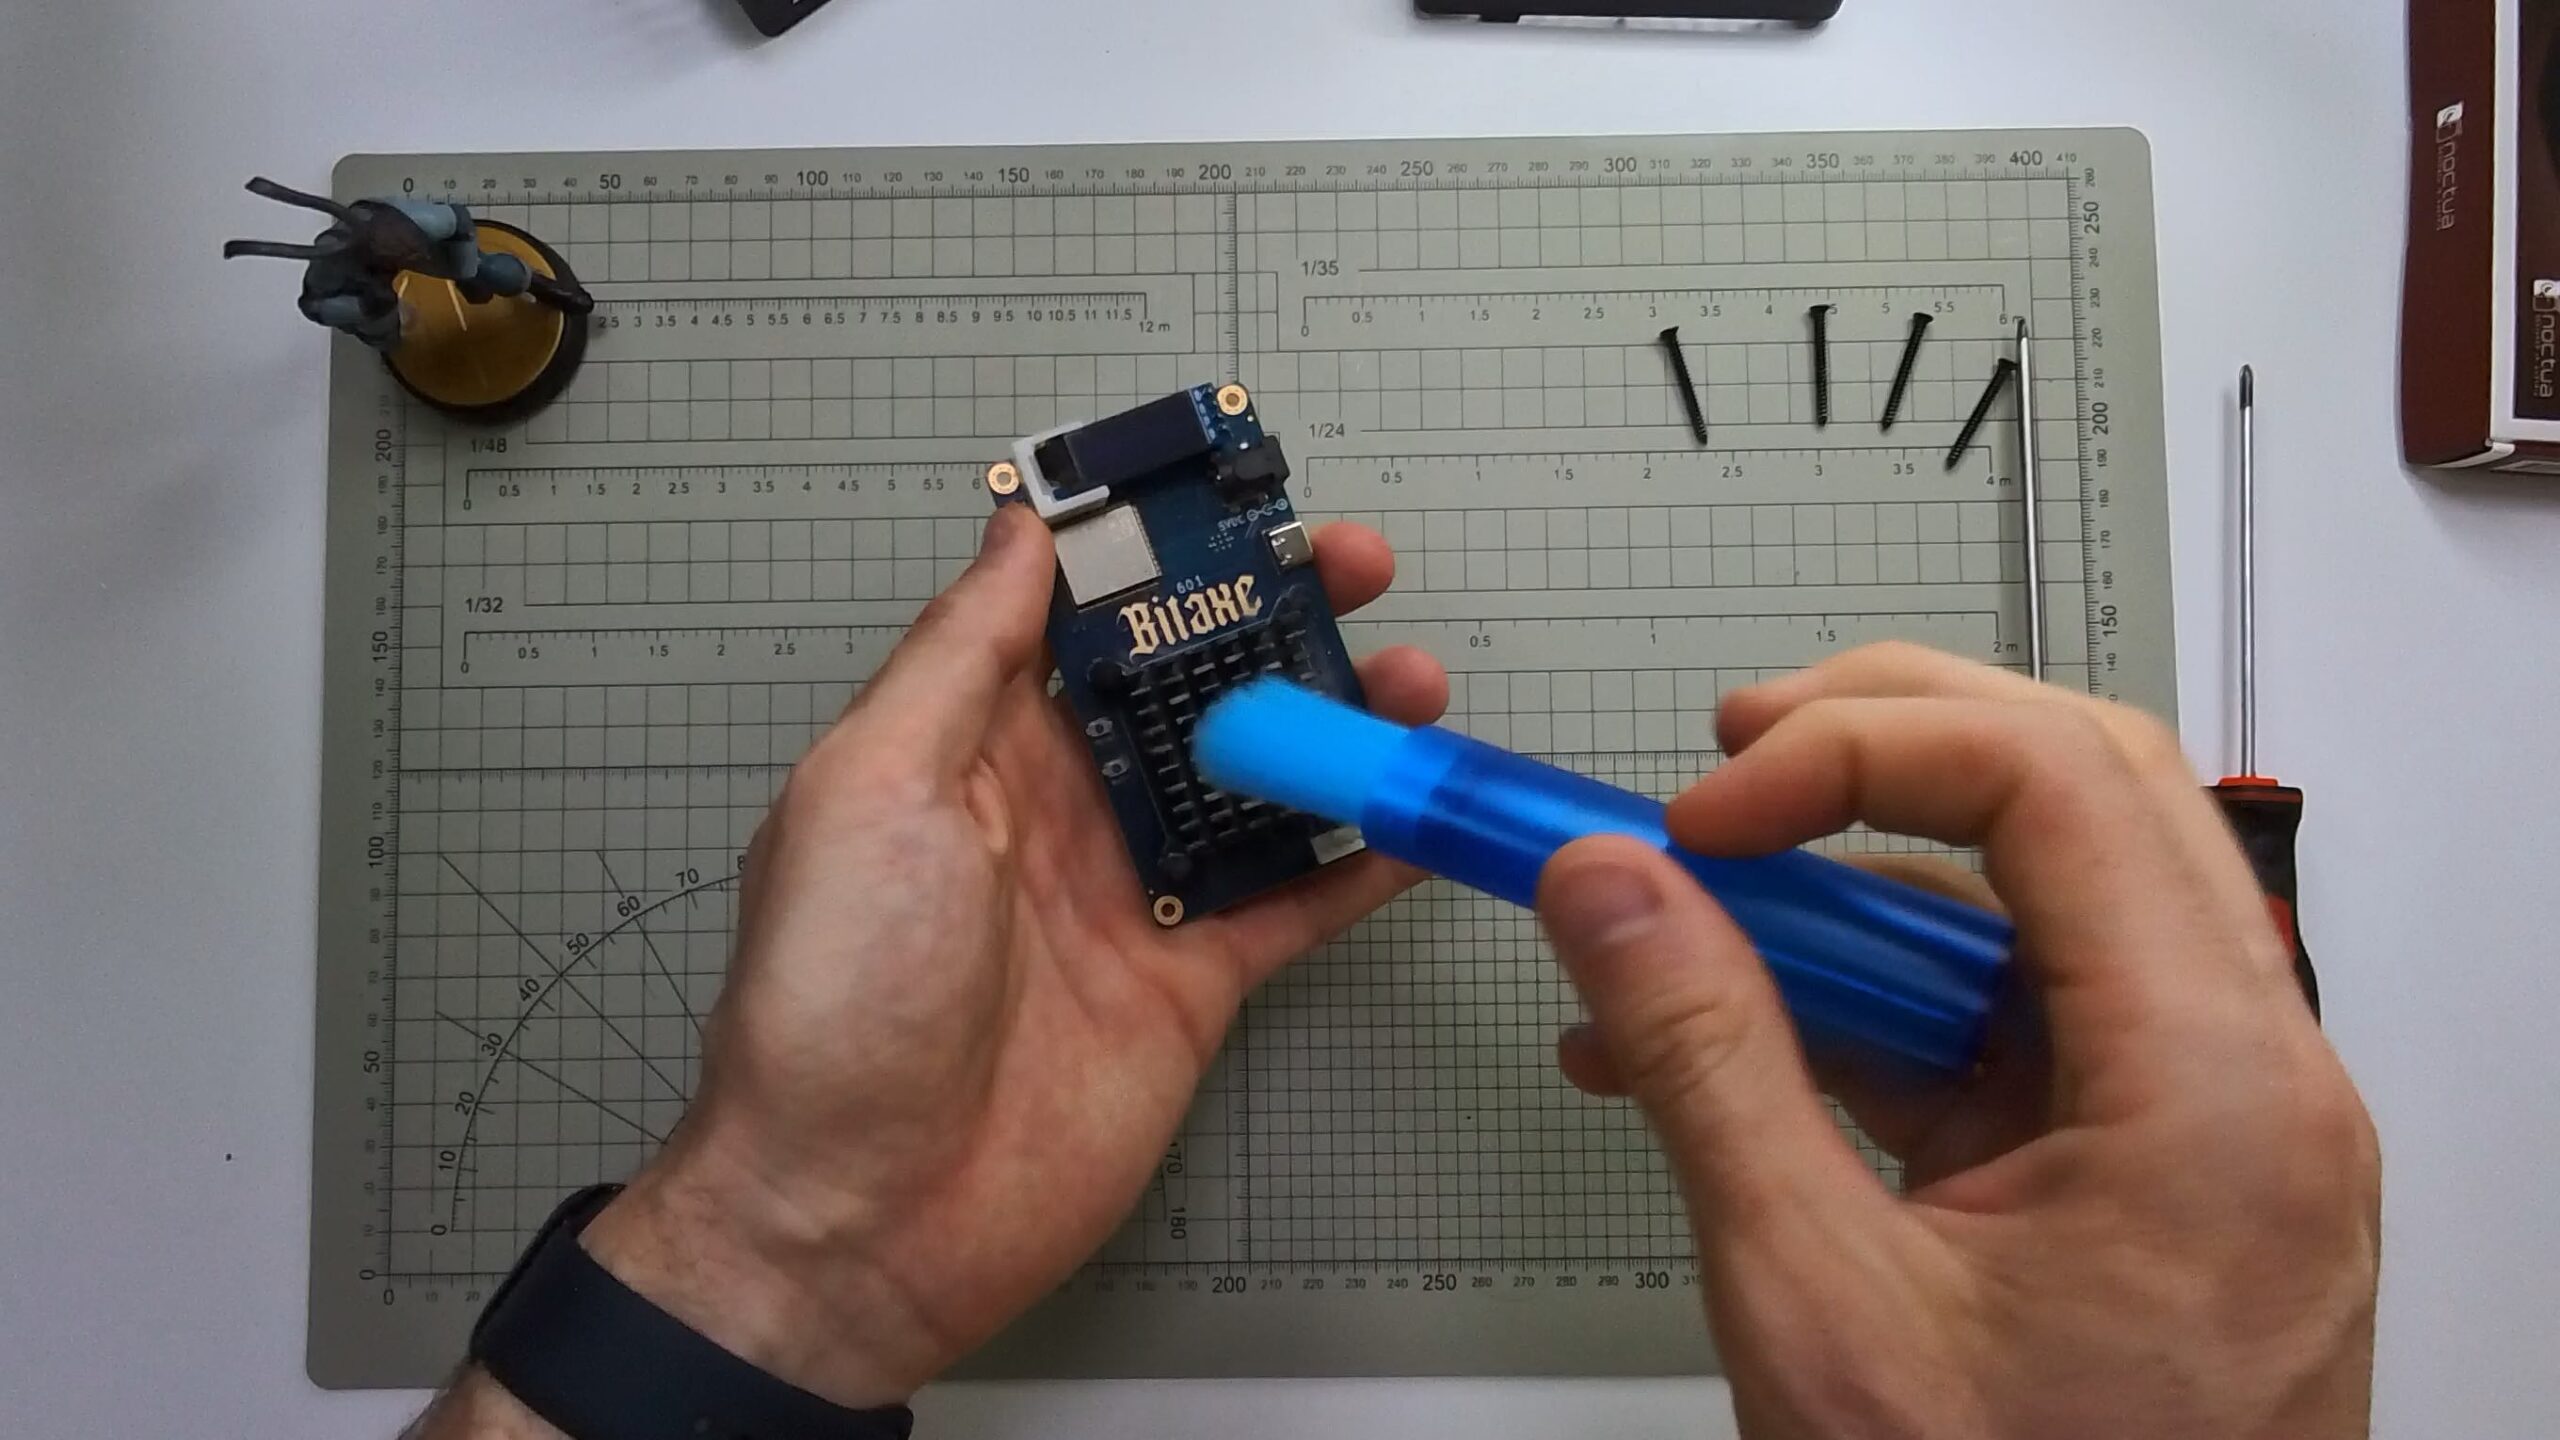
Now that the fan’s out of the way, it’s a great moment to give the heatsink some love. Use a small brush to remove any dust that might have built up on the fins. If you want to go the extra mile, you can use some compressed air to get deeper into the grooves, but a soft brush usually does the trick.
This might not seem like a big deal, but cleaning the heatsink helps improve thermal performance and airflow. You’re already swapping the fan, so might as well make the most of the opportunity.
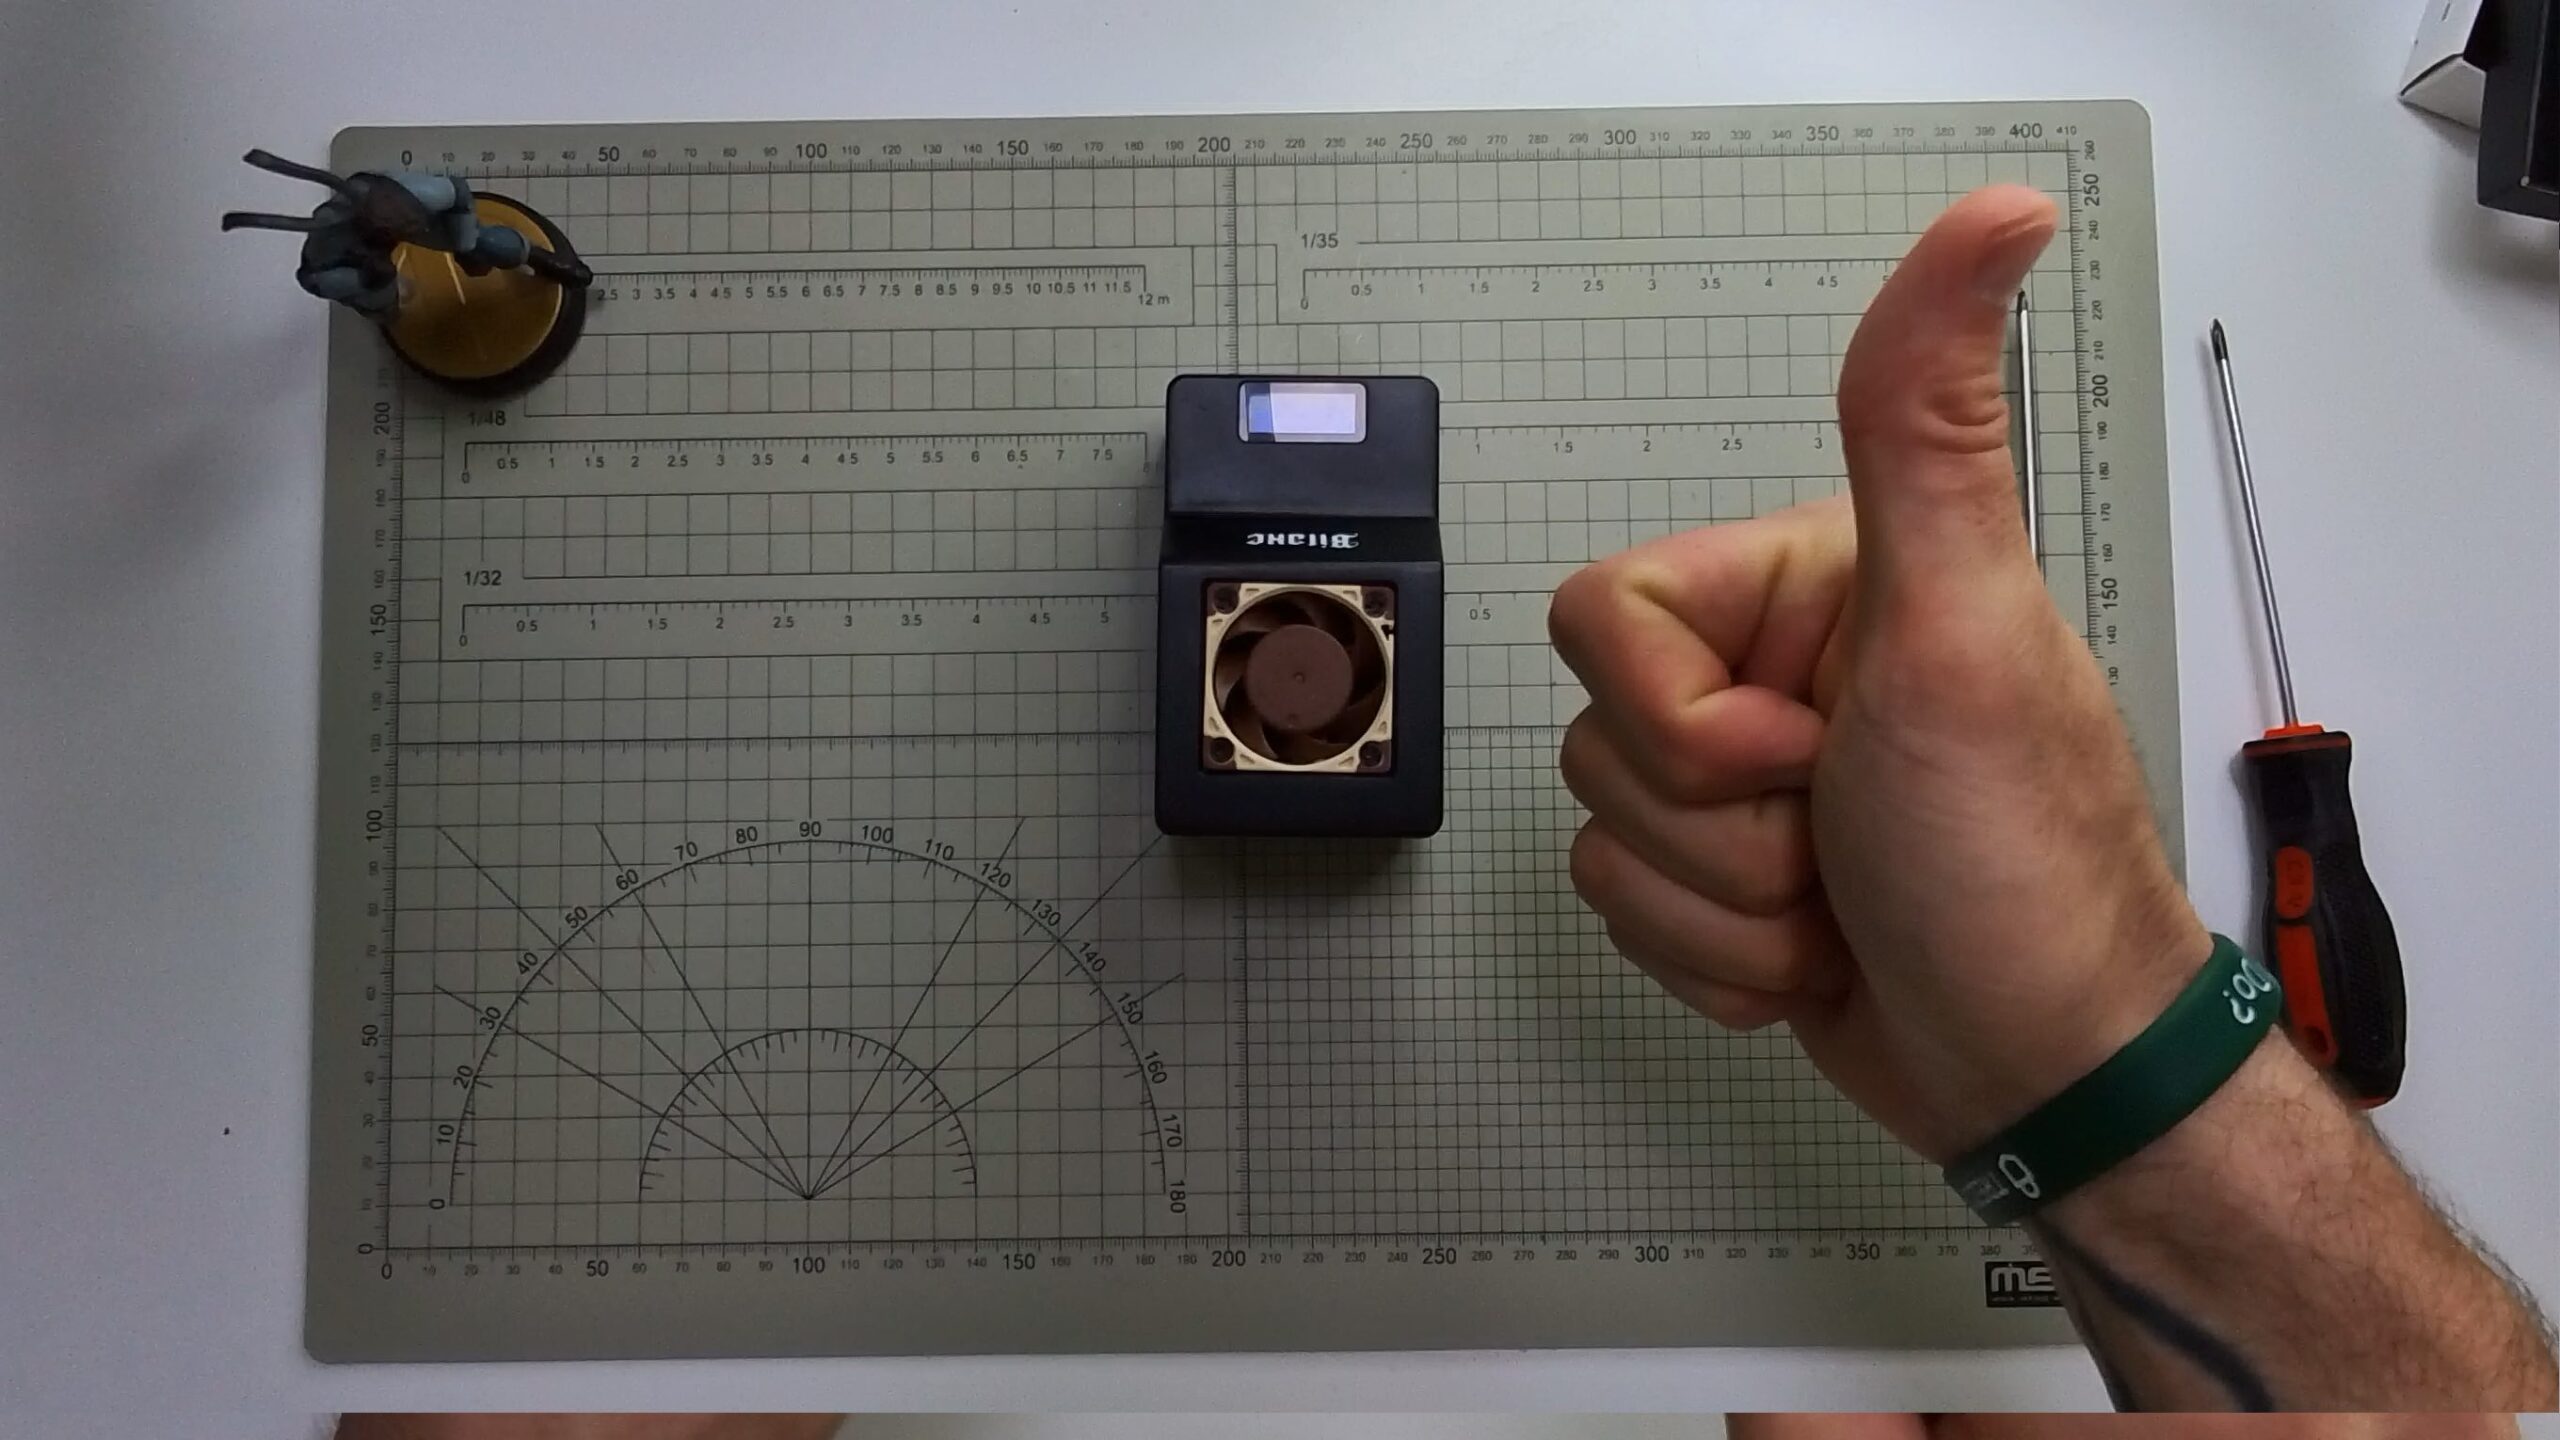
Step 4: Install the Noctua NF-A4x20 PWM
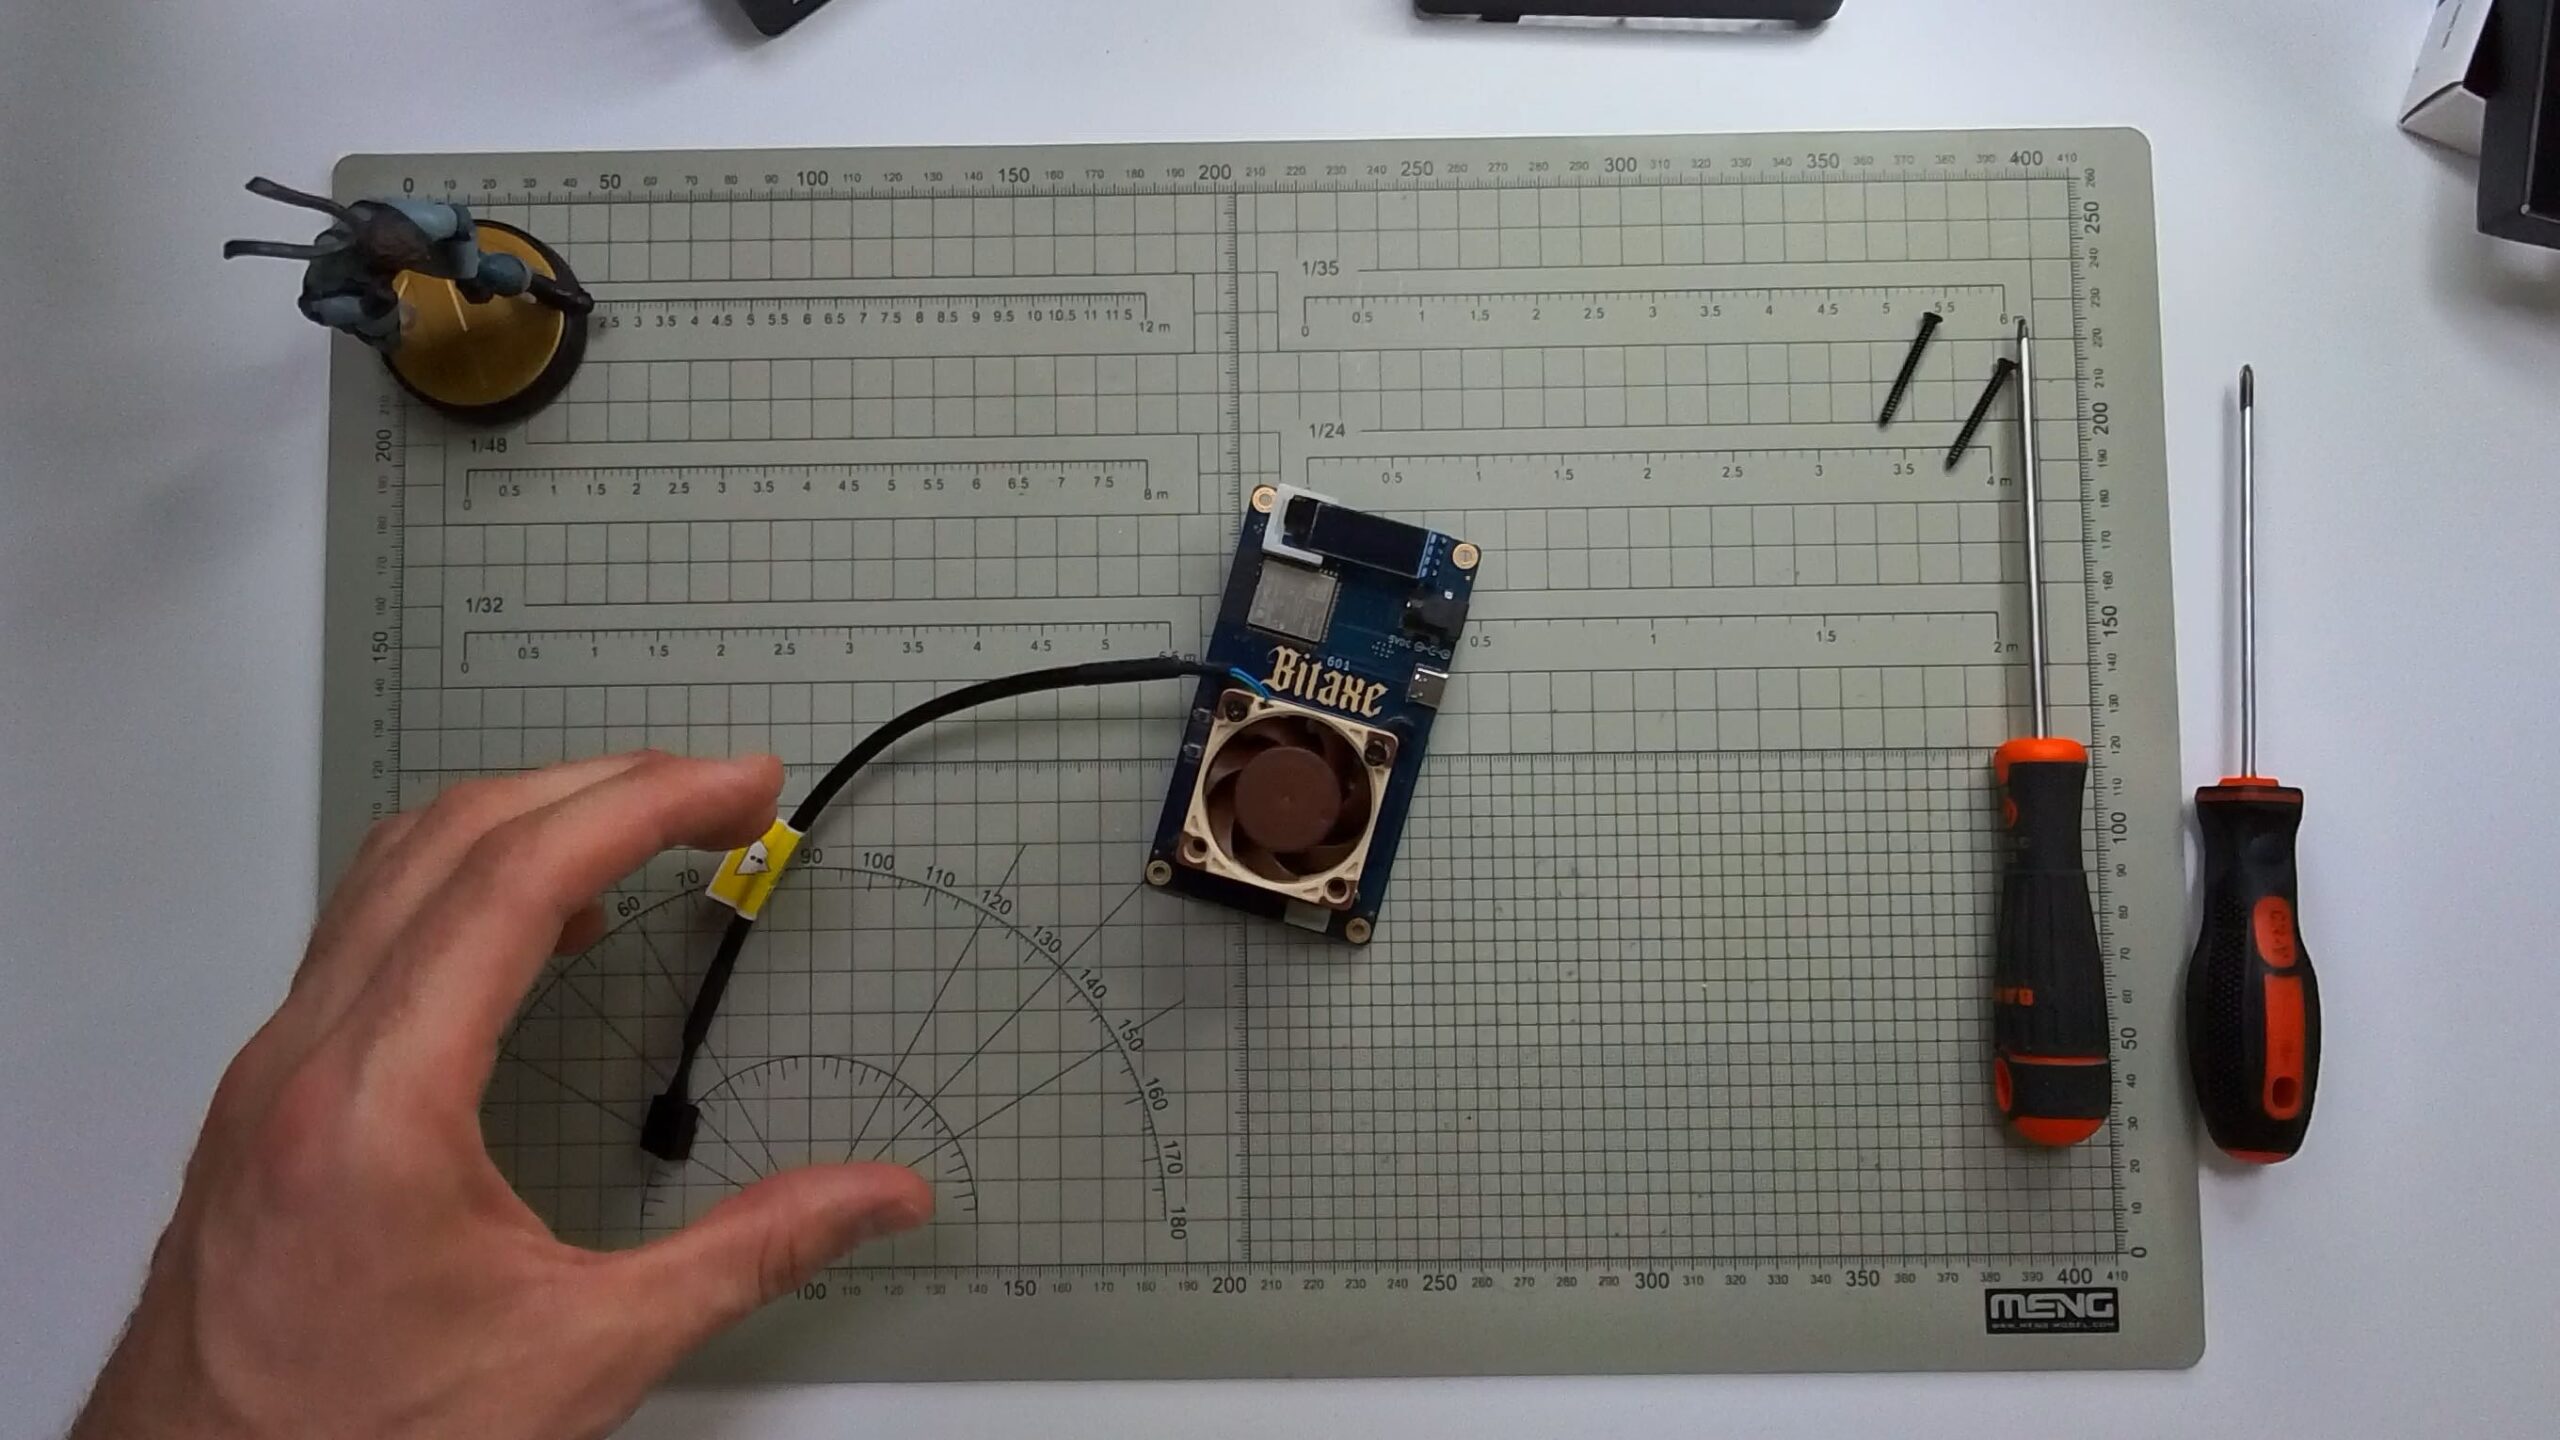
Now the fun part: installing the Noctua. First, align it so that airflow goes in the same direction as the stock fan. On the Noctua, air flows toward the side with the Noctua logo. That should be facing into the heatsink.
Attach the fan to the heatsink using the screws that came with your Bitaxe, or if you’re lucky, the ones included in the Noctua box. Just make sure you’re not overtightening them—these little fans are delicate and the heatsink threads are aluminum.

Once mounted, plug the 4-pin connector into the PWM fan header on the board. It’s keyed so it should only go in one way, but double-check the orientation to be safe.
Step 5: Reassemble the Case
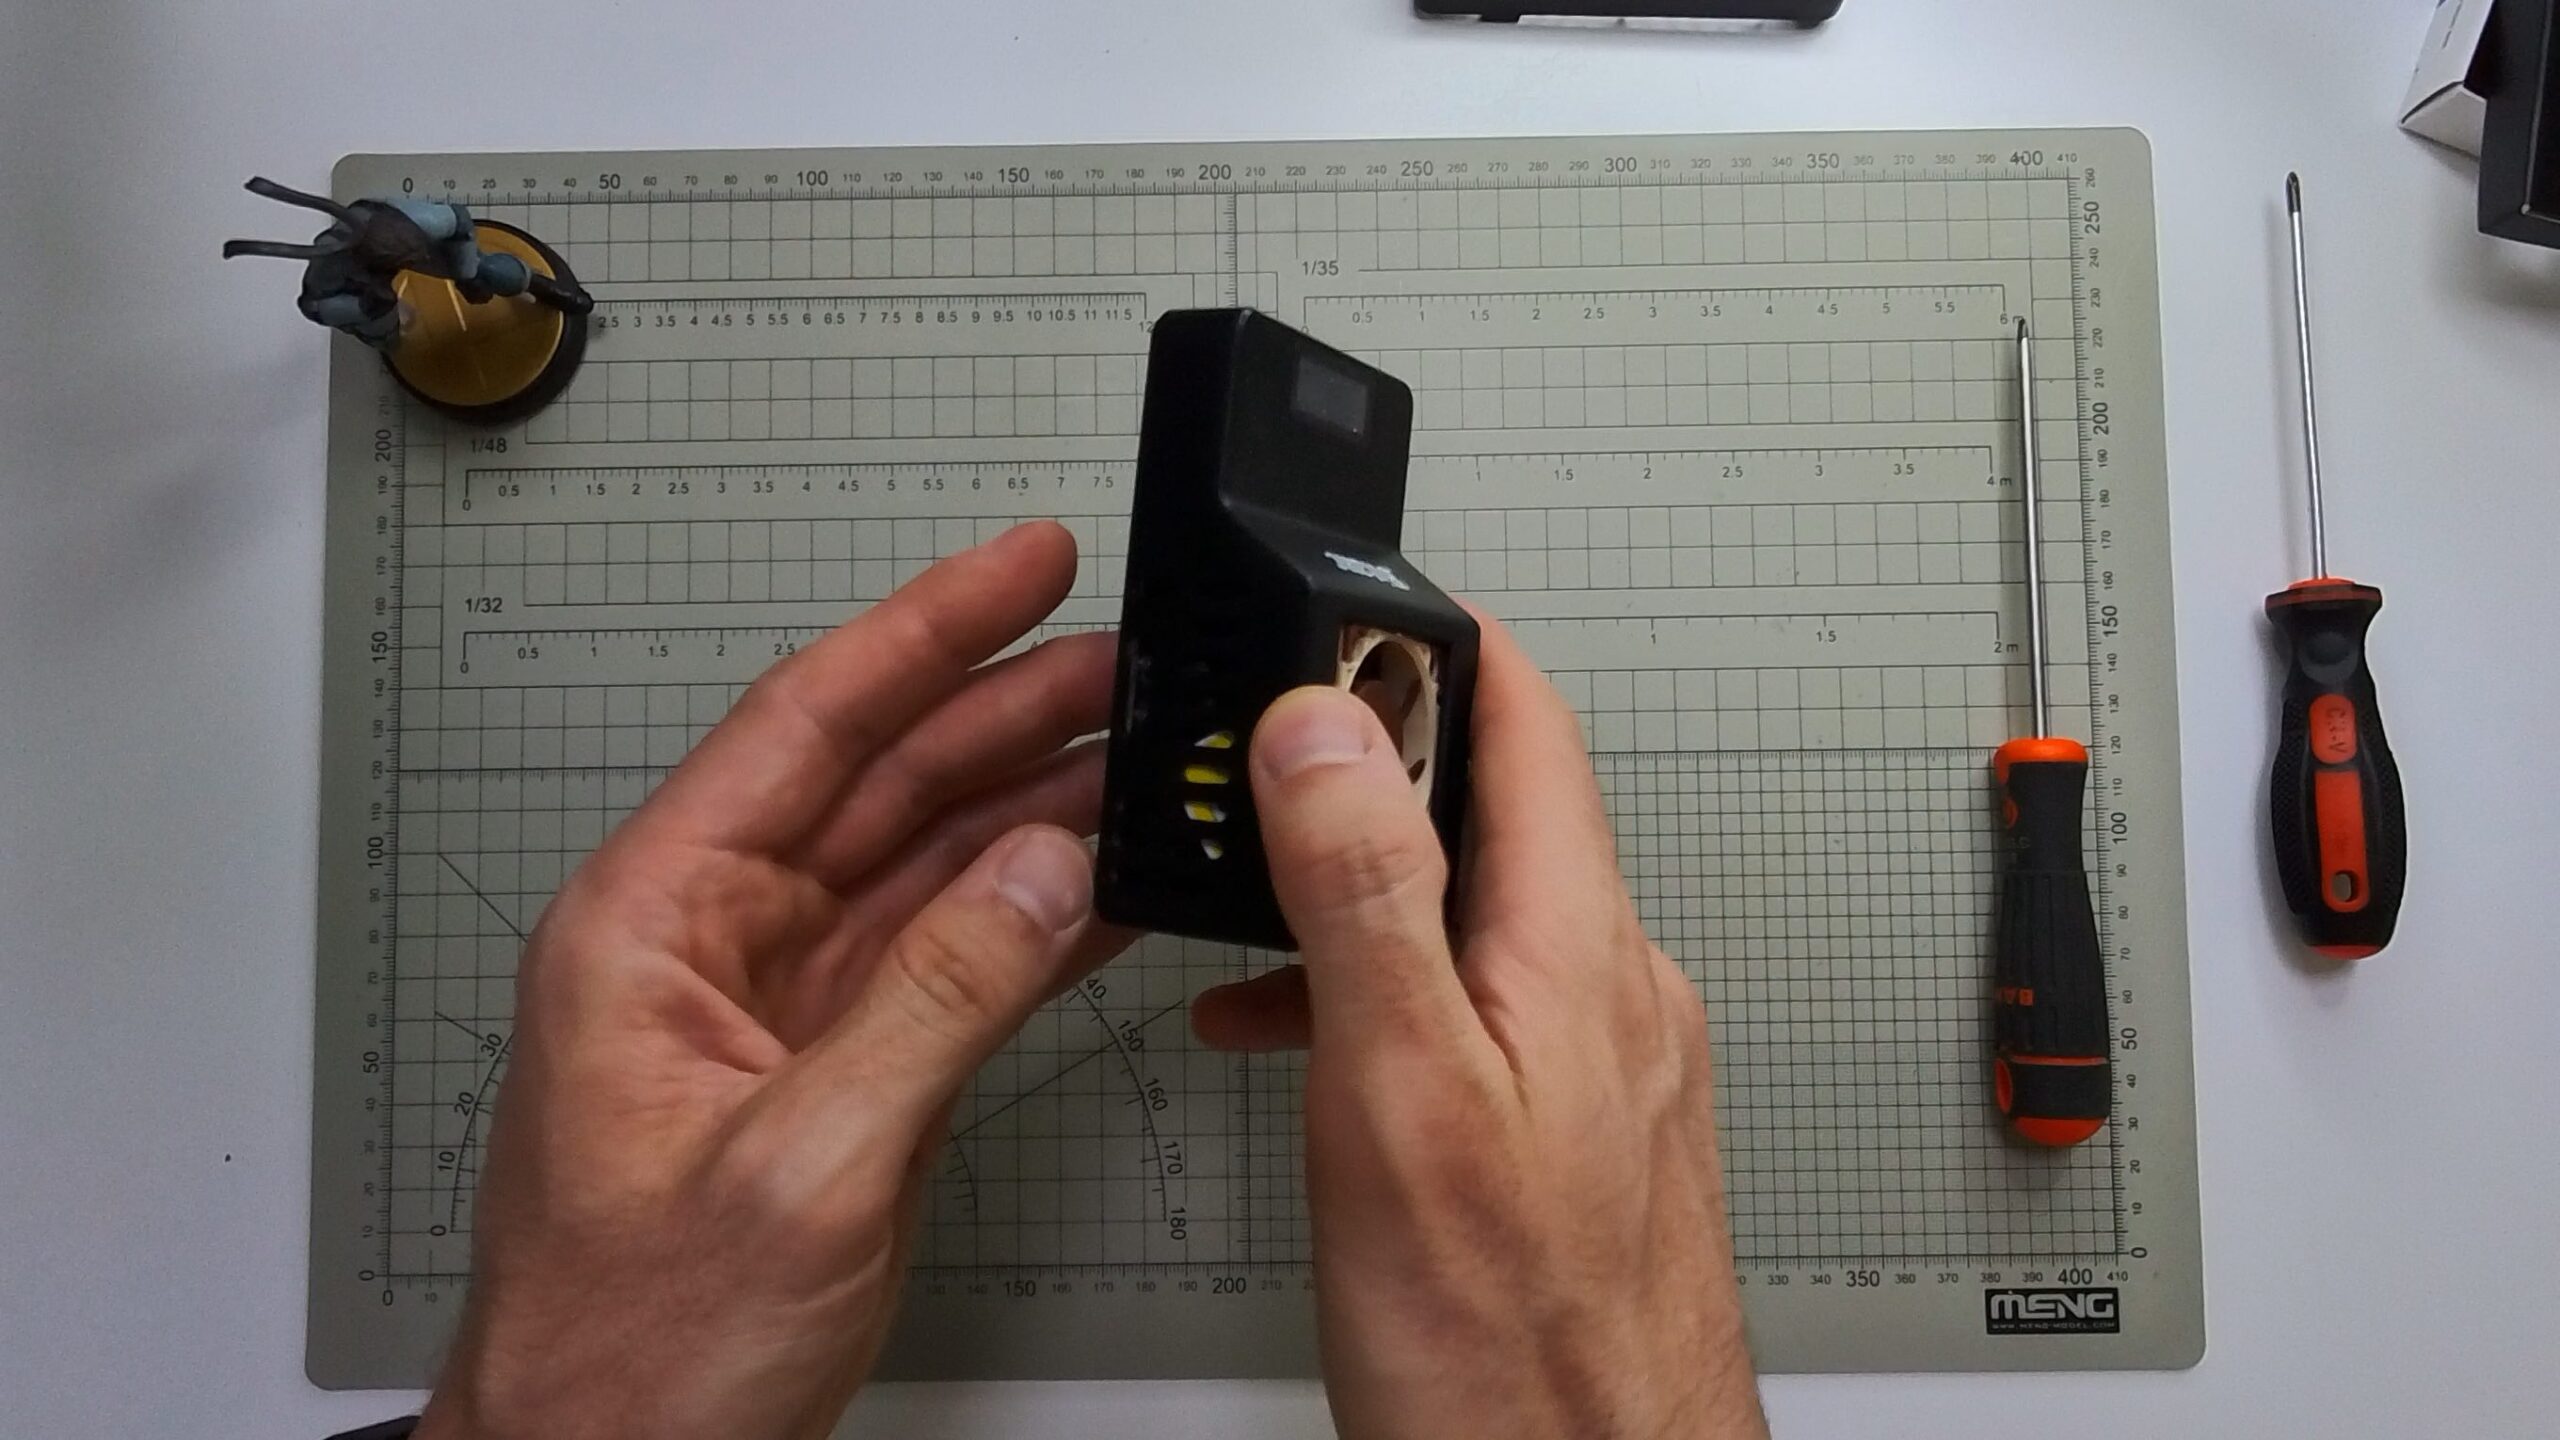
Before screwing the case back on, give everything a quick once-over. Make sure the fan cable isn’t pinched and that it has enough slack to avoid stress on the connector.
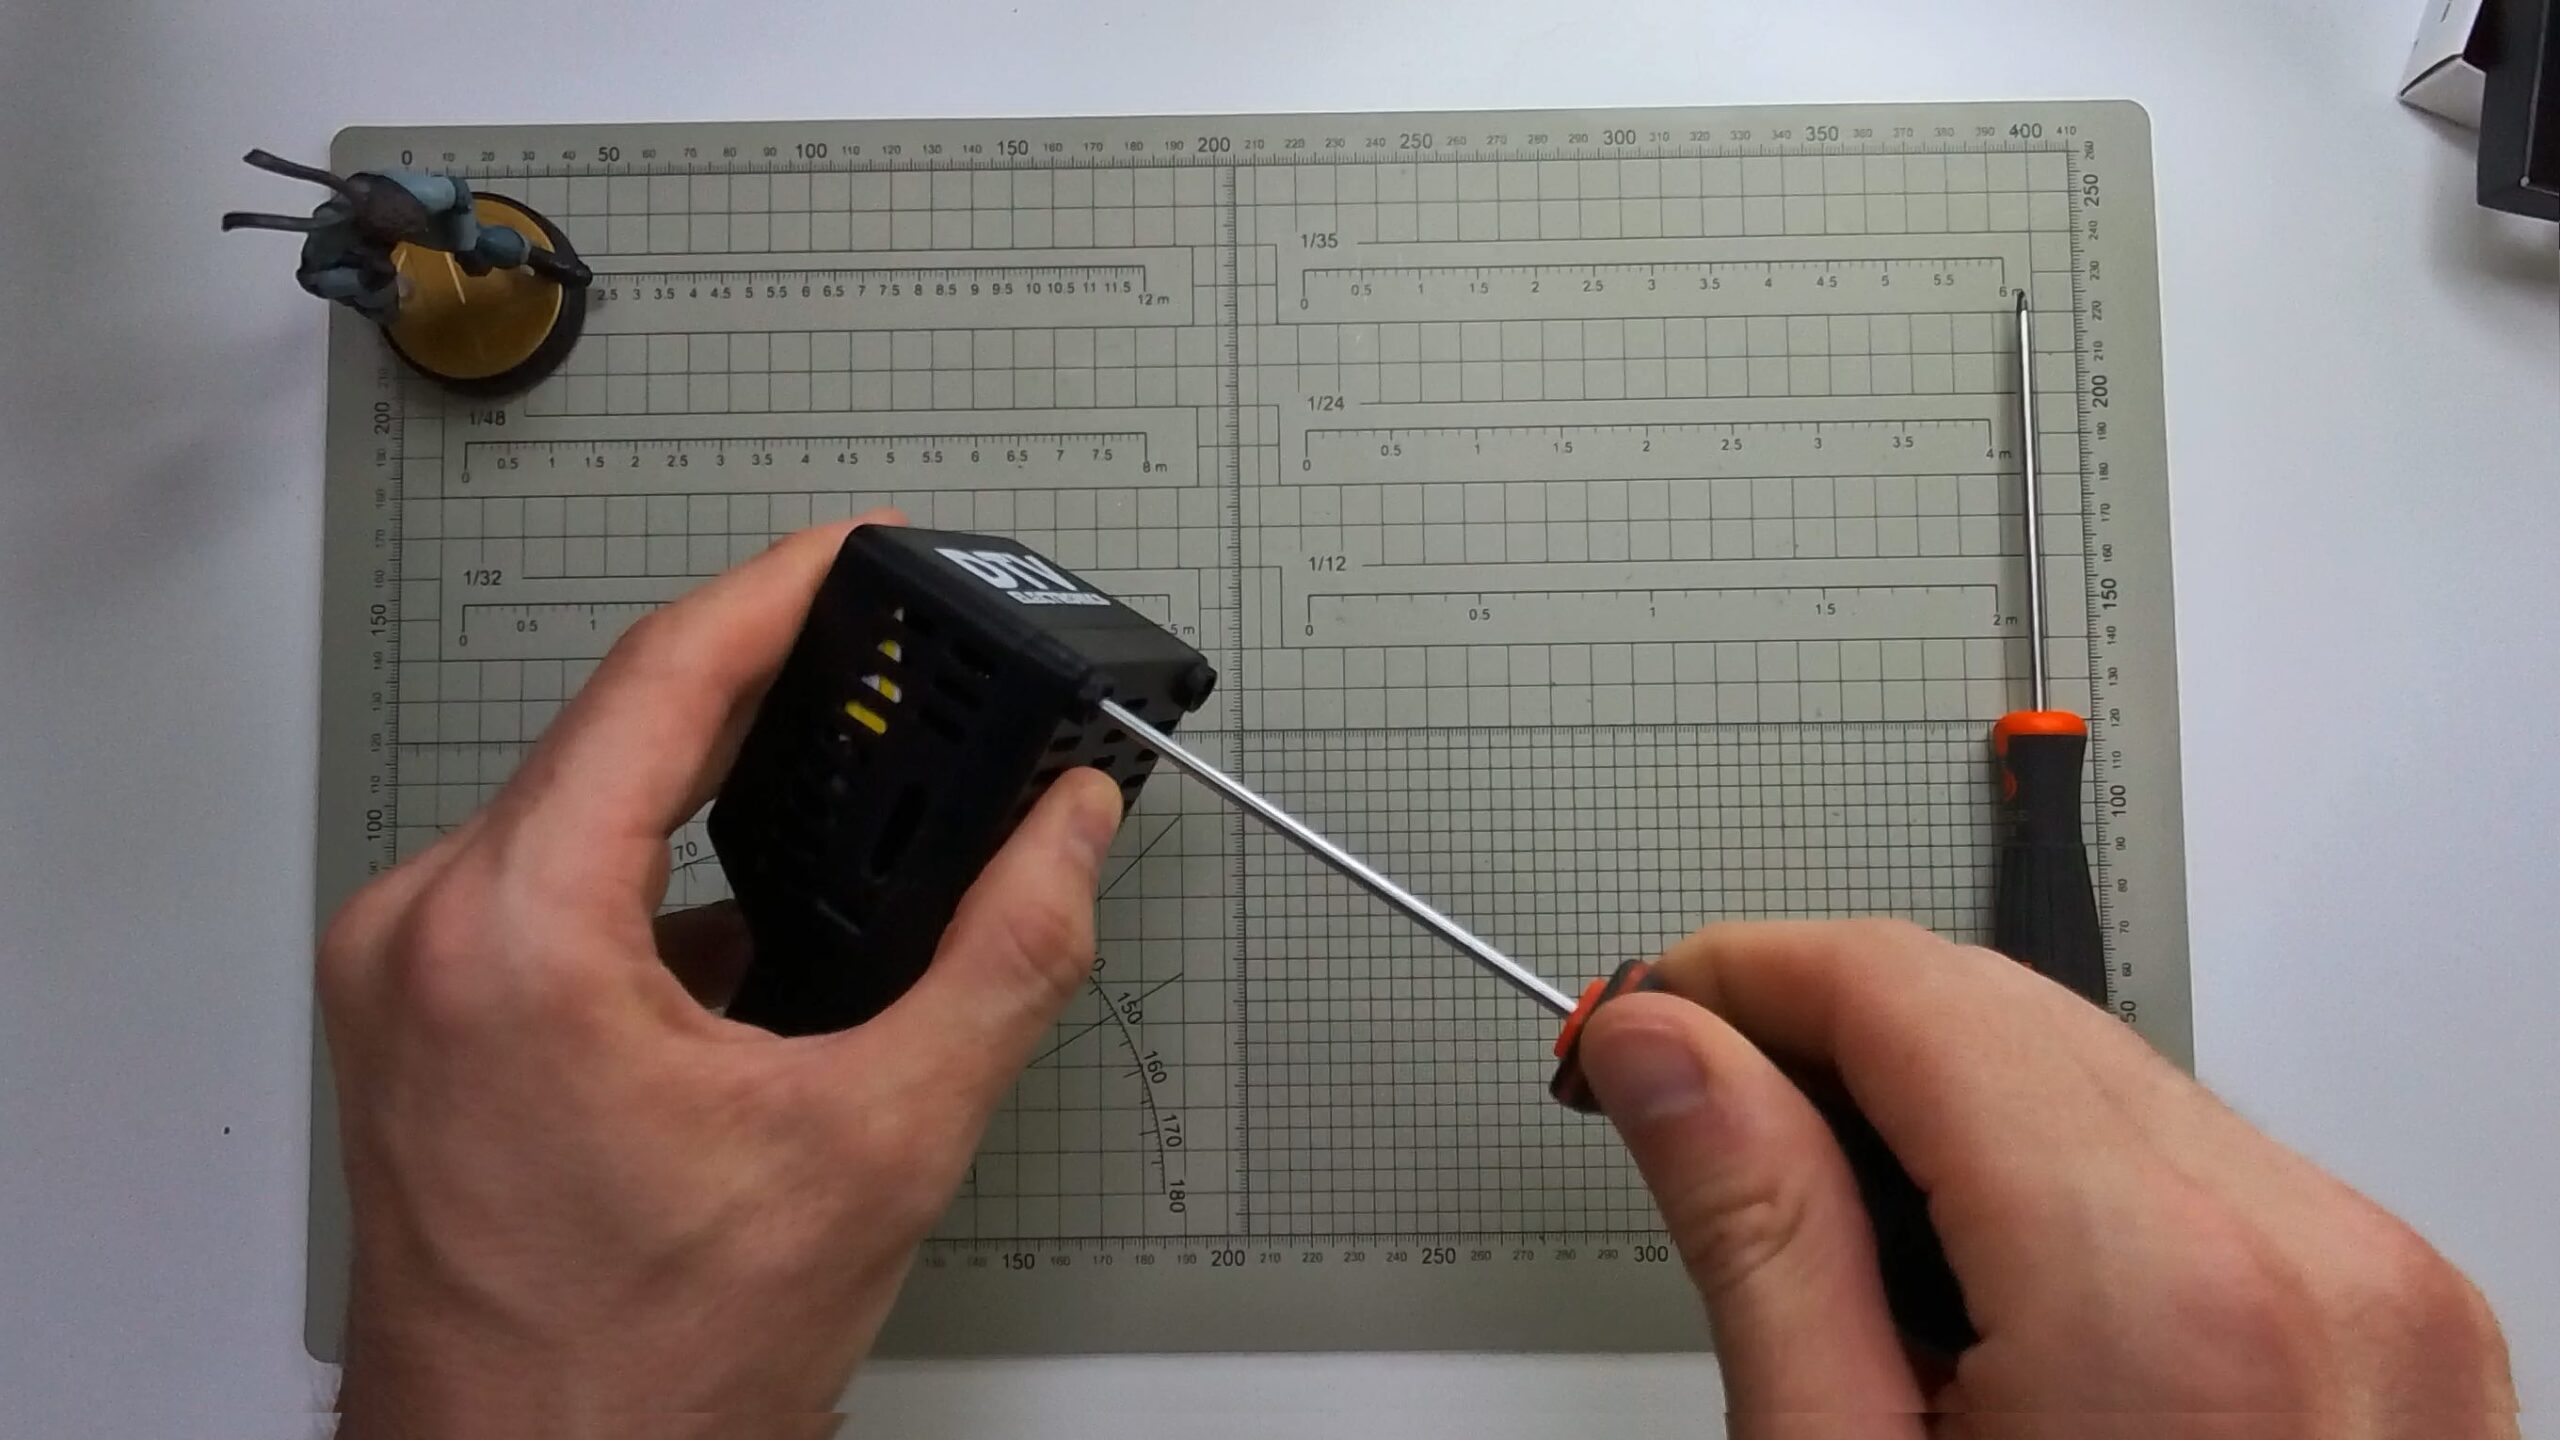
Then, put the top of the case back on, line up the holes, and flip the Bitaxe over. Remove the rubber feet to expose the screws again and fasten all four. Stick the feet back on when you’re done.
Step 6: Power On and Test
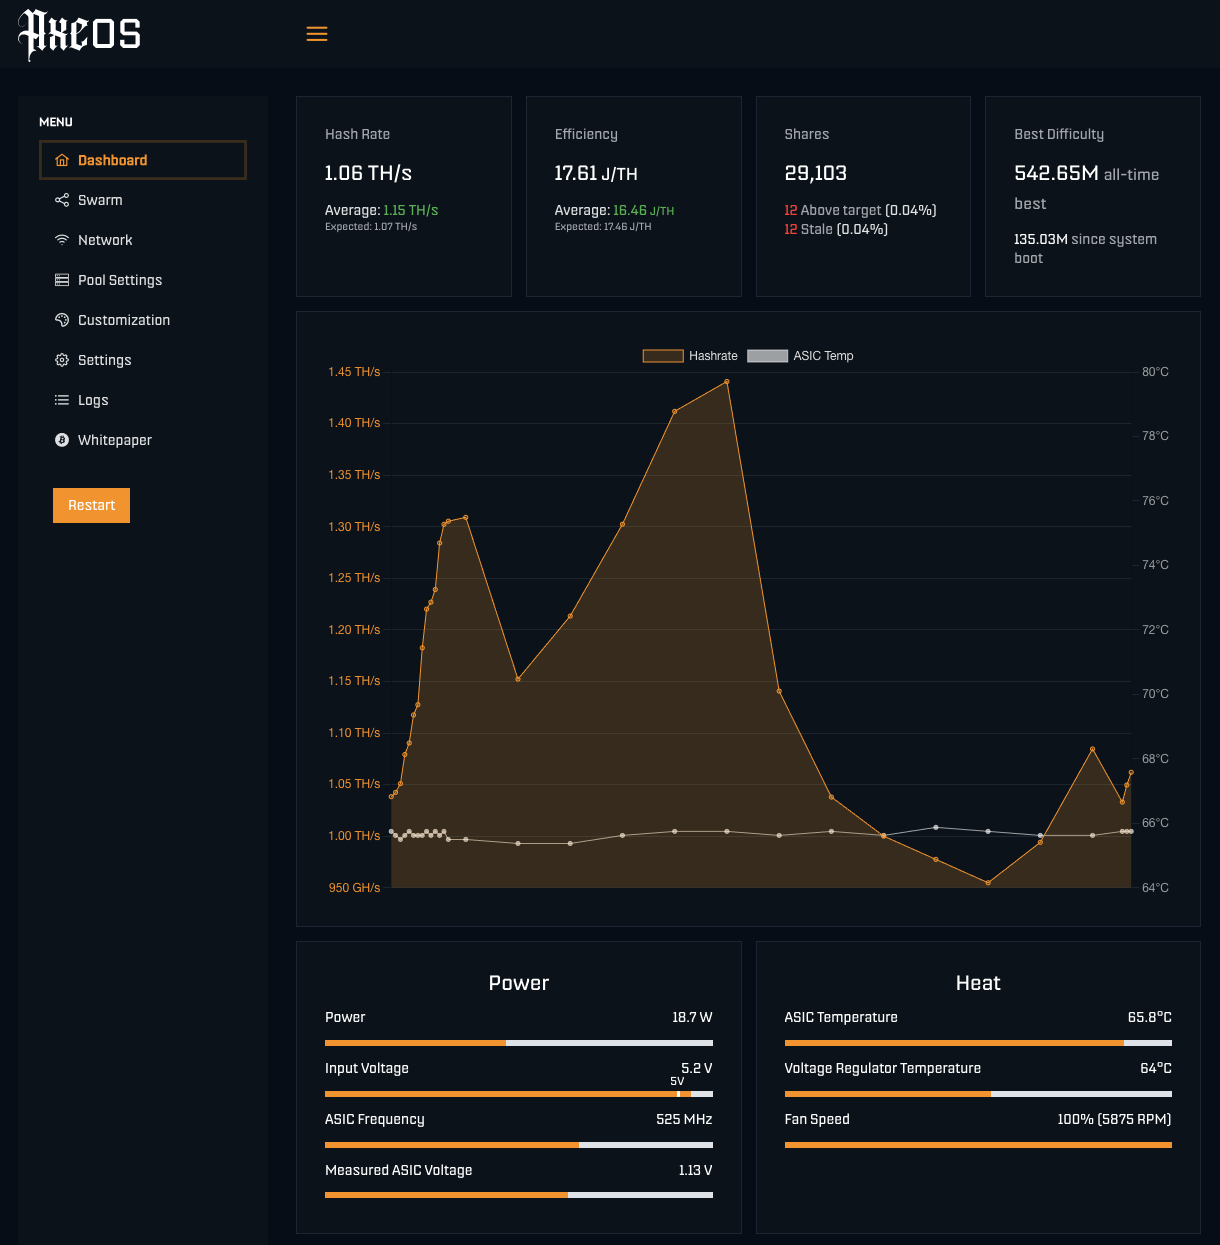
Moment of truth. Plug your Bitaxe back in and power it up. You should see the Noctua spin to life, quietly, hopefully, and you’ll probably notice the difference immediately. The NF-A4x20 PWM is known for being whisper-quiet, especially compared to the stock fan. The only downside is that the Noctua fan runs at about half the RPM of the stock one, so even though it spins at 100% all the time, it can’t maintain temperatures as low.
The next logical step to bring temps down and offset the Noctua’s lower RPMs would be upgrading to a more efficient heatsink. Maybe that’s something we’ll cover in Pimp My DTV Electronics Bitaxe – Series #2. Stay tuned…
Keep an eye on the temperatures using your usual monitoring setup on AxeOS. You can also check how the fan ramps up under load, thanks to the PWM control. It should keep things cool without sounding like a mini jet engine.
Wrap-Up: Was It Worth It?
So, was it quieter? Cooler? Or just cooler-looking? Personally, I think it’s all three. The Noctua swap isn’t just a cosmetic upgrade, it makes the Bitaxe feel more refined and less intrusive, especially if you’re running it close to your workspace.