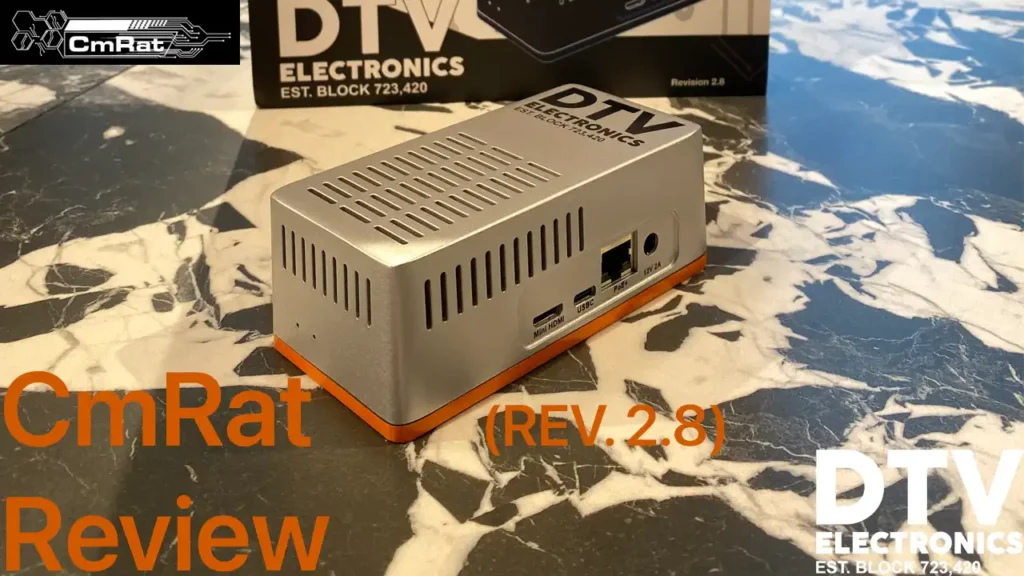
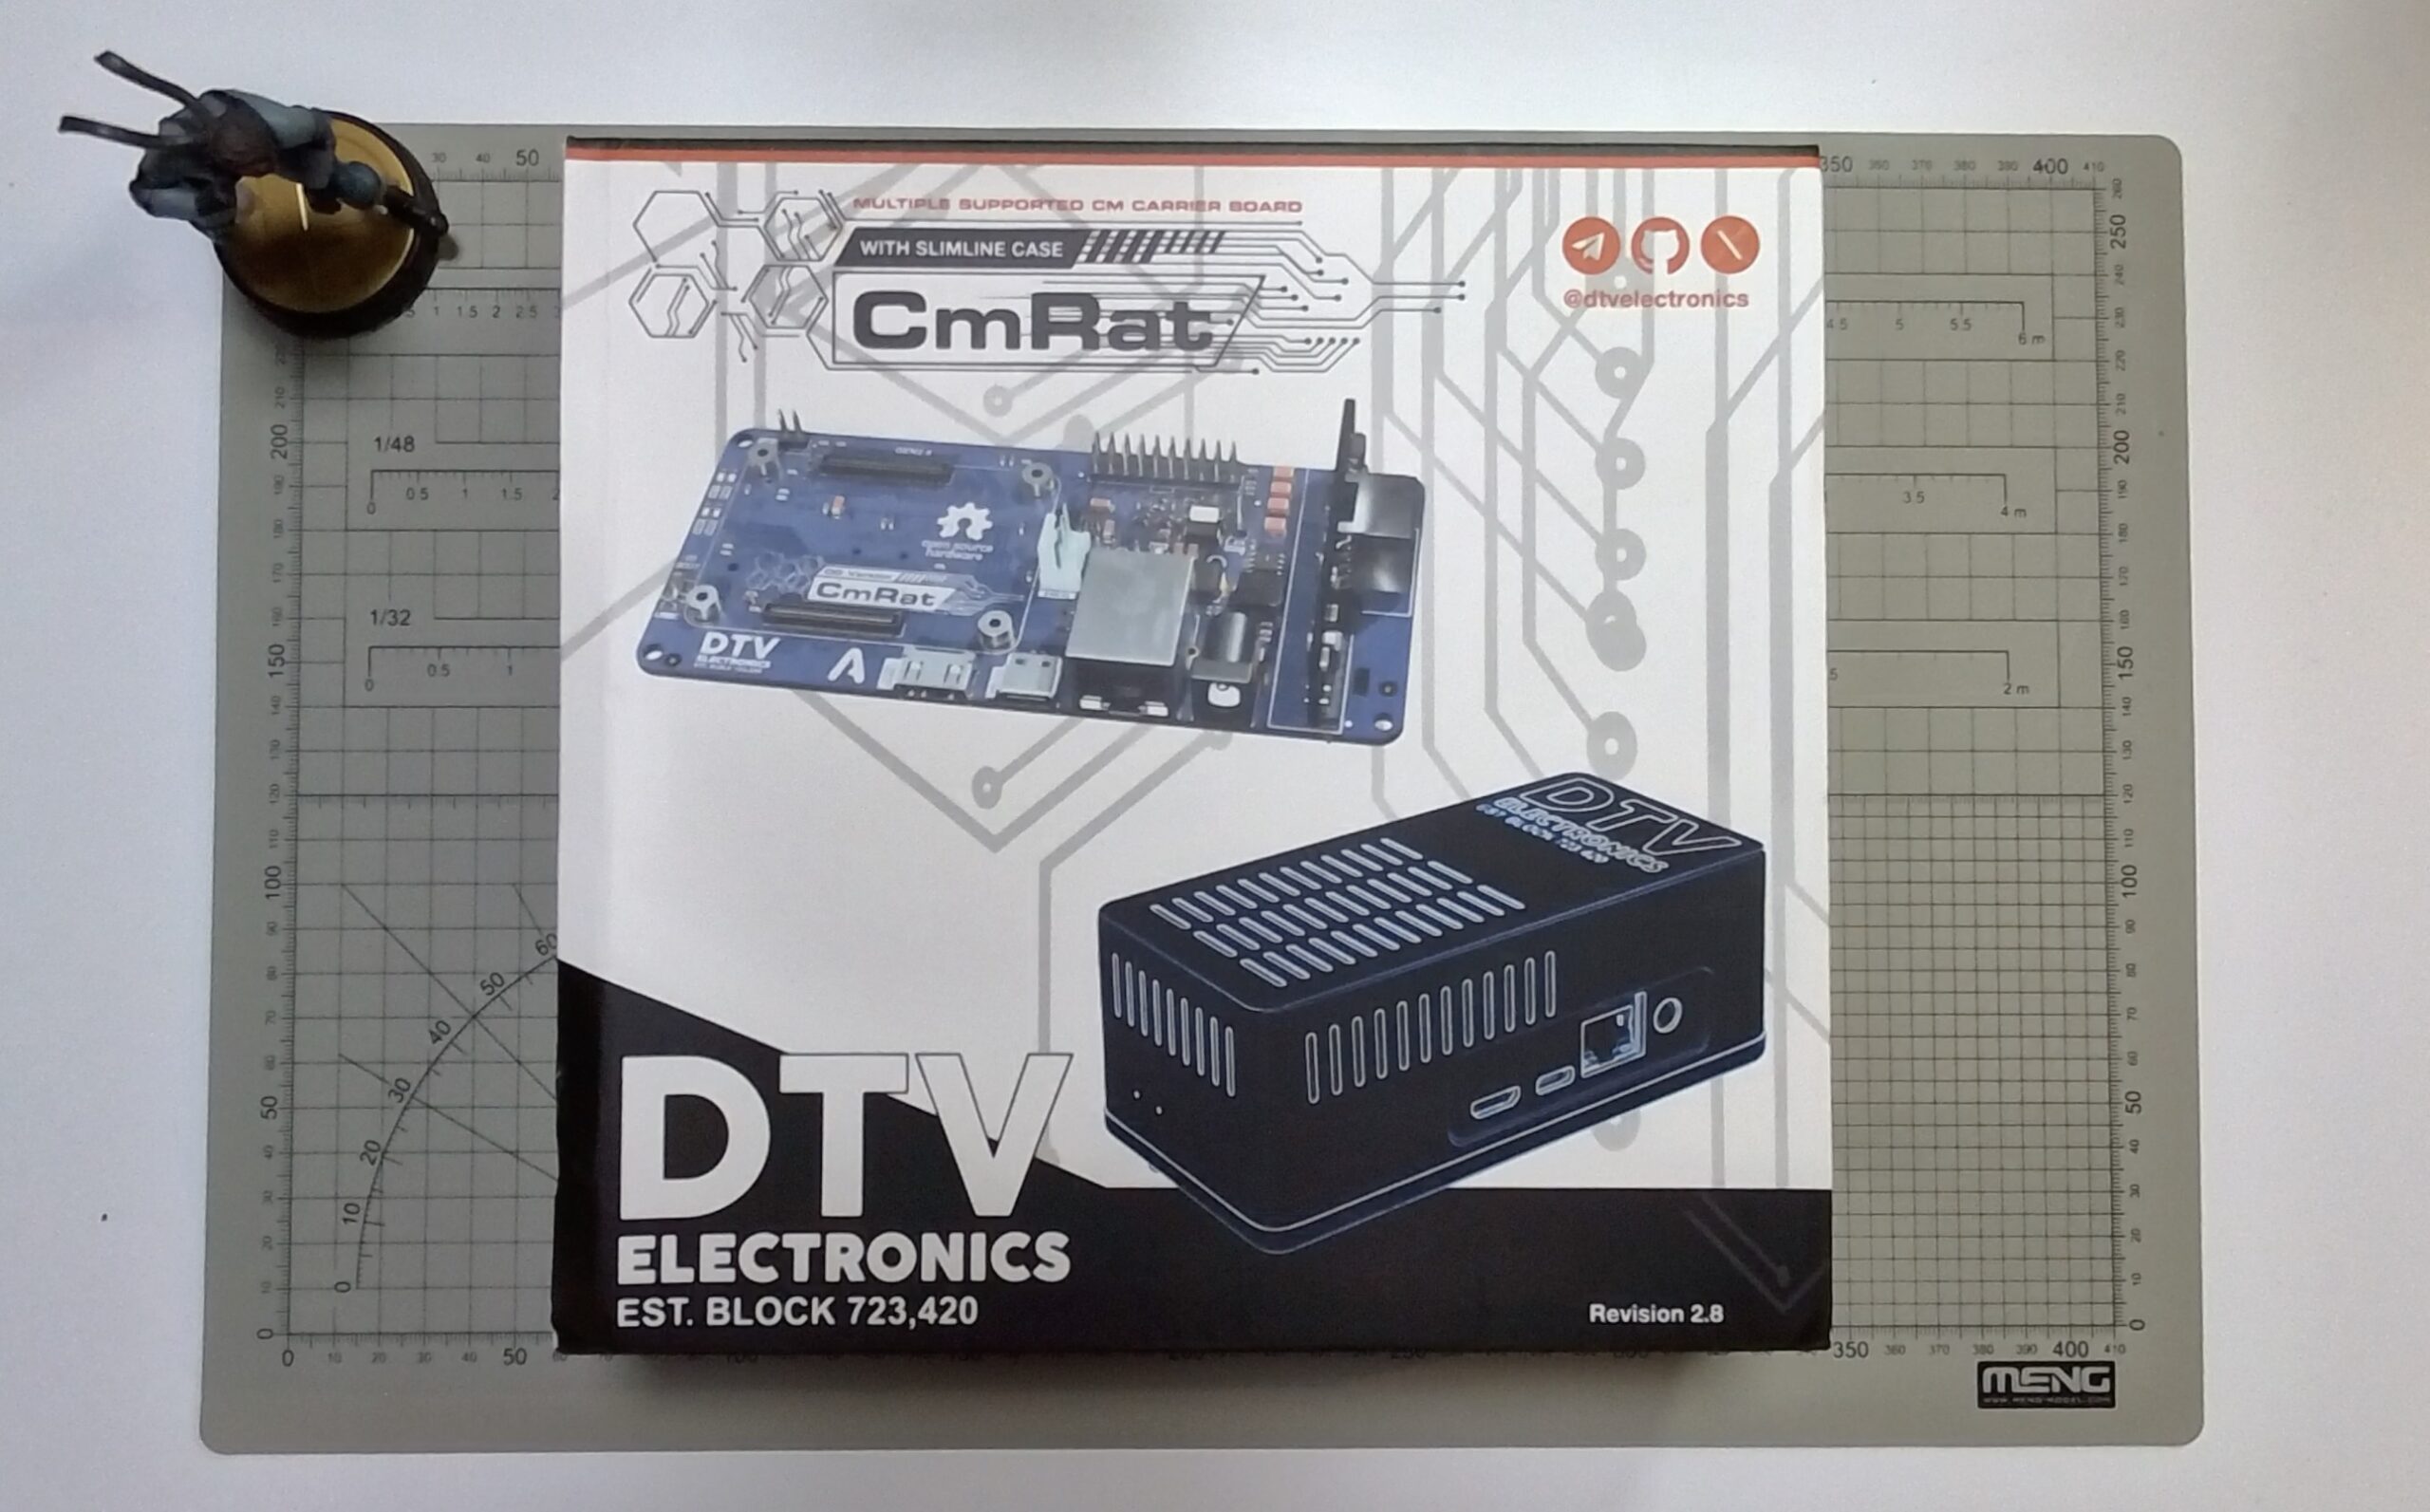
We’re finally ready to break down the CmRat in full detail, and this time, it’s the version that includes the sleek CNC aluminum case. There’s also a barebone option available, which skips the Compute Module, NVMe, and SD card. If you go that route, you’ll need to pick up those parts separately and either install them yourself or configure everything through DTV Electronics. In this review, I’ll walk you through that exact process, showing how to get it all up and running.
But first, let’s clear up what the CmRat actually is.
???? Buy the CmRat on the DTV Electronics Store (Worldwide) ????
| Description | Details |
|---|---|
| ???? Website | dtvelectronics.com |
| ????️ Location | Kowloon, Hong Kong |
| ???? Year Founded | 2022 |
| ???? Hardware Model | CmRat (formerly known as BitPiRat) Gen 2.8 (Release: 2025), Raspberry CM5 |
| ???? Processing Power | Broadcom BCM2712 quad-core ARM Cortex-A76 CPU at up to 2.4 GHz |
| ???? Memory | 4 to 16 GB RAM |
| ???? Initial Blockchain Download Time | ≈<2 days |
| ???? Connectivity | Gigabit Ethernet (with PoE), HDMI, USB Type C, MicroSD Slot, NVMe Hard Drive |
| ???? Security Features | Login with Password, Backup with seedphrase, Connection with TOR |
| ⚙️ Compatibility | Compatible with Umbrel, RunCitadel, Nirvati, Raspberry OS, StartOS & more |
| ???? Scalability | Upgradable NVME, Upgradable Compute Module, Upgradable Heatsink and Fan |
| ???? Power Consumption | ≈ 10W |
| ???? Dimensions | 12 cm x 5.5 cm x 3 cm (4.72 in x 2.17 in x 1.18 in) |
| ???? Volume | 198 cm³ (12.07 in³) |
| ⚖️ Weight | 100 g (3.53 oz, including storage, case excluded) |
| ???? Mobile App | Web UI on Umbrel.local |
| ???? Customer Support | Email to info@dtvelectronics.com |
| ???? Open Source | FOSS (Free and Open Source Software) |
| ???? Price | From $50-60 (TBA) |
| ???? Shipping Availability | Available on dtvelectronics.com |
| ???? Warranty | 1 Year |
| ???? User Reviews | N/A |
CmRat: A Quick Overview
At its core, the CmRat is a carrier board designed to house a Compute Module, which is basically the CPU and RAM in one compact, swappable unit. It supports NVMe storage, a microSD card, and can be used as anything from a mini Linux desktop to a full-blown home server, media center, or Bitcoin node. Its versatility is what makes it such an appealing little powerhouse.
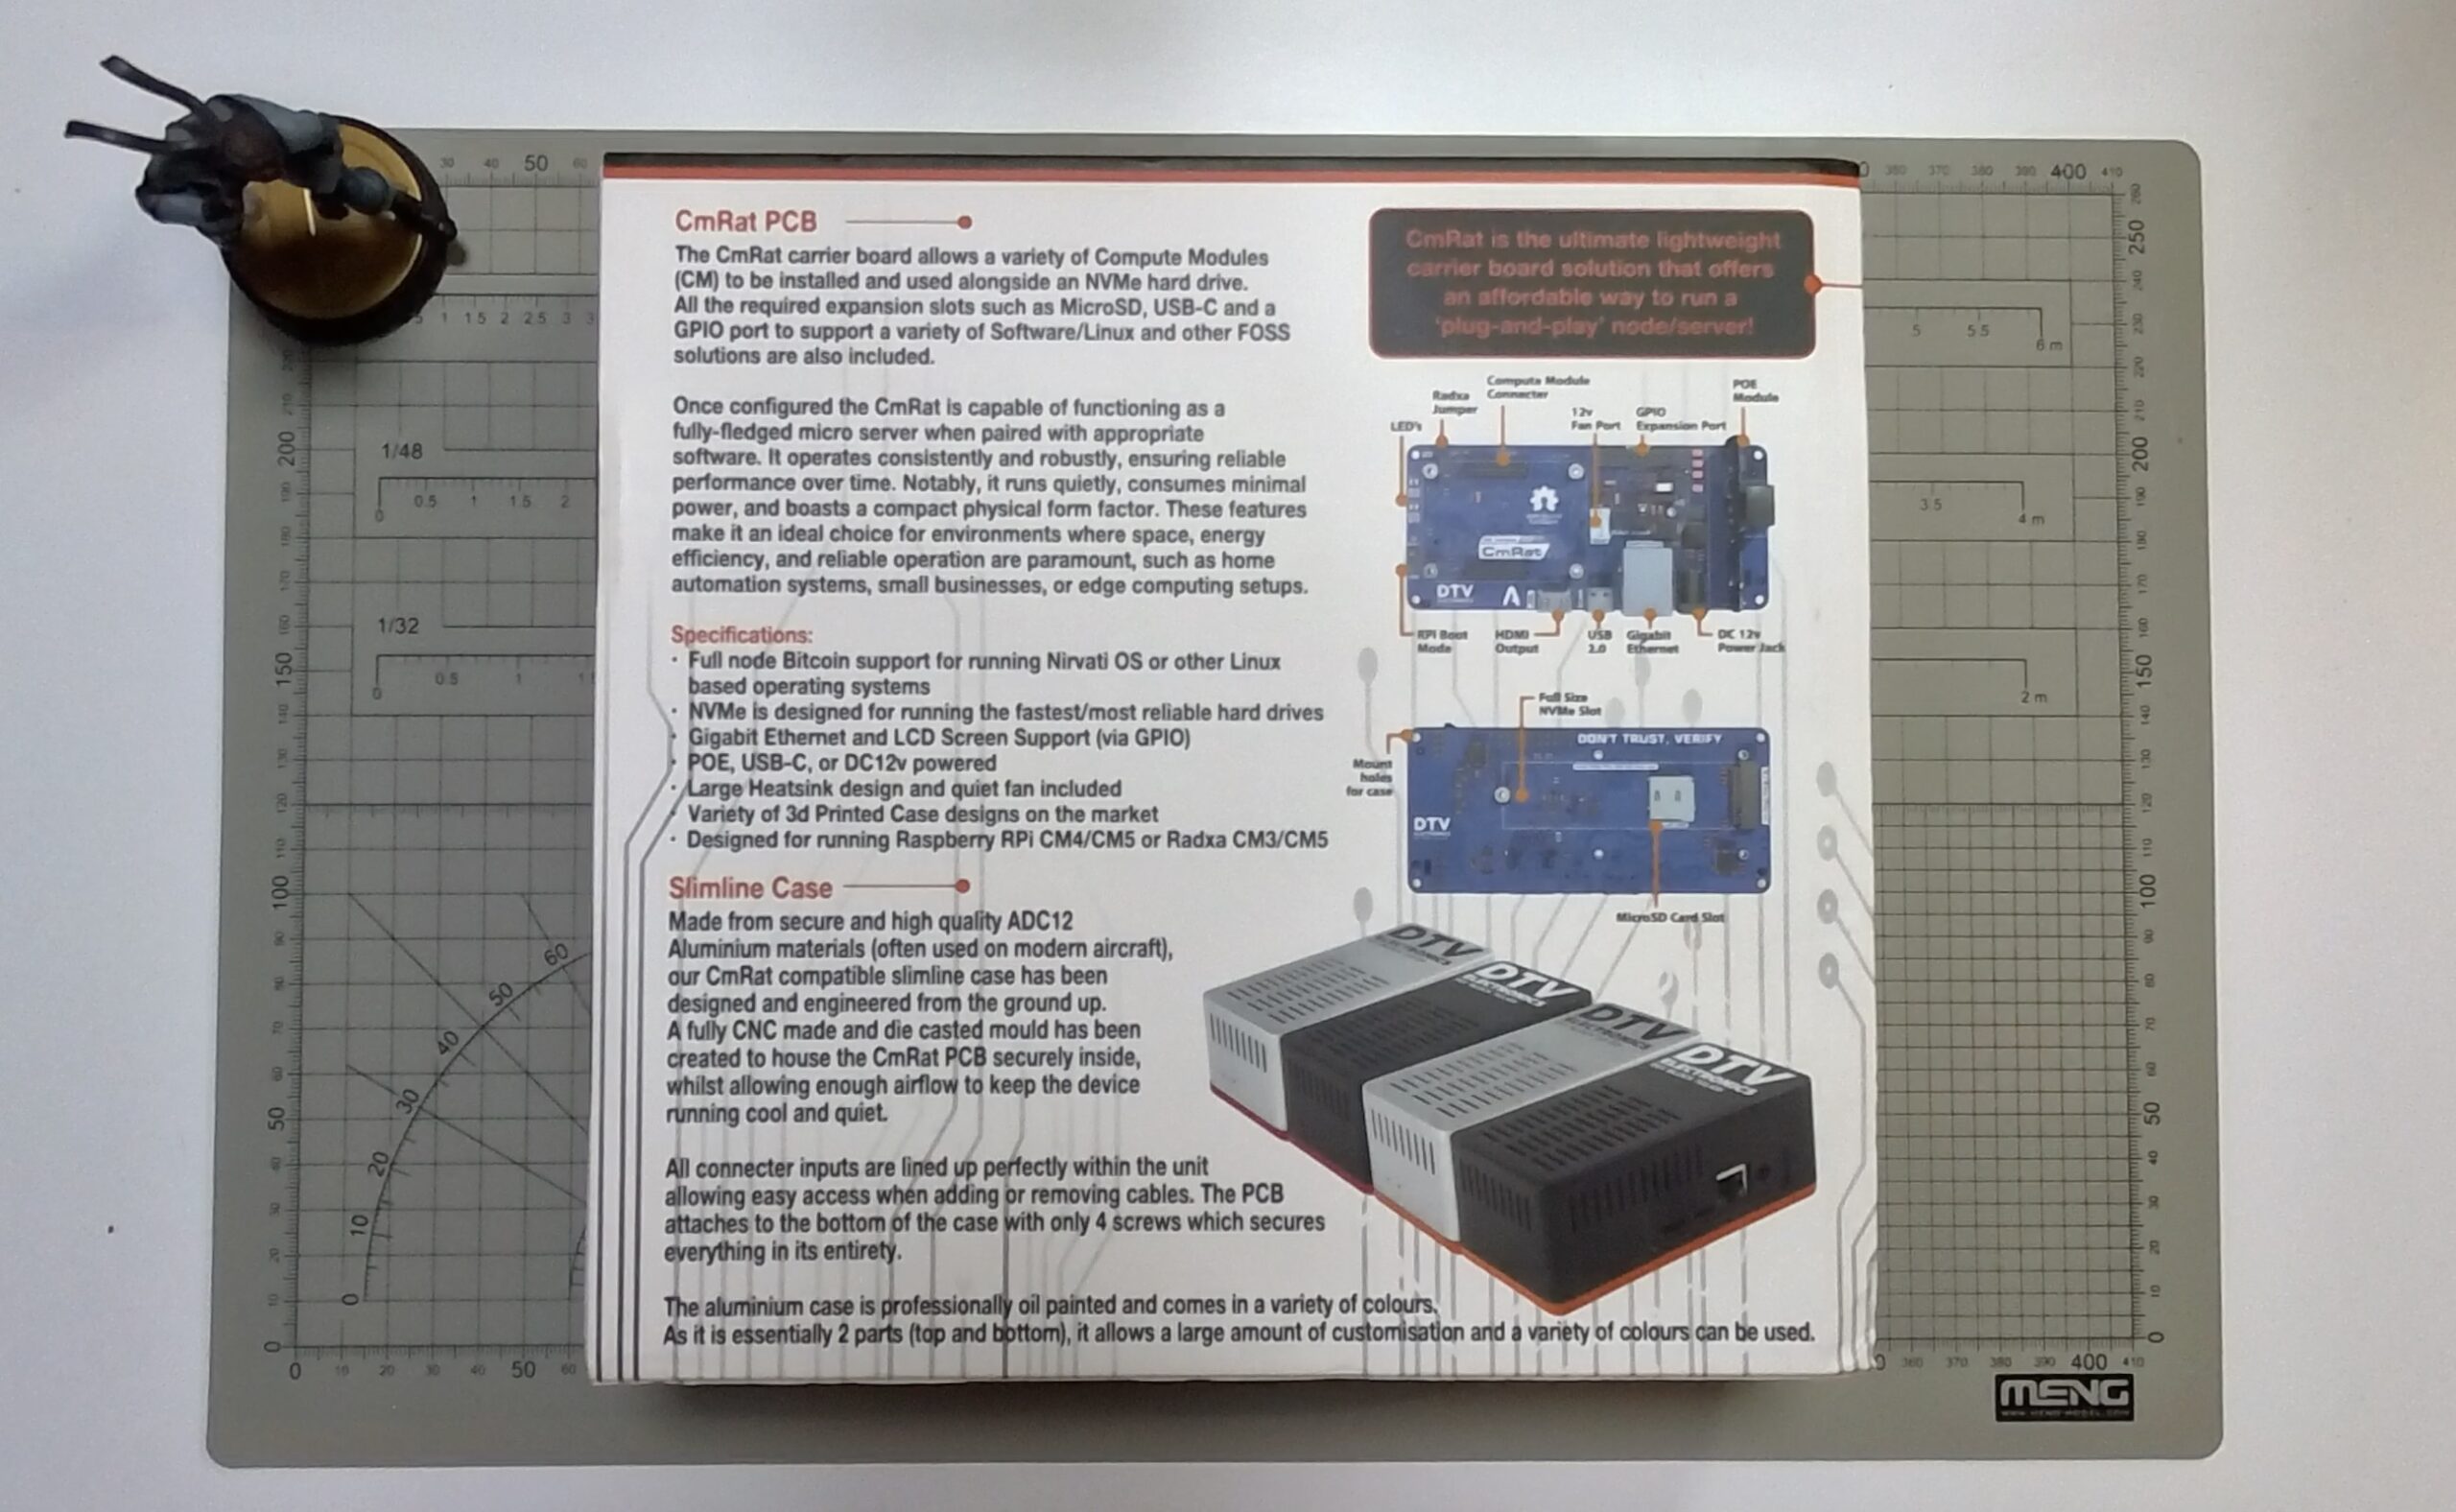
And here’s the : it only draws about 10 watts. That makes it ideal for leaving on 24/7, just like a Raspberry Pi, but with serious upgrades. You get native NVMe support, Power-over-Ethernet, and the freedom to swap out key components like the Compute Module (with most of compute modules by Raspberry or Radxa), storage, or memory. It’s a more flexible, tinker-friendly option for those who like to build things their own way.
The version I’ll be reviewing here does include the Compute Module (more on that later), you’ll just need to grab an SD card and NVMe drive to complete the setup.
What’s in the box
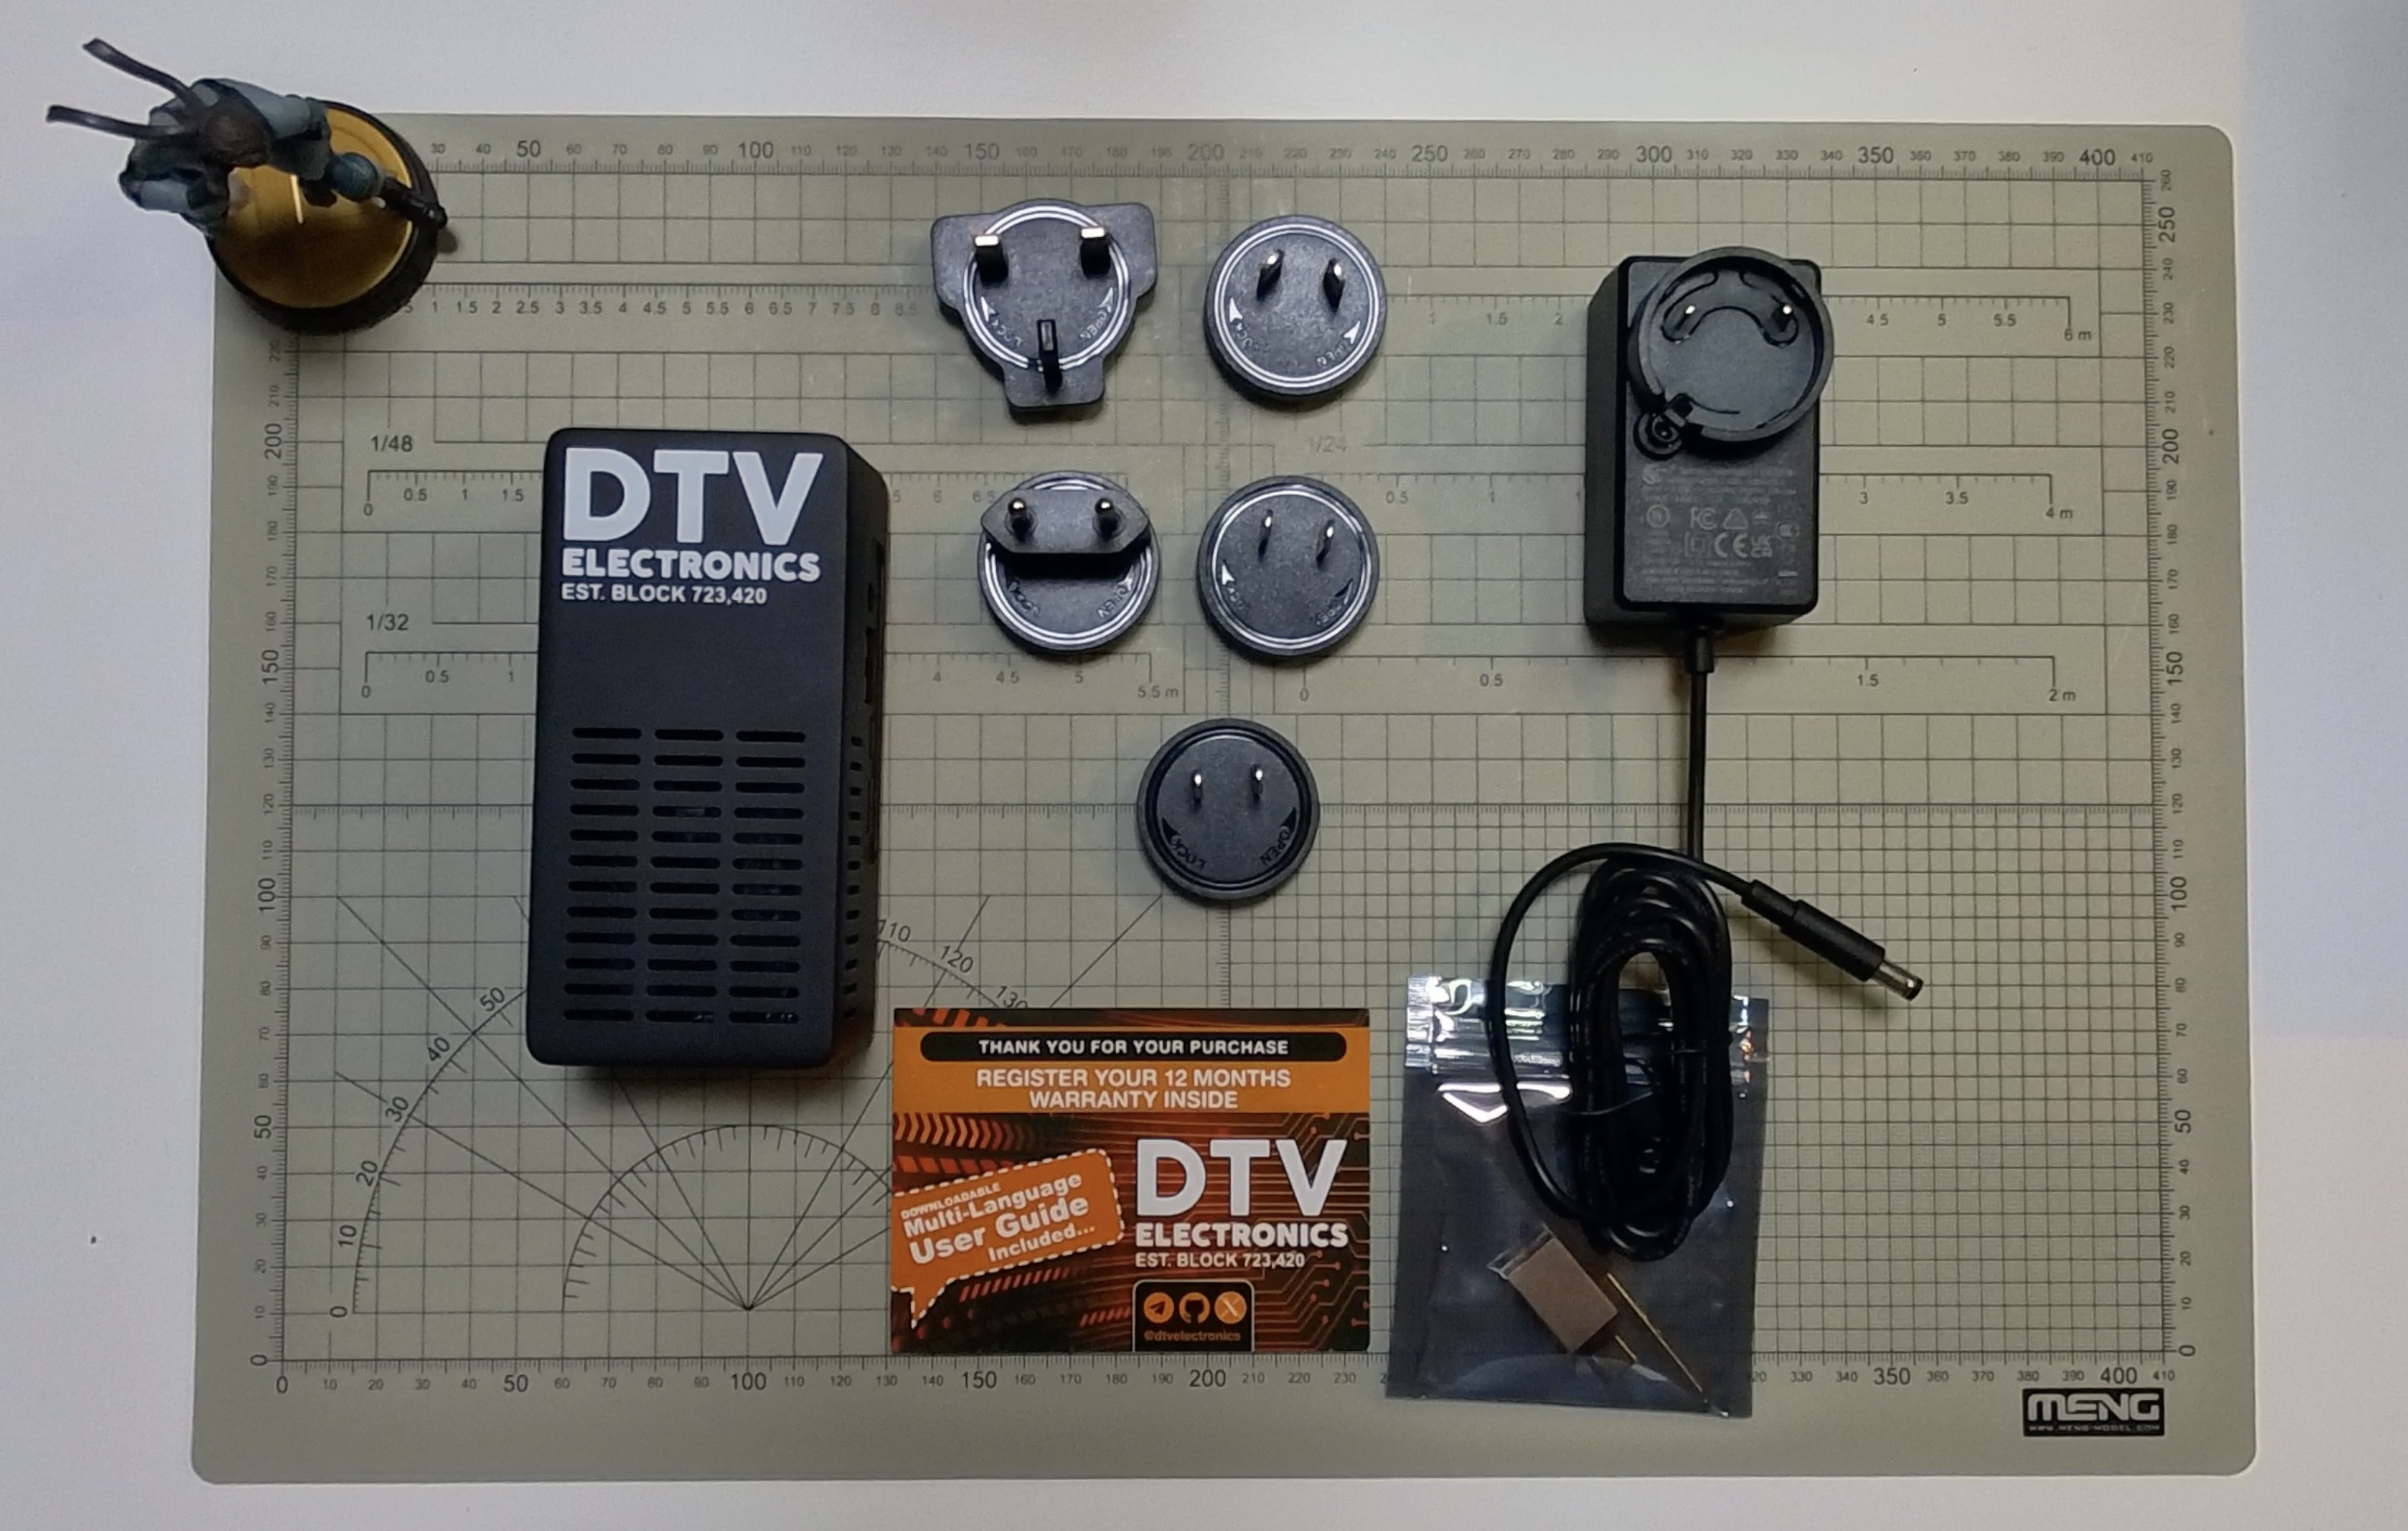
Inside the DTV Electronics CmRat box, you’ll find:
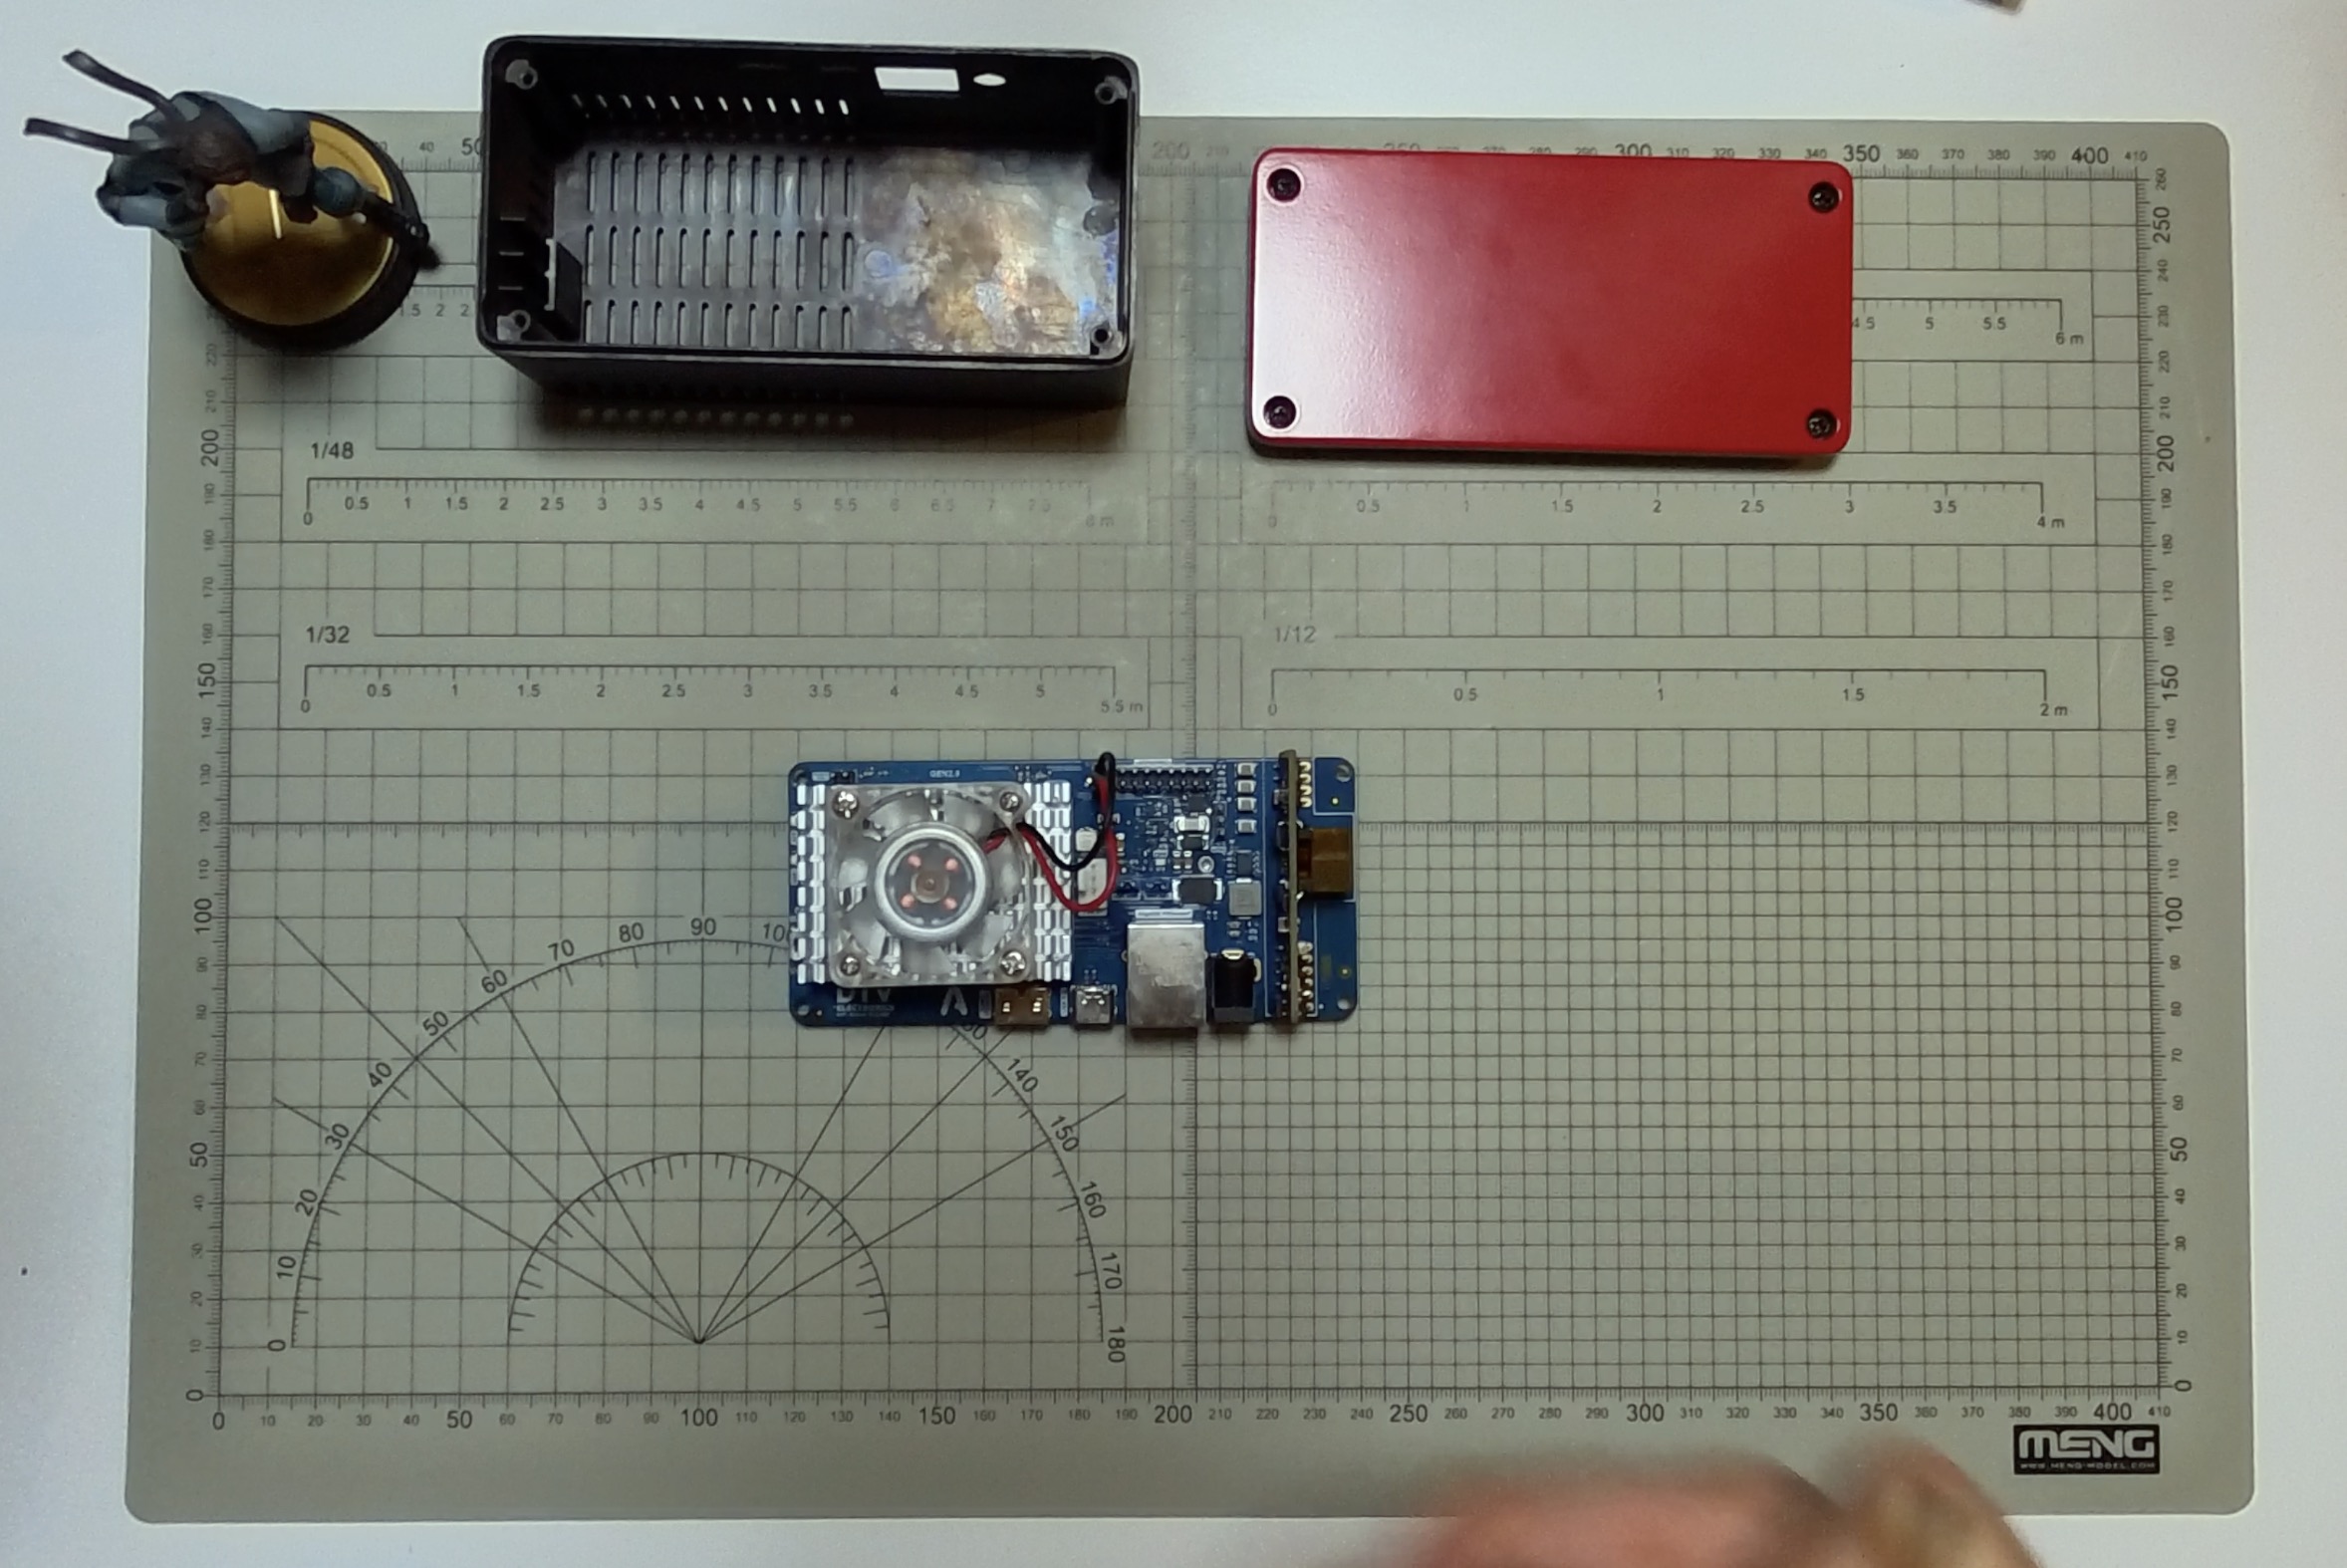
- The DTV Electronics Carrier Board
- A CNC-machined aluminum case from DTV Electronics
- Power supply and adapters compatible with multiple regions
- 12 months warranty
Getting Started With The CmRat
In this section I will show how to get the CmRat up-and-running from a barebones configuration to a full setup.
???? Buy the CmRat on the DTV Electronics Store (Worldwide) ????
Getting the NVMe

Because the CmRat arrives as a barebones kit, you’ll need to pick up both an NVMe SSD. The options can be overwhelming, but I recommend sticking with well-known brands for the NVMe-avoid cheap knockoffs, especially from places like Aliexpress. I usually check diskprices.com to find the best deals for the size I want.
For my build, I chose a Samsung 990 EVO Plus 2TB SSD, since the CmRat supports any PCIe 2280 NVMe drive.
We won’t need a MicroSD card because the OS image will be flashed directly onto the eMMC storage of the module. In this case, we’re using a Raspberry Pi Compute Module 5 with 8GB of RAM, onboard eMMC, and built-in Wi-Fi. Booting from eMMC is generally faster than from a MicroSD card and often more reliable.
Getting the Compute Module
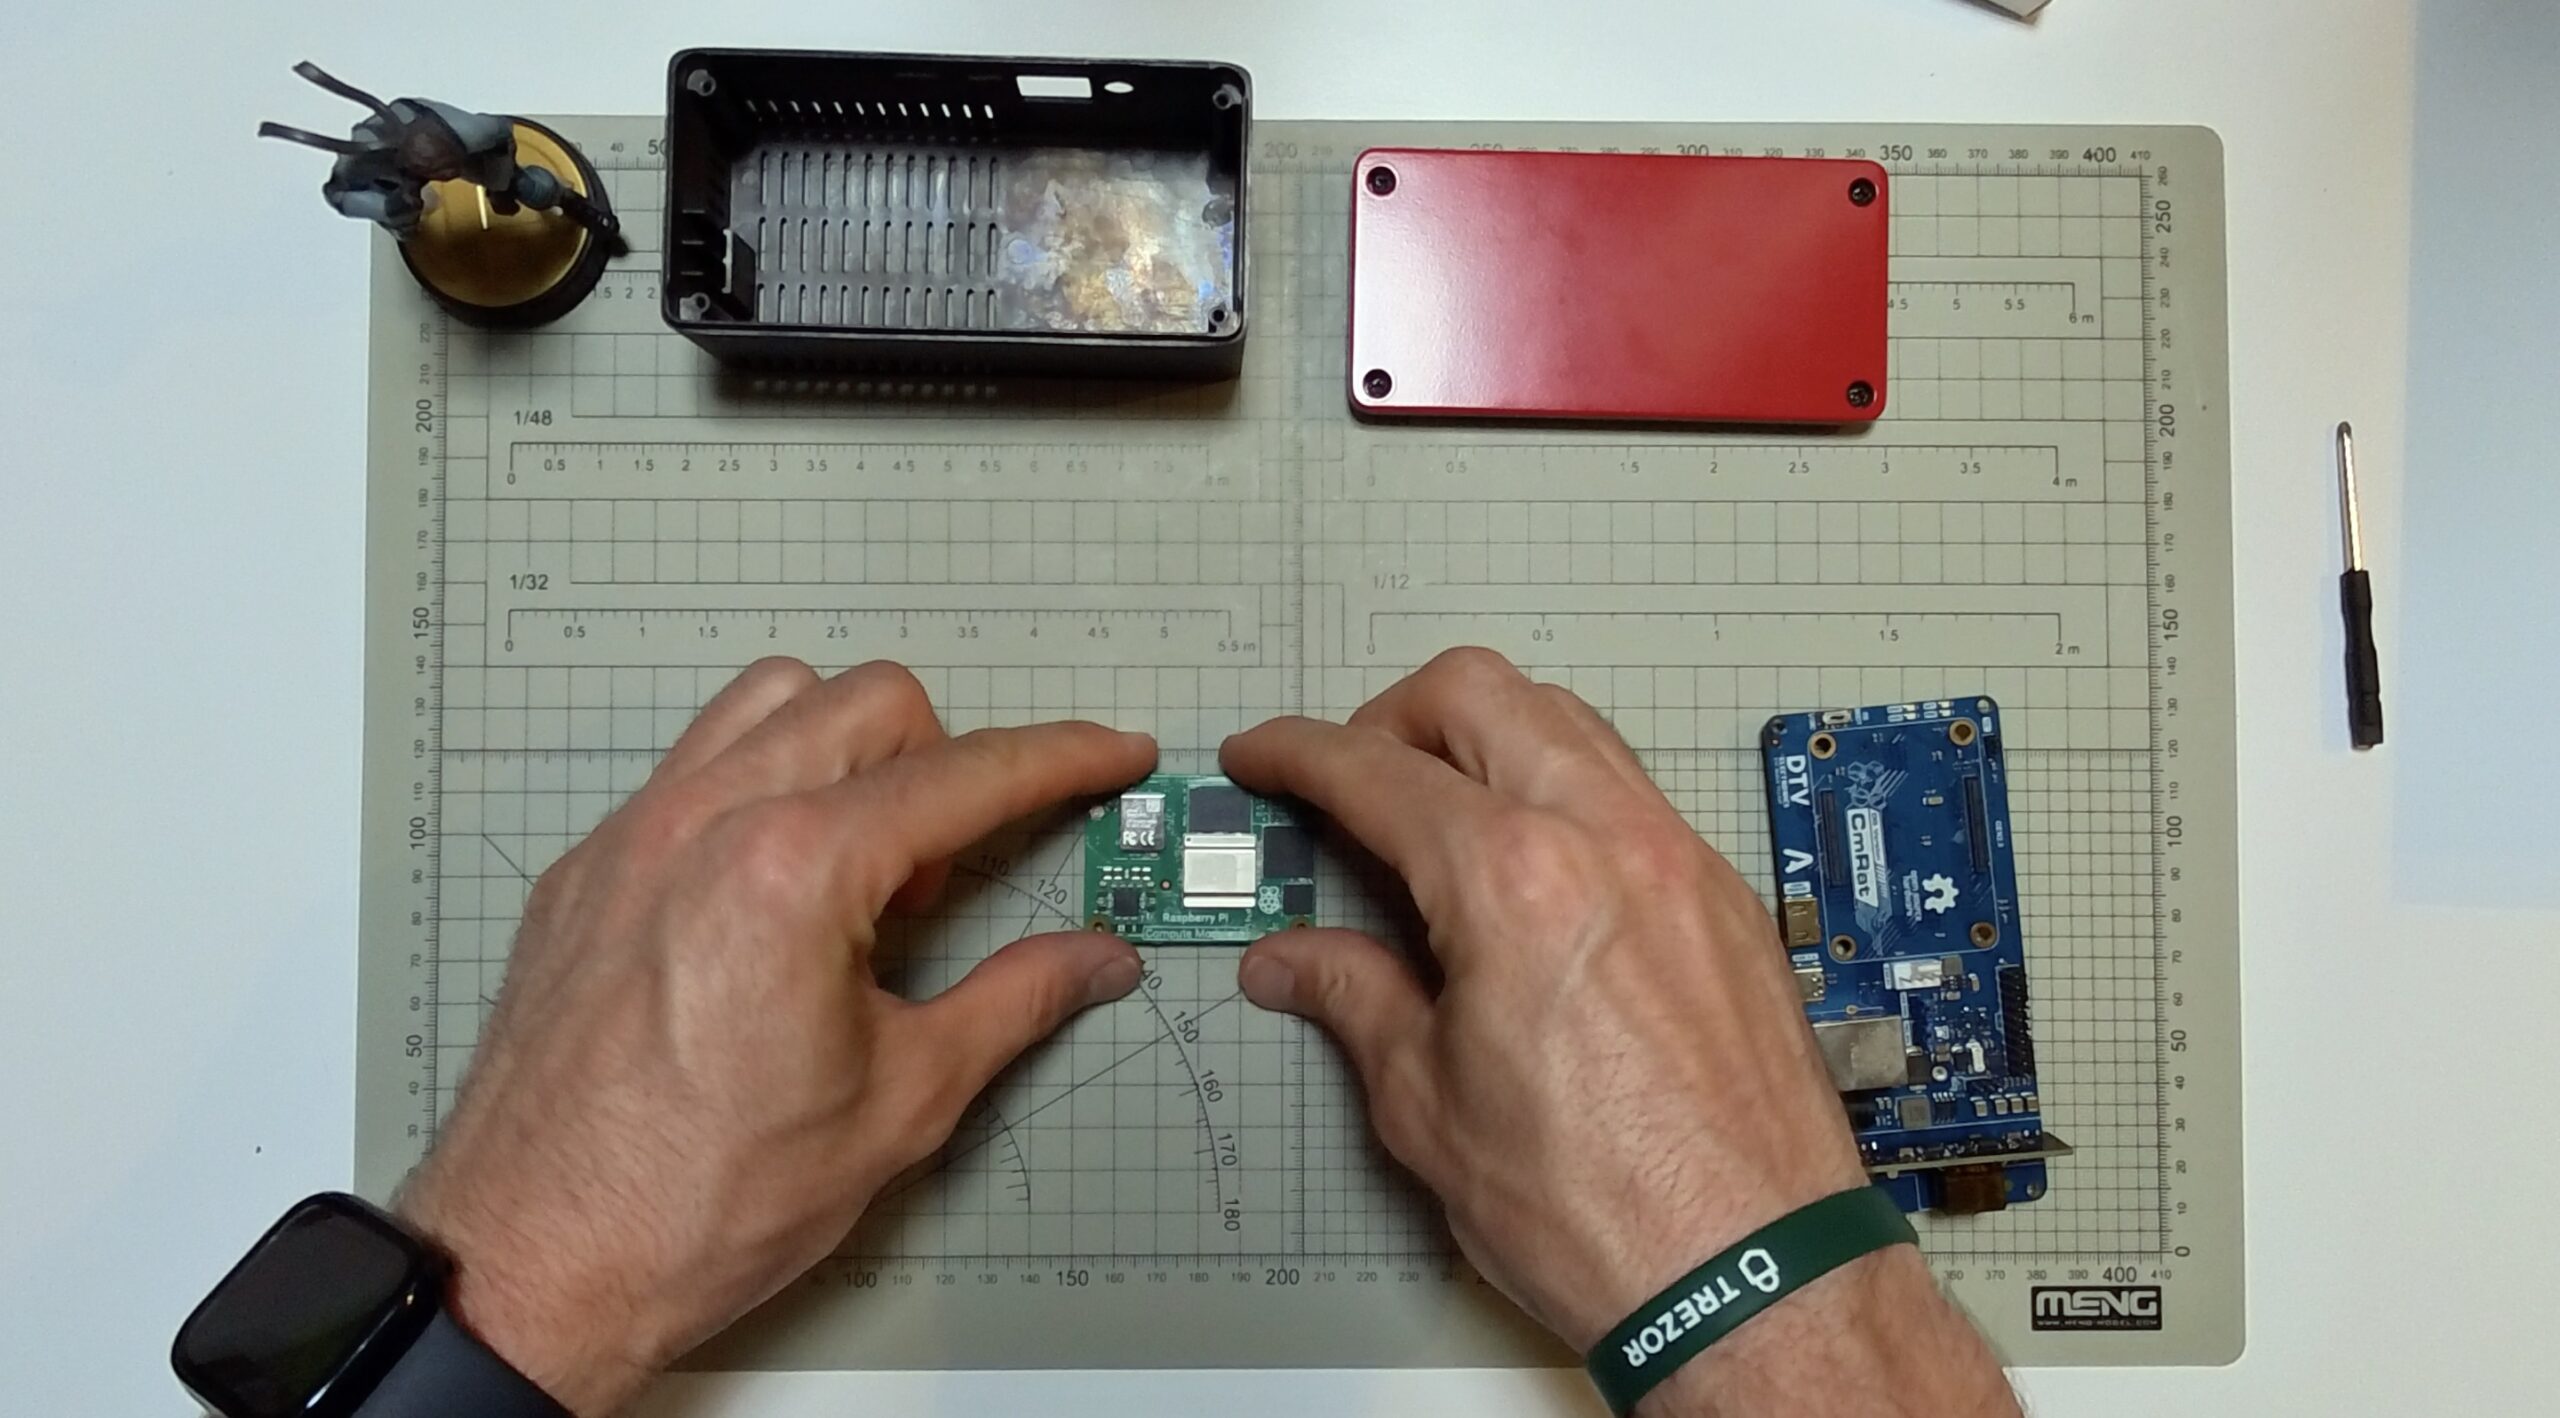
The CmRat supports a plethora of compute module, in this case it came pre-configured and included one the Raspberry Pi CM5 (8GB version), a fairly recent and powerful compute module, however you can have many others that are supported on the CmRat are the following:
- Raspberry Pi Compute Module 5 (CM5)
- Raspberry Pi Compute Module 4 (CM4)
- Radxa Compute Module 3 (CM3)
- Radxa Compute Module 5 Lite (CM5 Lite)
- Radxa Compute Module 5 (CM5)
- Milk-V Mars CM
The CmRat it’s customizable, meaning you can decide which compute module to have pre-loaded on the board, but also you can buy without it. If you want to buy the compute module, you can get it from The best website to find Compute Modules and compute modules heatsink (and much more) is https://www.welectron.com/.
Flashing the OS
For this setup, I chose UmbrelOS as the operating system. It’s made by Umbrel and aimed at people who want to self-host apps like Bitcoin nodes, VPNs, password managers, file storage, encrypted chat, and similar privacy-focused tools, all on their own hardware, without needing to be super technical.
There’s even a version made specifically for the Raspberry Pi 5, which makes it work perfectly with the Compute Module 5 (they’re essentially the same under the hood).
Note: before flashing, remember to install the NVMe on the bottom of the CmRat and secure it with the screw.
To flash the OS onto the CM5’s eMMC using a Mac, here’s a quick step-by-step:
Step 1
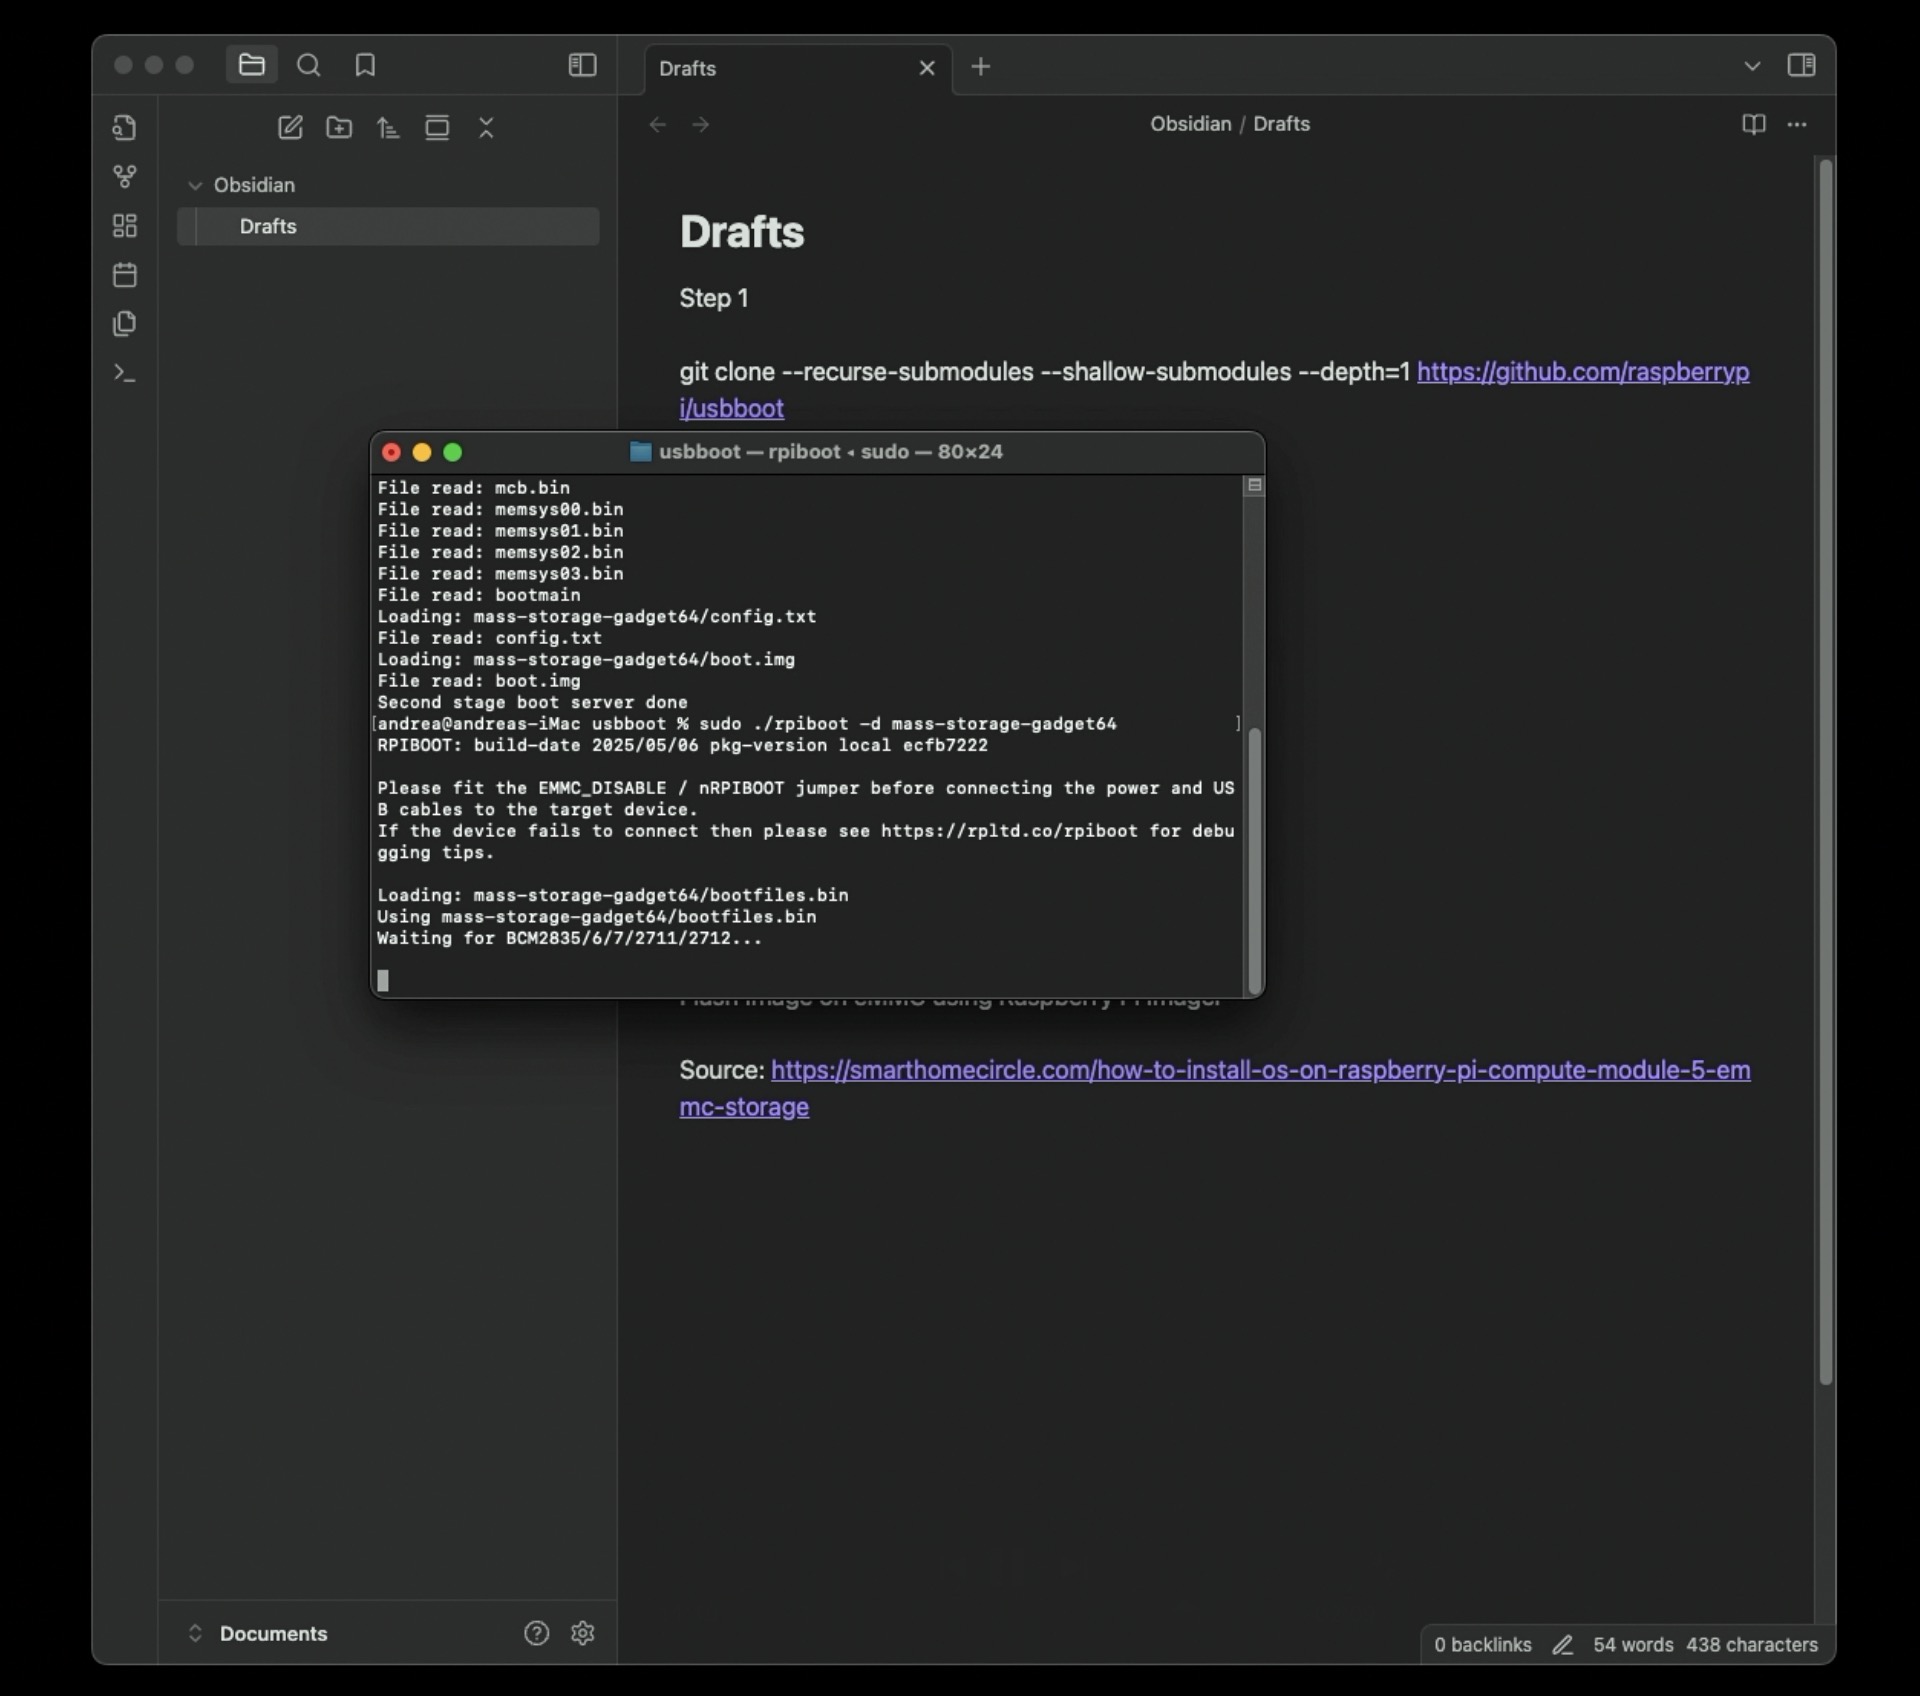
Open Terminal and run:
git clone --recurse-submodules --shallow-submodules --depth=1 https://github.com/raspberrypi/usbboot
cd usbboot
brew install libusb
brew install pkg-config
make
Step 2
Run:
sudo ./rpiboot -d mass-storage-gadget64Step 3
Flip the CmRat’s boot switch to USB Boot, then connect the CmRat via USB-C to your computer and also connect it to the power.
Step 4
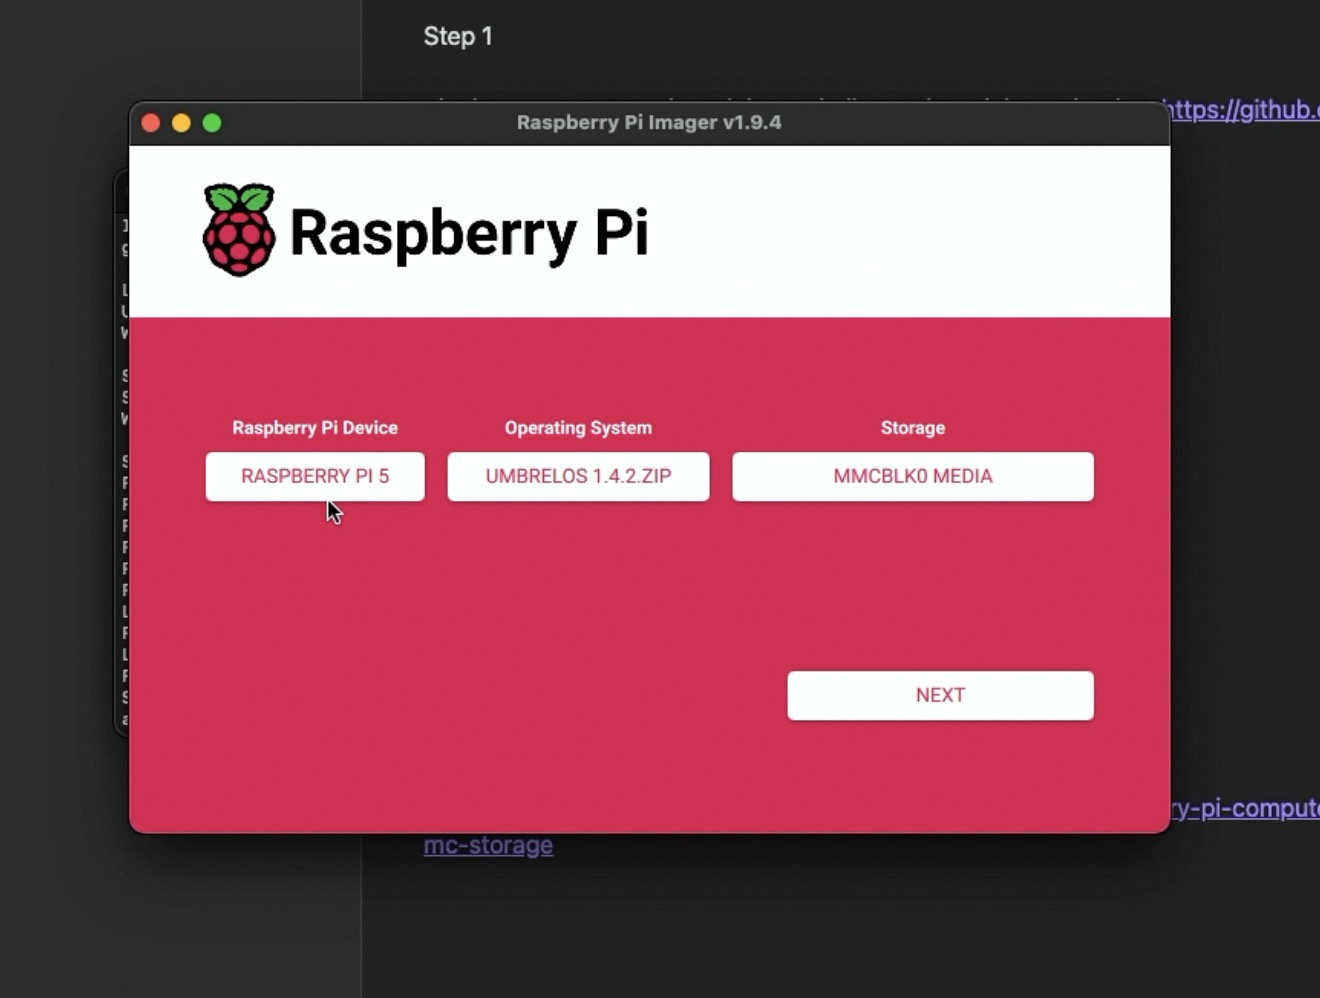
Use the Raspberry Pi Imager to flash the UmbrelOS image directly onto the eMMC.
Step 5
Flip the CmRat’s boot switch back to OS Boot, then connect the CmRat to the power & internet connection or with just one cable with the handy PoE connection for the Ethernet port.
Step 6
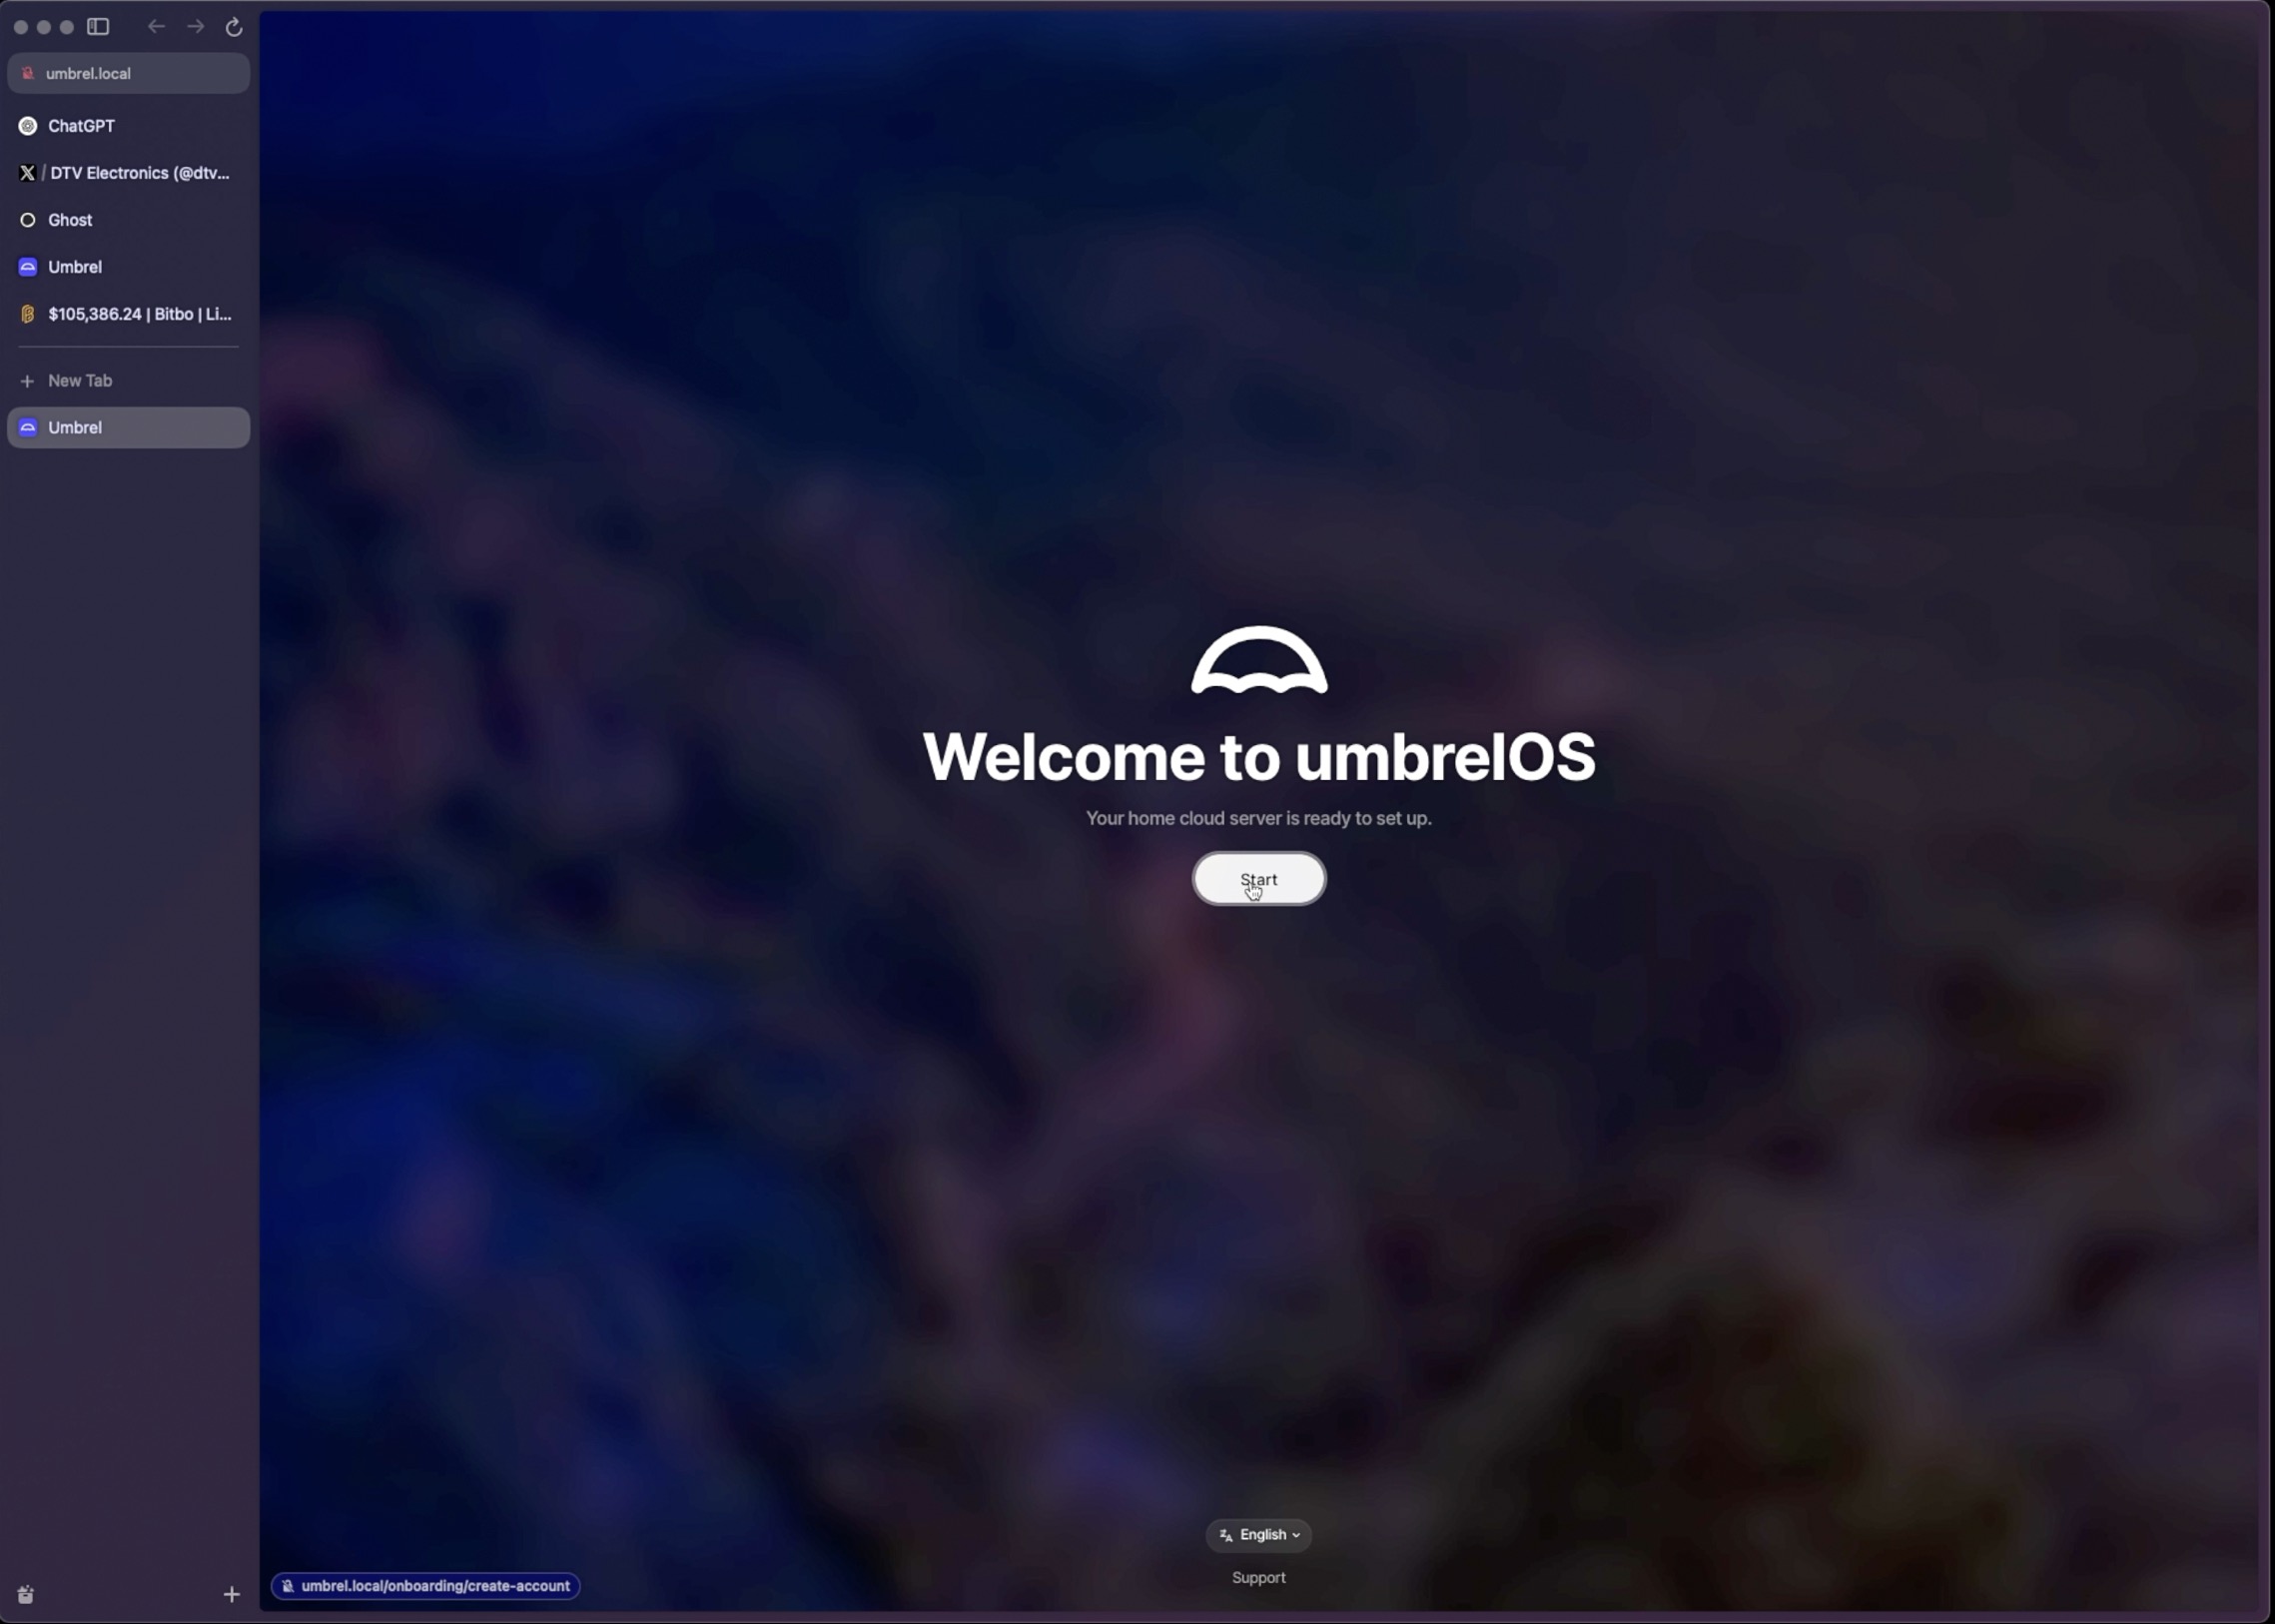
Type the hostname in the address bar of your browser to access and you will be able to see the setup wizard of the OS on your CmRat.
For a more detailed walkthrough for Mac, Linux and Windows, check out this blog post:
???? SmartHomeCircle guide
And here’s a helpful video if you prefer watching:
First Boot and Setup Experience
Once the CmRat boots up and UmbrelOS kicks in, you’re greeted with a clean, browser-based setup process. The OS handles most things for you, just follow the prompts to create your user account, pick the apps you want to install, and let it do its thing. ù
I had a full Bitcoin node syncing within days (36 hours to be exact), plus a couple of other tools like an electrum indexer like Fulcrum (the full sync took just 4 days).
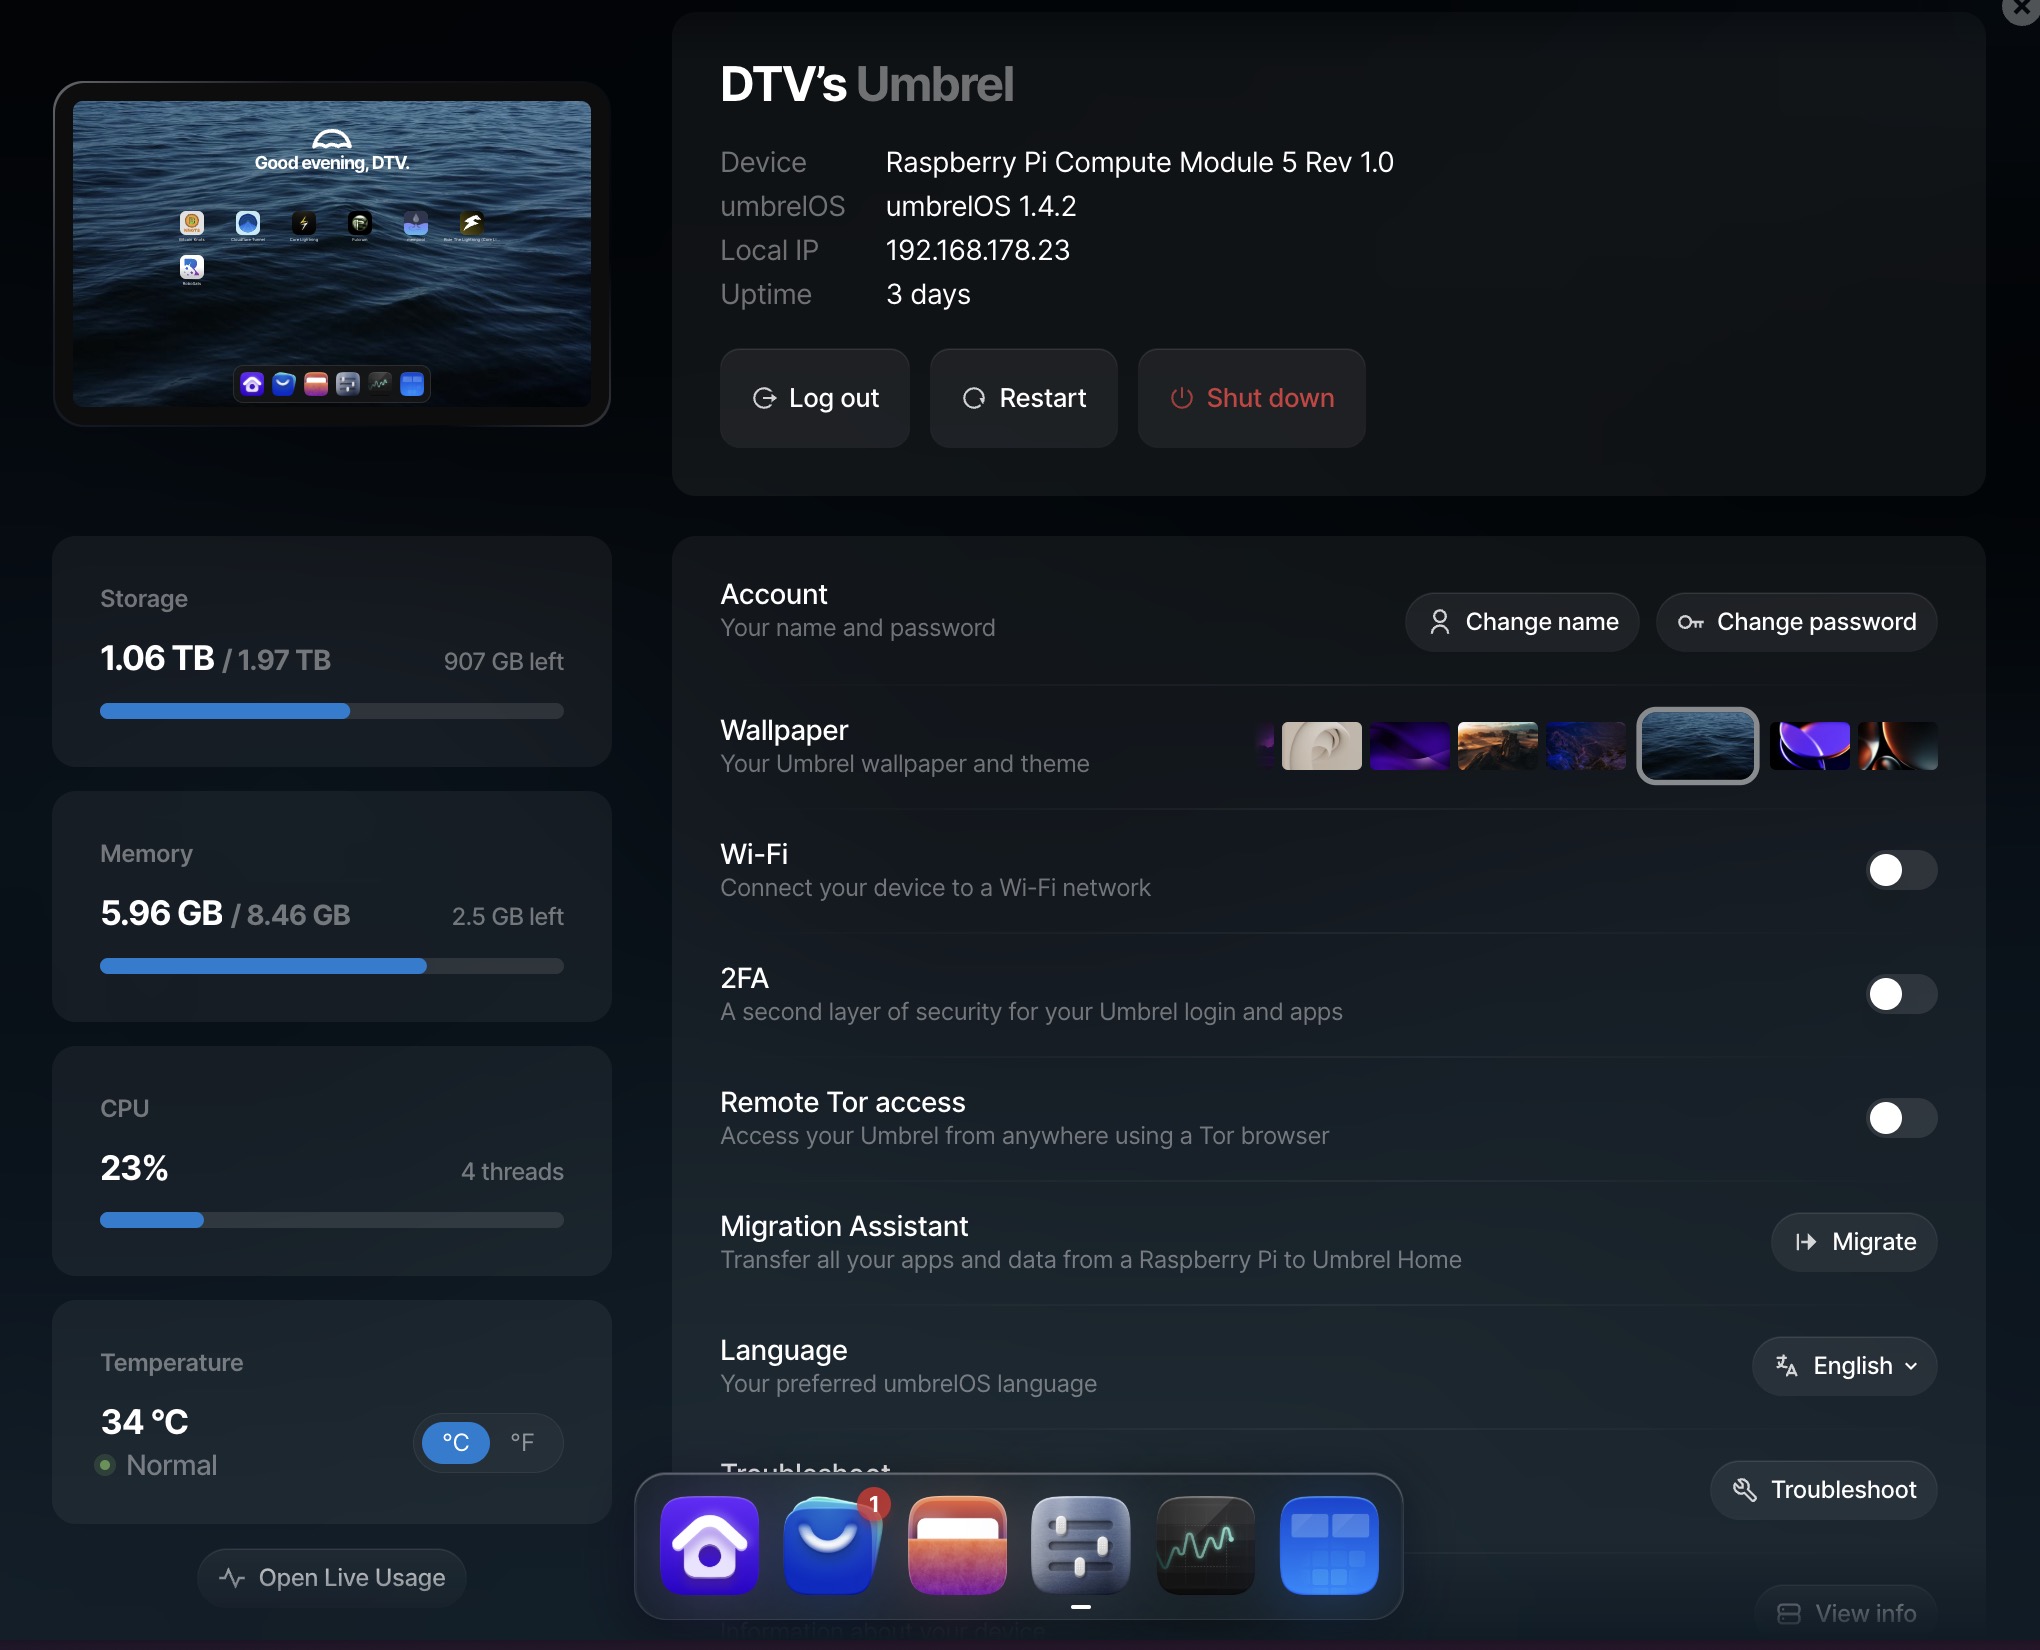
If you’ve used a Raspberry Pi before, this will feel familiar but a step up in polish, performances and temps (always very low, see screenshot down here). It just works. And because it’s running on eMMC plus the nVME, apps launch quickly, and the whole system feels responsive even under load.
Performance and Thermals
Thanks to the NVMe drive and the beefy CM5, everything runs smoother than I expected from a board this size. Bitcoin Core syncs noticeably faster, and running multiple apps in parallel never bogged it down. That said, thermals are something to keep an eye on. The CNC case does help dissipate heat, but I noticed the CM5 gets warm under heavy load.
During my tests, it hovered around 30–40°C in idle and climbed close to 40-50°C when syncing or compiling. It never thermal-throttled, but if you plan to leave it running in a warm room 24/7, adding (as I did) a small heatsink and fan inside the case wouldn’t be a bad idea.
Power Draw and Noise
It’s practically silent. And since it sips around 10-15 watts even under moderate load, you can leave it running nonstop without worrying about your power bill. That’s one of the big wins here: it’s a real server you can run quietly in the corner without needing a giant rack or a noisy PSU.
Compatibility and Quirks
One thing worth noting is that not every OS image supports every compute module out of the box. UmbrelOS is smooth on the CM5, but if you’re using something less mainstream like the Milk-V Mars CM, you need to visit their website to find out which images are compatible.
Another small thing: the Ethernet port is the primary one in use, as it supports Power over Ethernet (PoE), enabling device power through a single cable (requires a PoE switch). Alternatively, you can use the adjacent power port if PoE is not available.
CmRat Pros & Cons
| Pros | Cons |
|---|---|
| ✅ FOSS | ❌ Nirvati/Citadel, the OS DTV is collaborating with, after 2 years it’s still not available |
| ✅ Complete Freedom over the hardware and software installed | ❌ eMMC flashing it’s not an user-friendly procedure |
| ✅ The most affordable Bitcoin Node / Home Server on the market | |
| ✅ Great community | |
| ✅ Very low temps | |
| ✅ Small form factor |
Final Thoughts
So, is the CmRat worth it?
If you’re looking for a small, energy-efficient, endlessly configurable and customizable board that can run serious workloads, it’s a strong yes from me. It’s also one of the cheapest option out there, without compromising flexibility, build quality, and a genuinely thoughtful design. The aluminum case feels solid, the I/O is well laid out, and the fact that you can pick your compute module means you’re not locked into a specific setup.
It’s a great fit for hobbyists, self-hosters, and anyone tired of black-box consumer tech. You can tweak, upgrade, or reconfigure it as your needs grow. If you’re new to self-hosting, this is actually one of the easier platforms to get started on. It works especially well with UmbrelOS, DietPi, or even that project DTV Electronics is collaborating on, Nirvati.
???? Buy the CmRat on the DTV Electronics Store (Worldwide) ????